DIY Throne chair
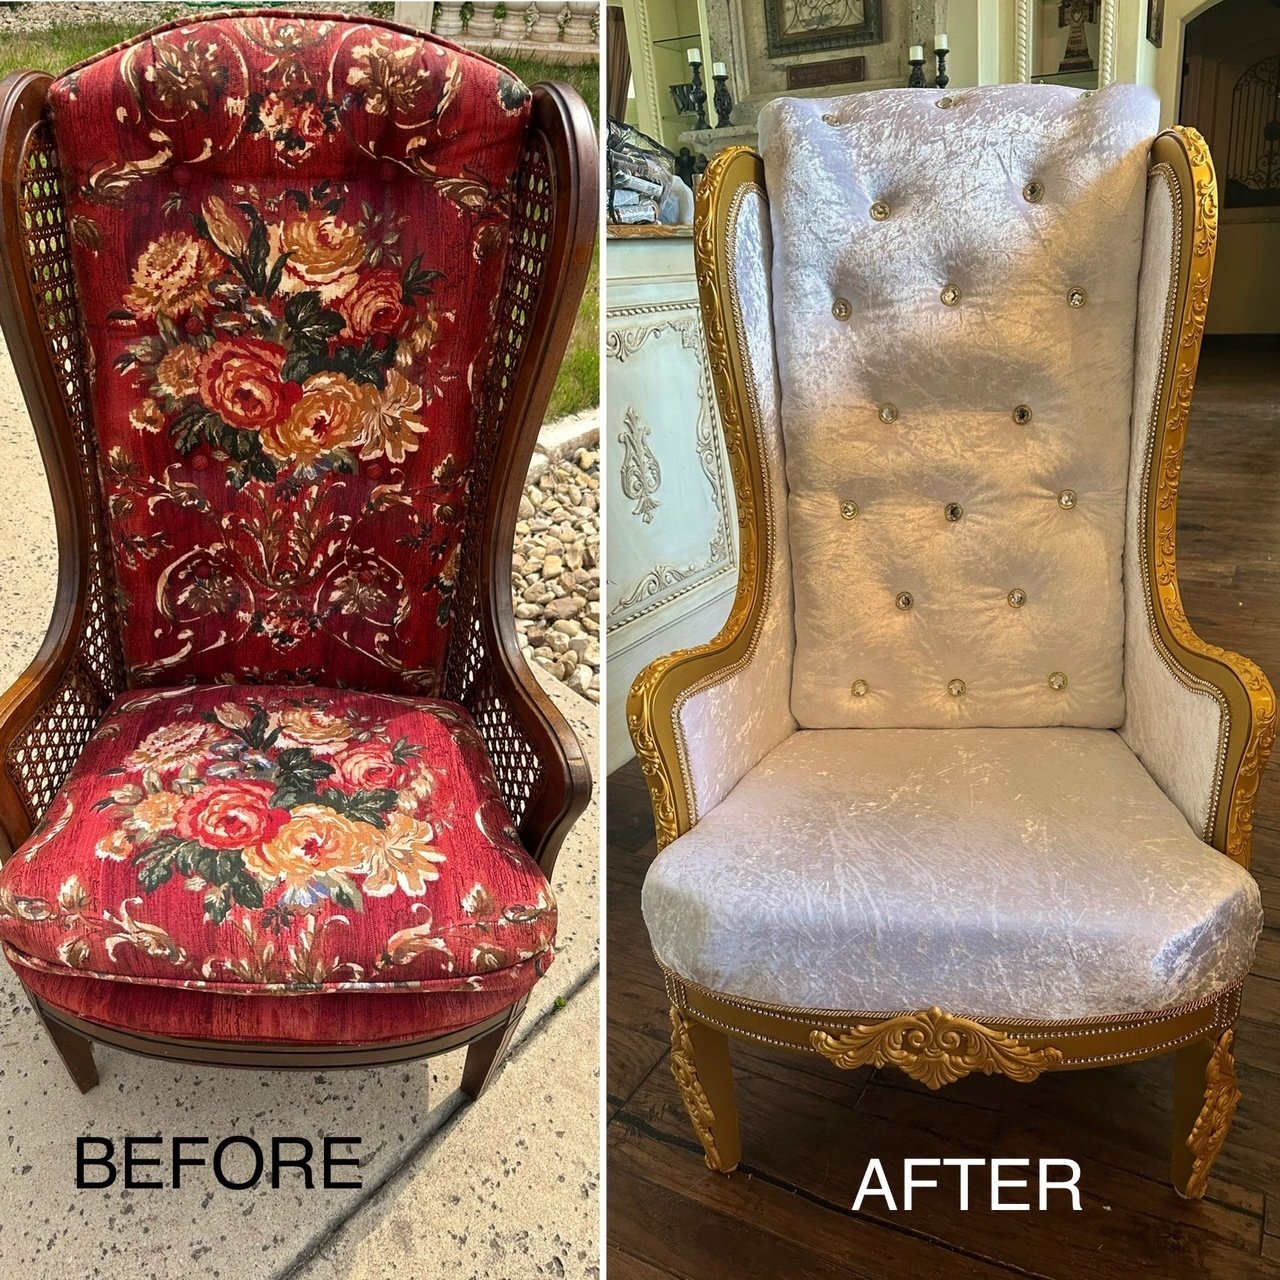
I love all things glam, so when throne chairs became popular I was in love. I was not however in love with their crazy prices, $800+ is just more than I would ever spend for a royal chair. I decided to just DIY an old $20 chair I found on FB Marketplace.
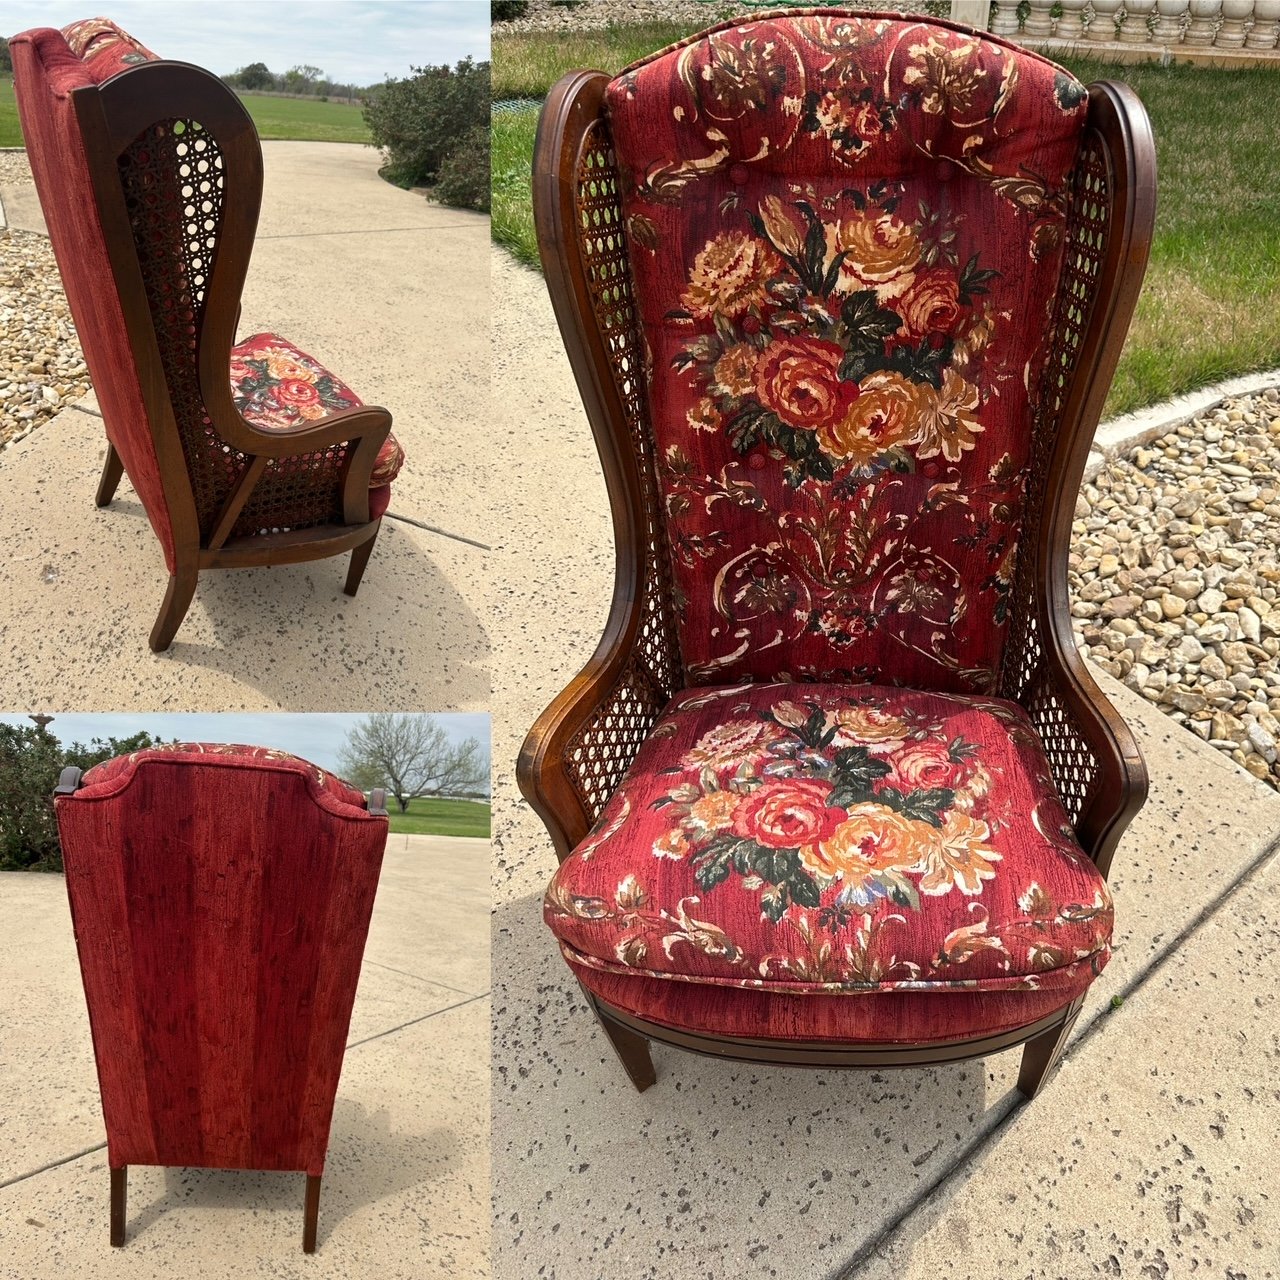
** One of my readers let me know that this chair is actually valuable, it’s a Lewittles chair. I wish I had known ahead of time, so if you see one out thrifting, you may want to pick one up!
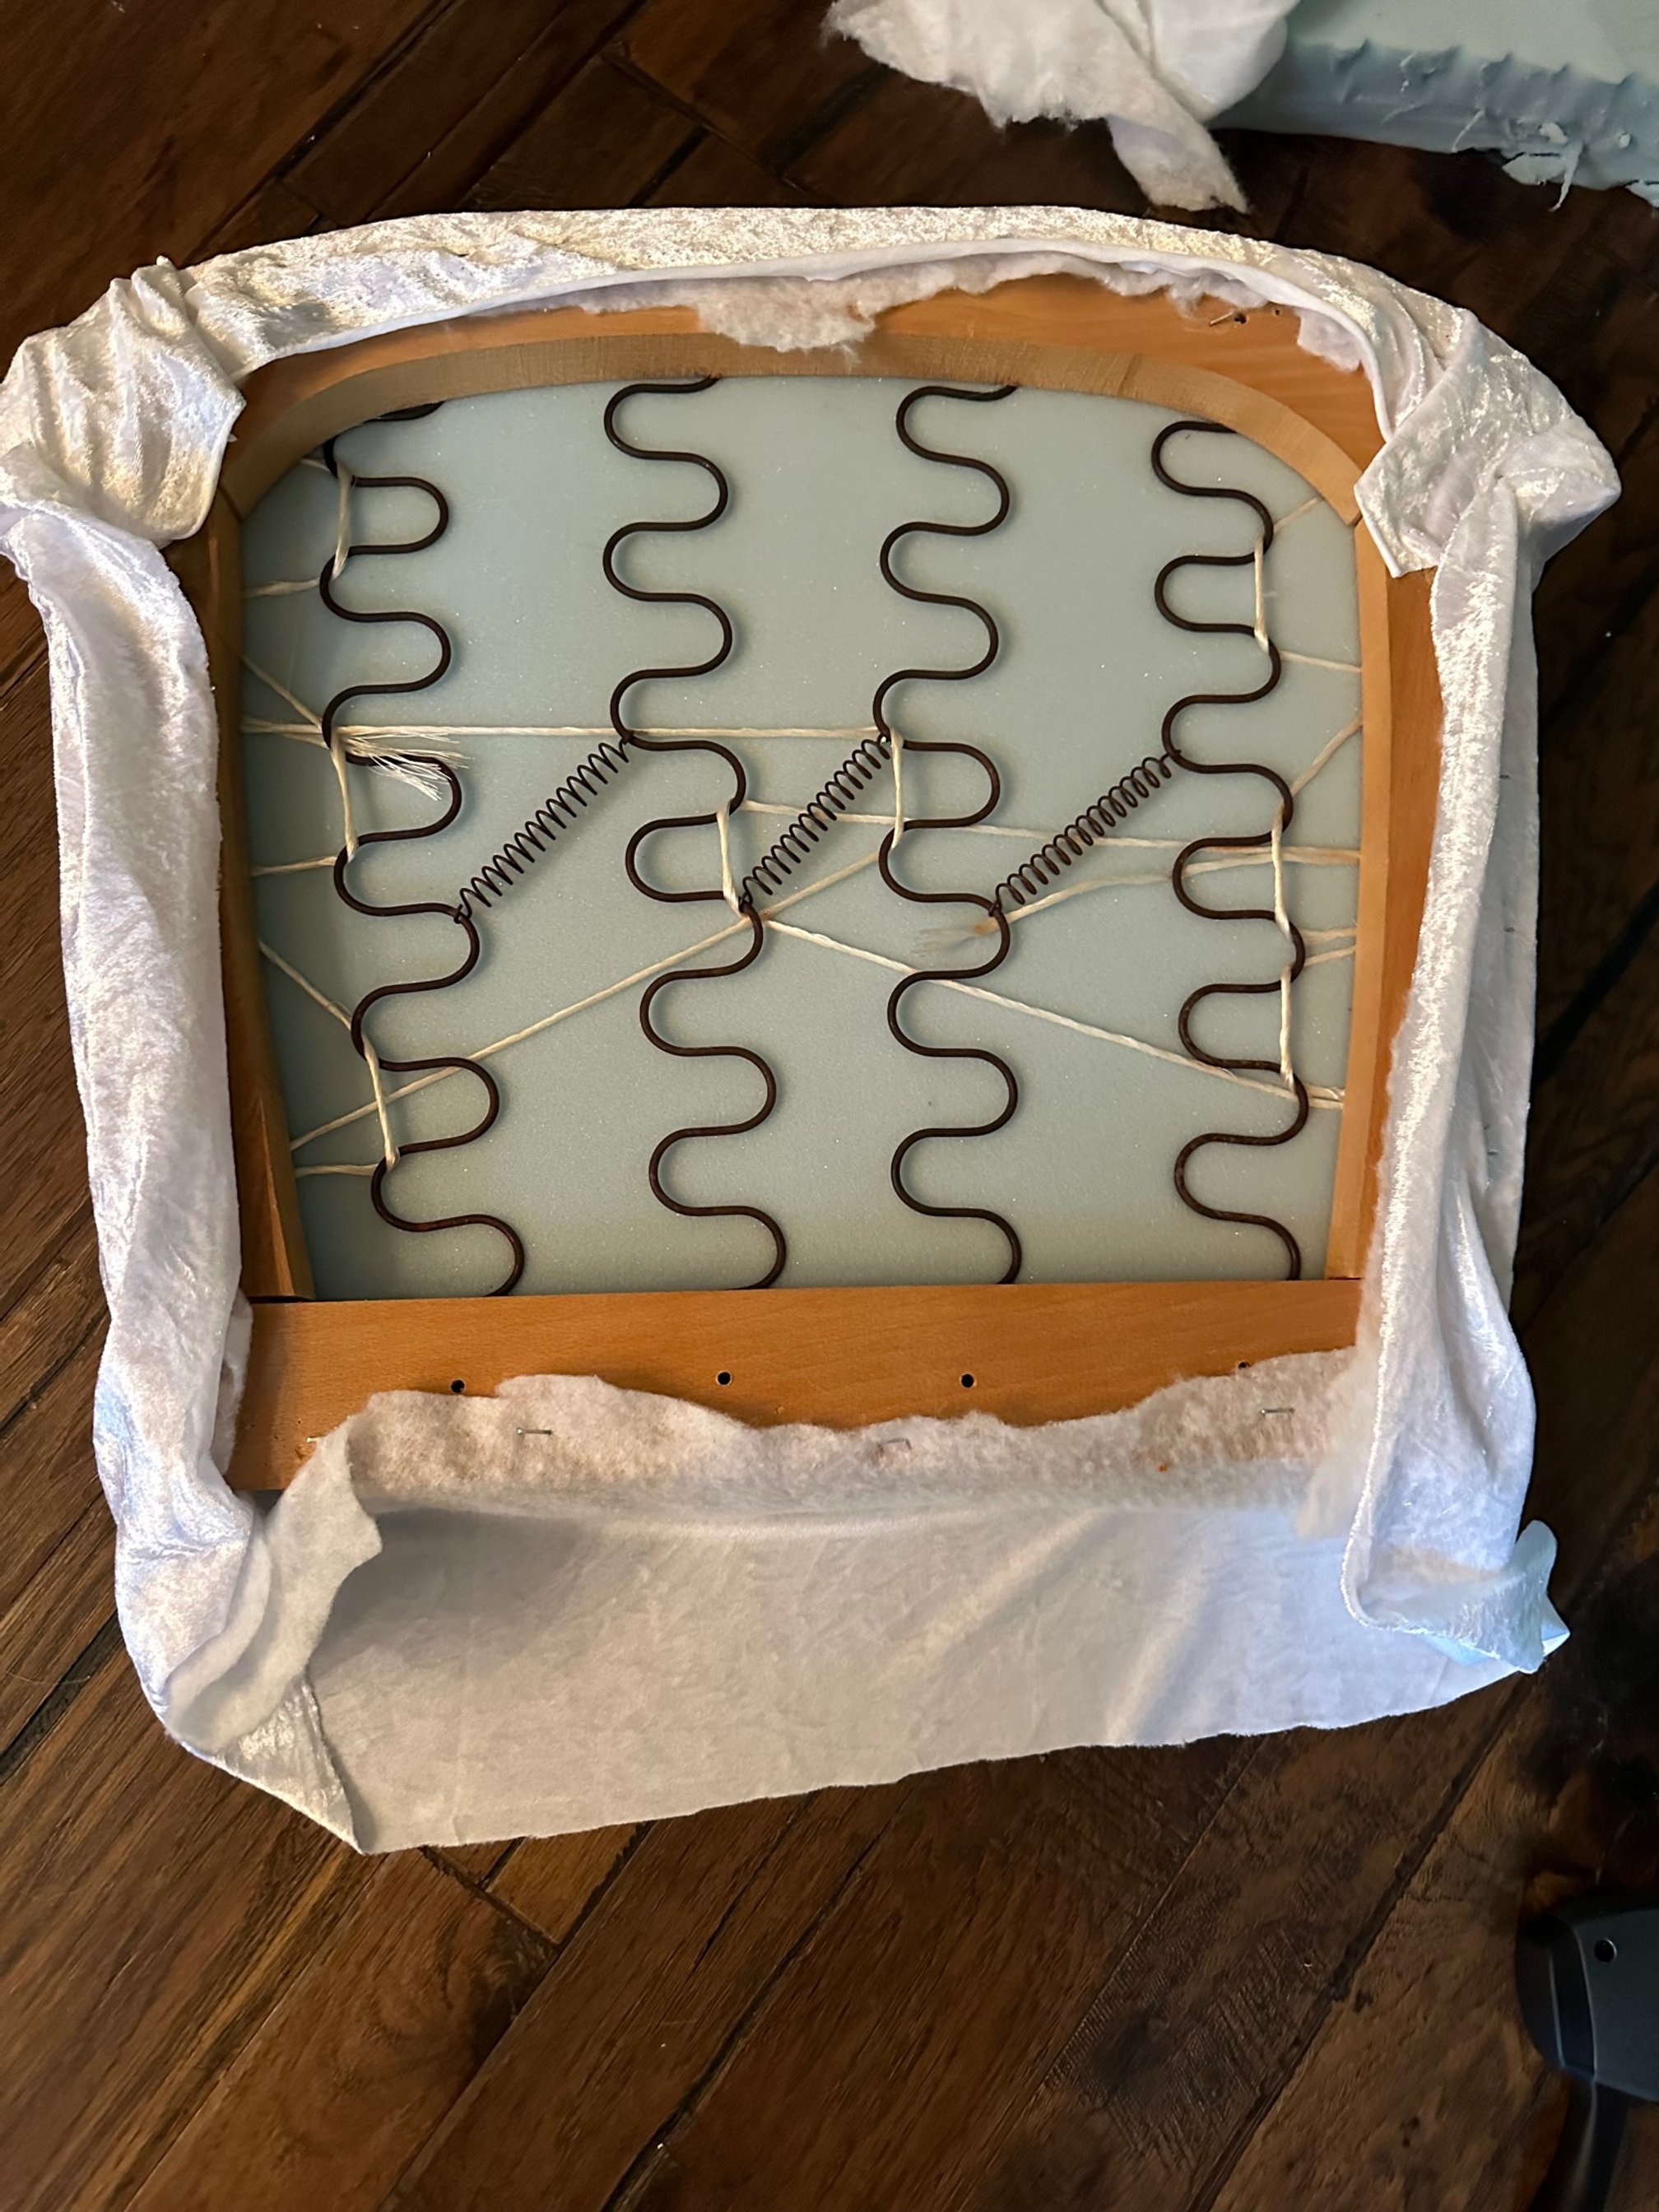
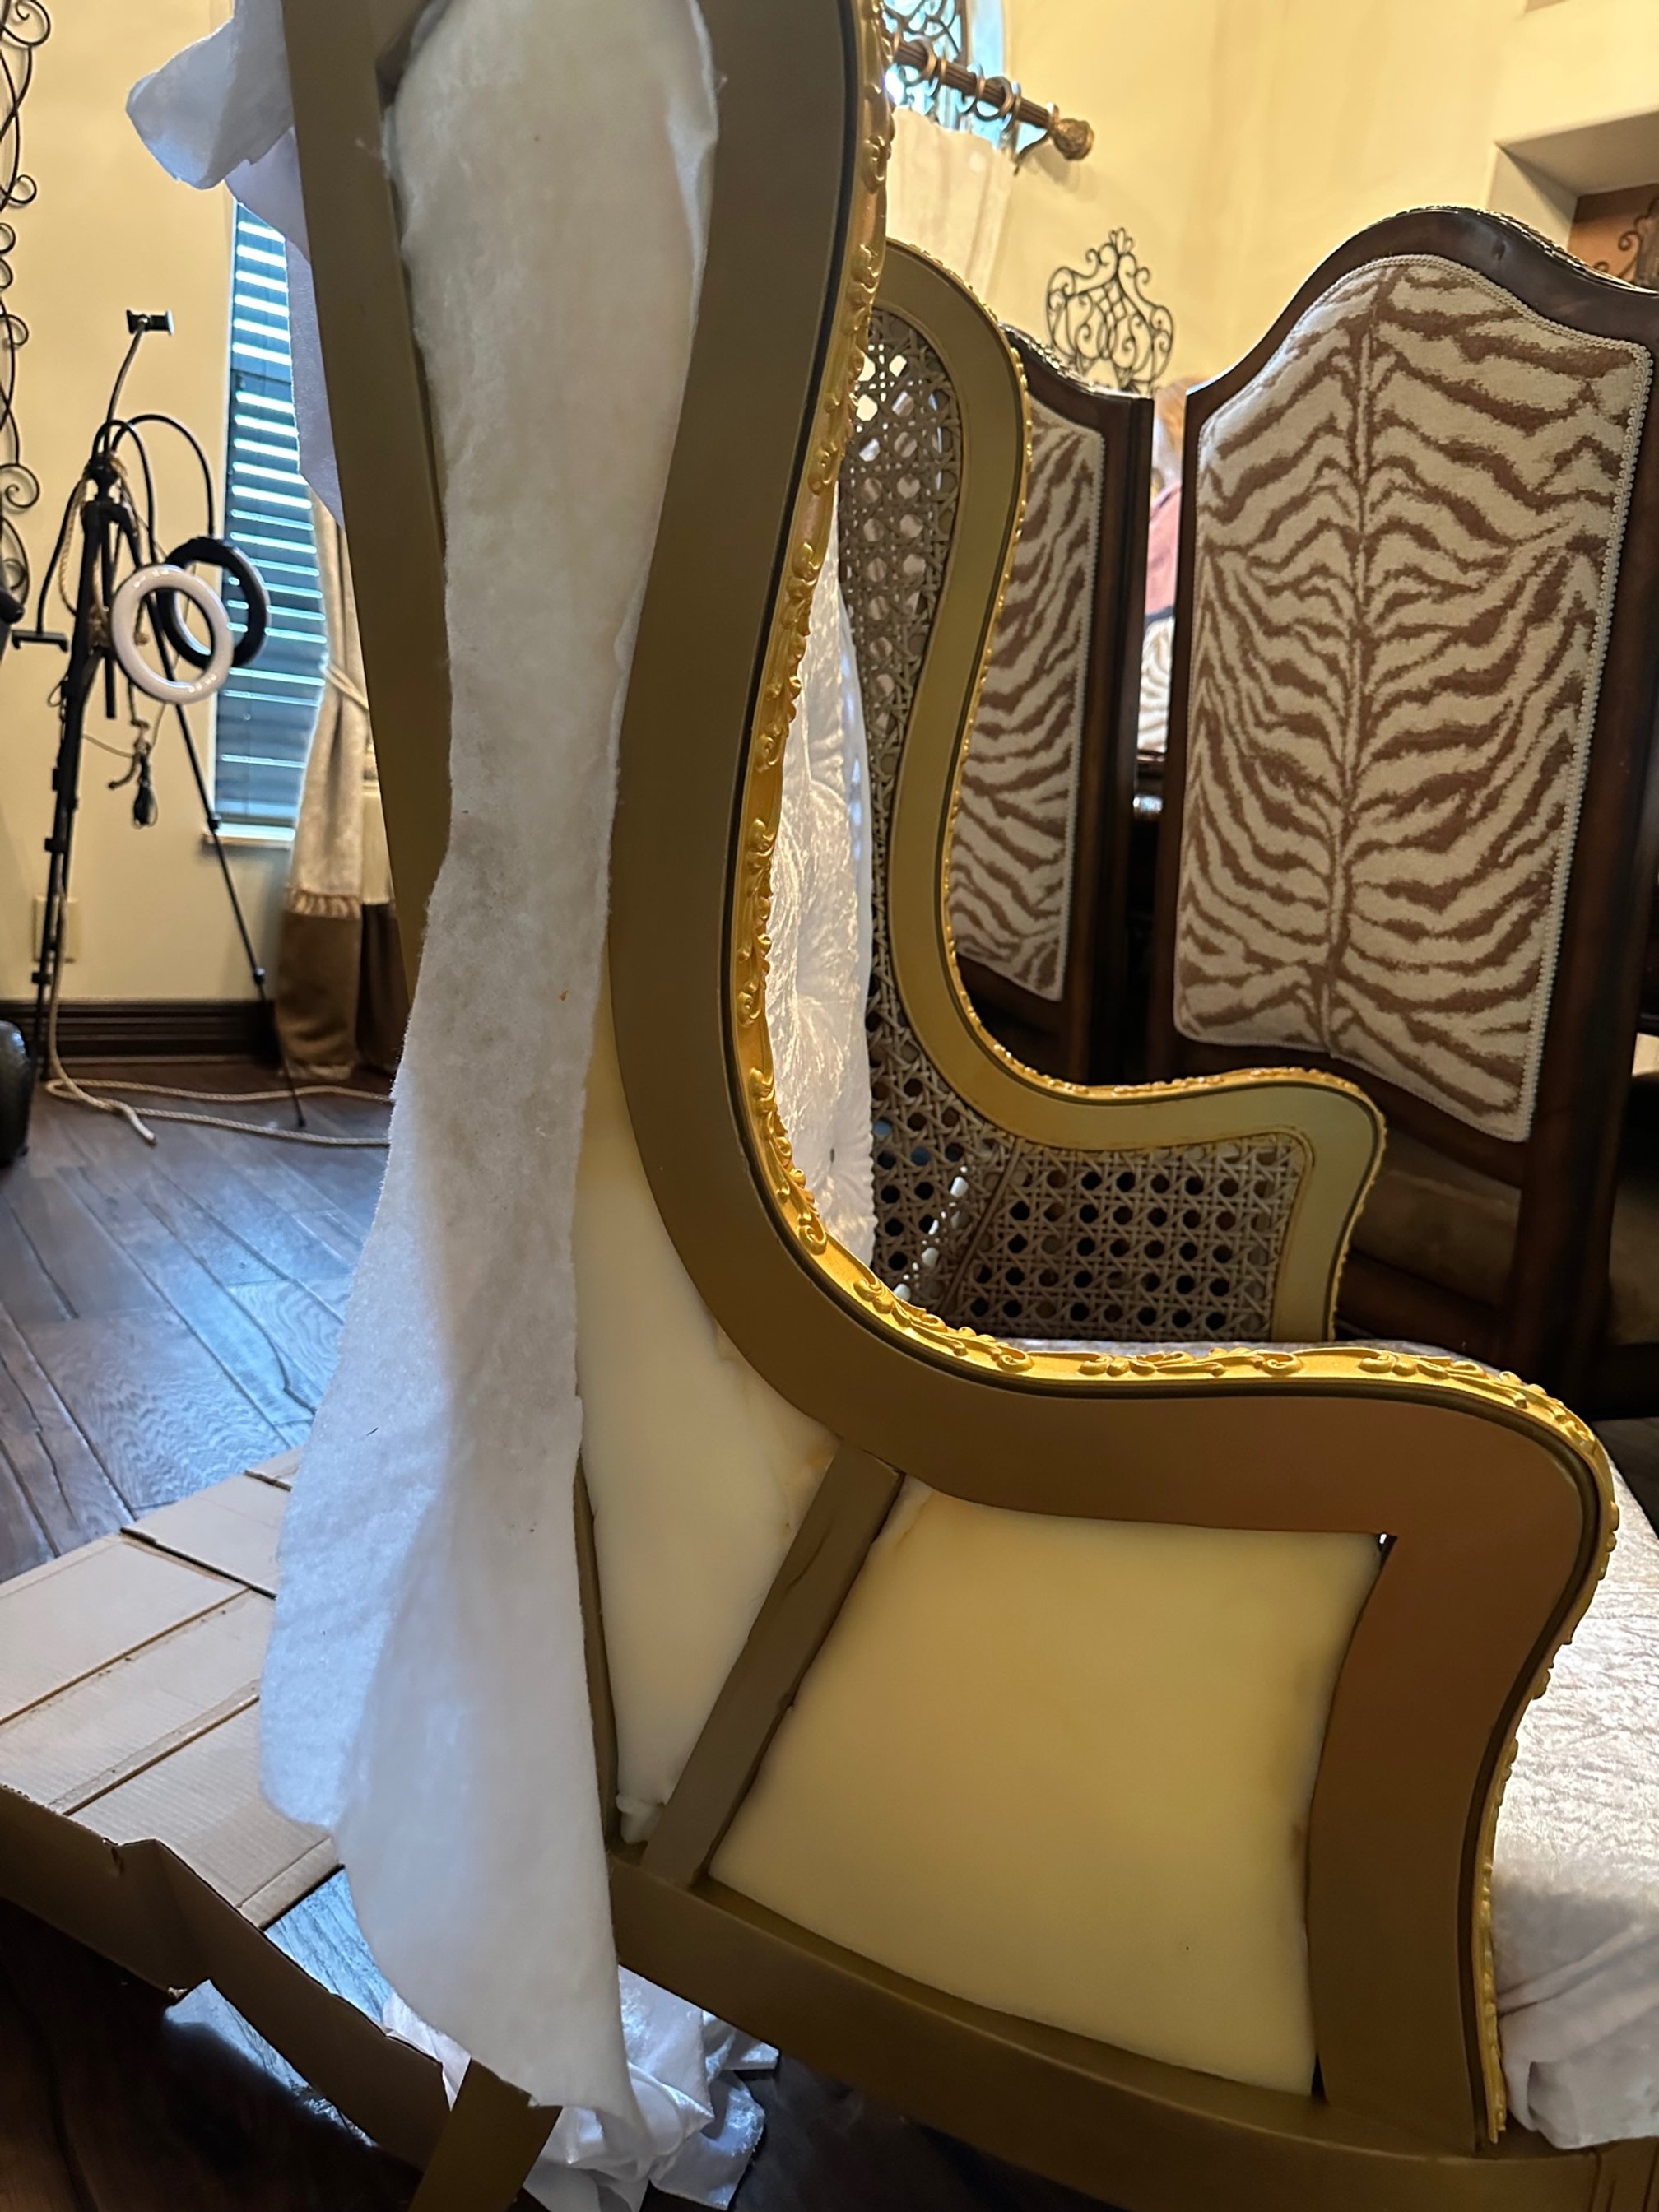
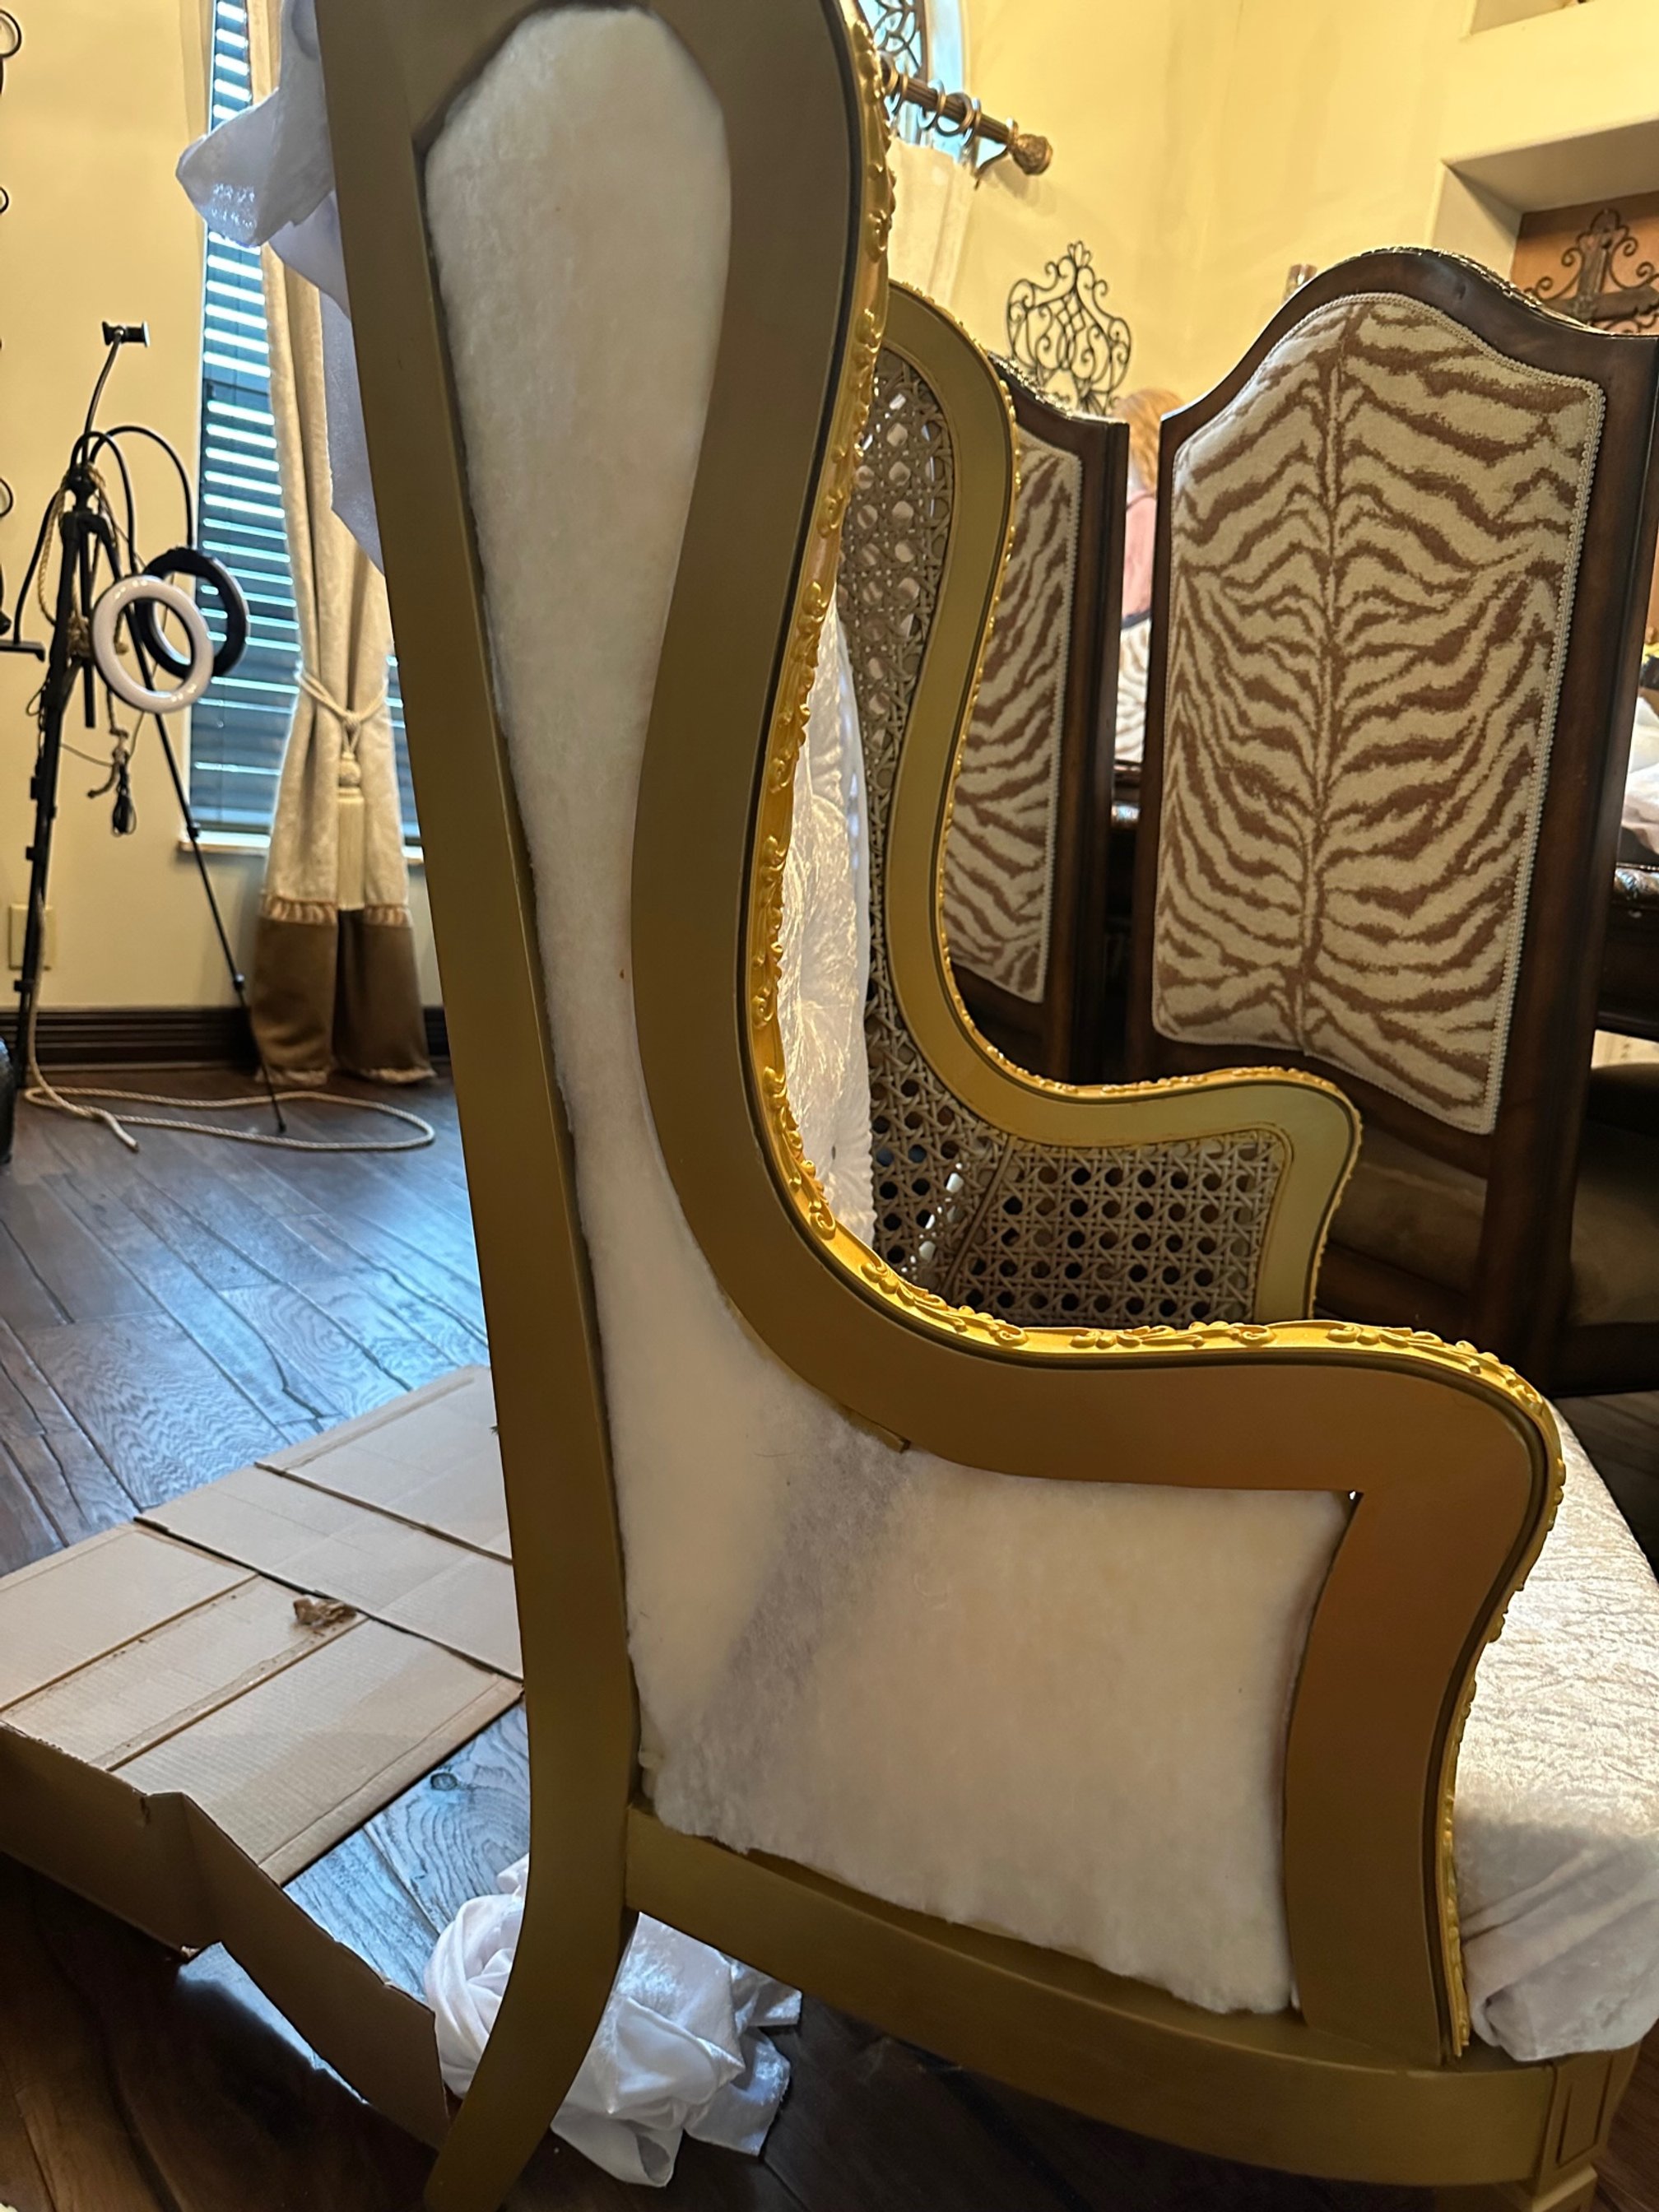
I liked the curves of the chair, it was in good structural shape. The cushions were worn, but I would be recovering them, or so I thought. I forgot to ask if it was smoke free when I inquired about it, which I usually do. It was sitting outside when I went to pick it up so I didn’t think the smell was as bad as it actually was. By the time I got it home, I was half sick from the smoke odor. Decades of smoking in this chair would just never come out of the cushions, so I had to gut it to the bones.
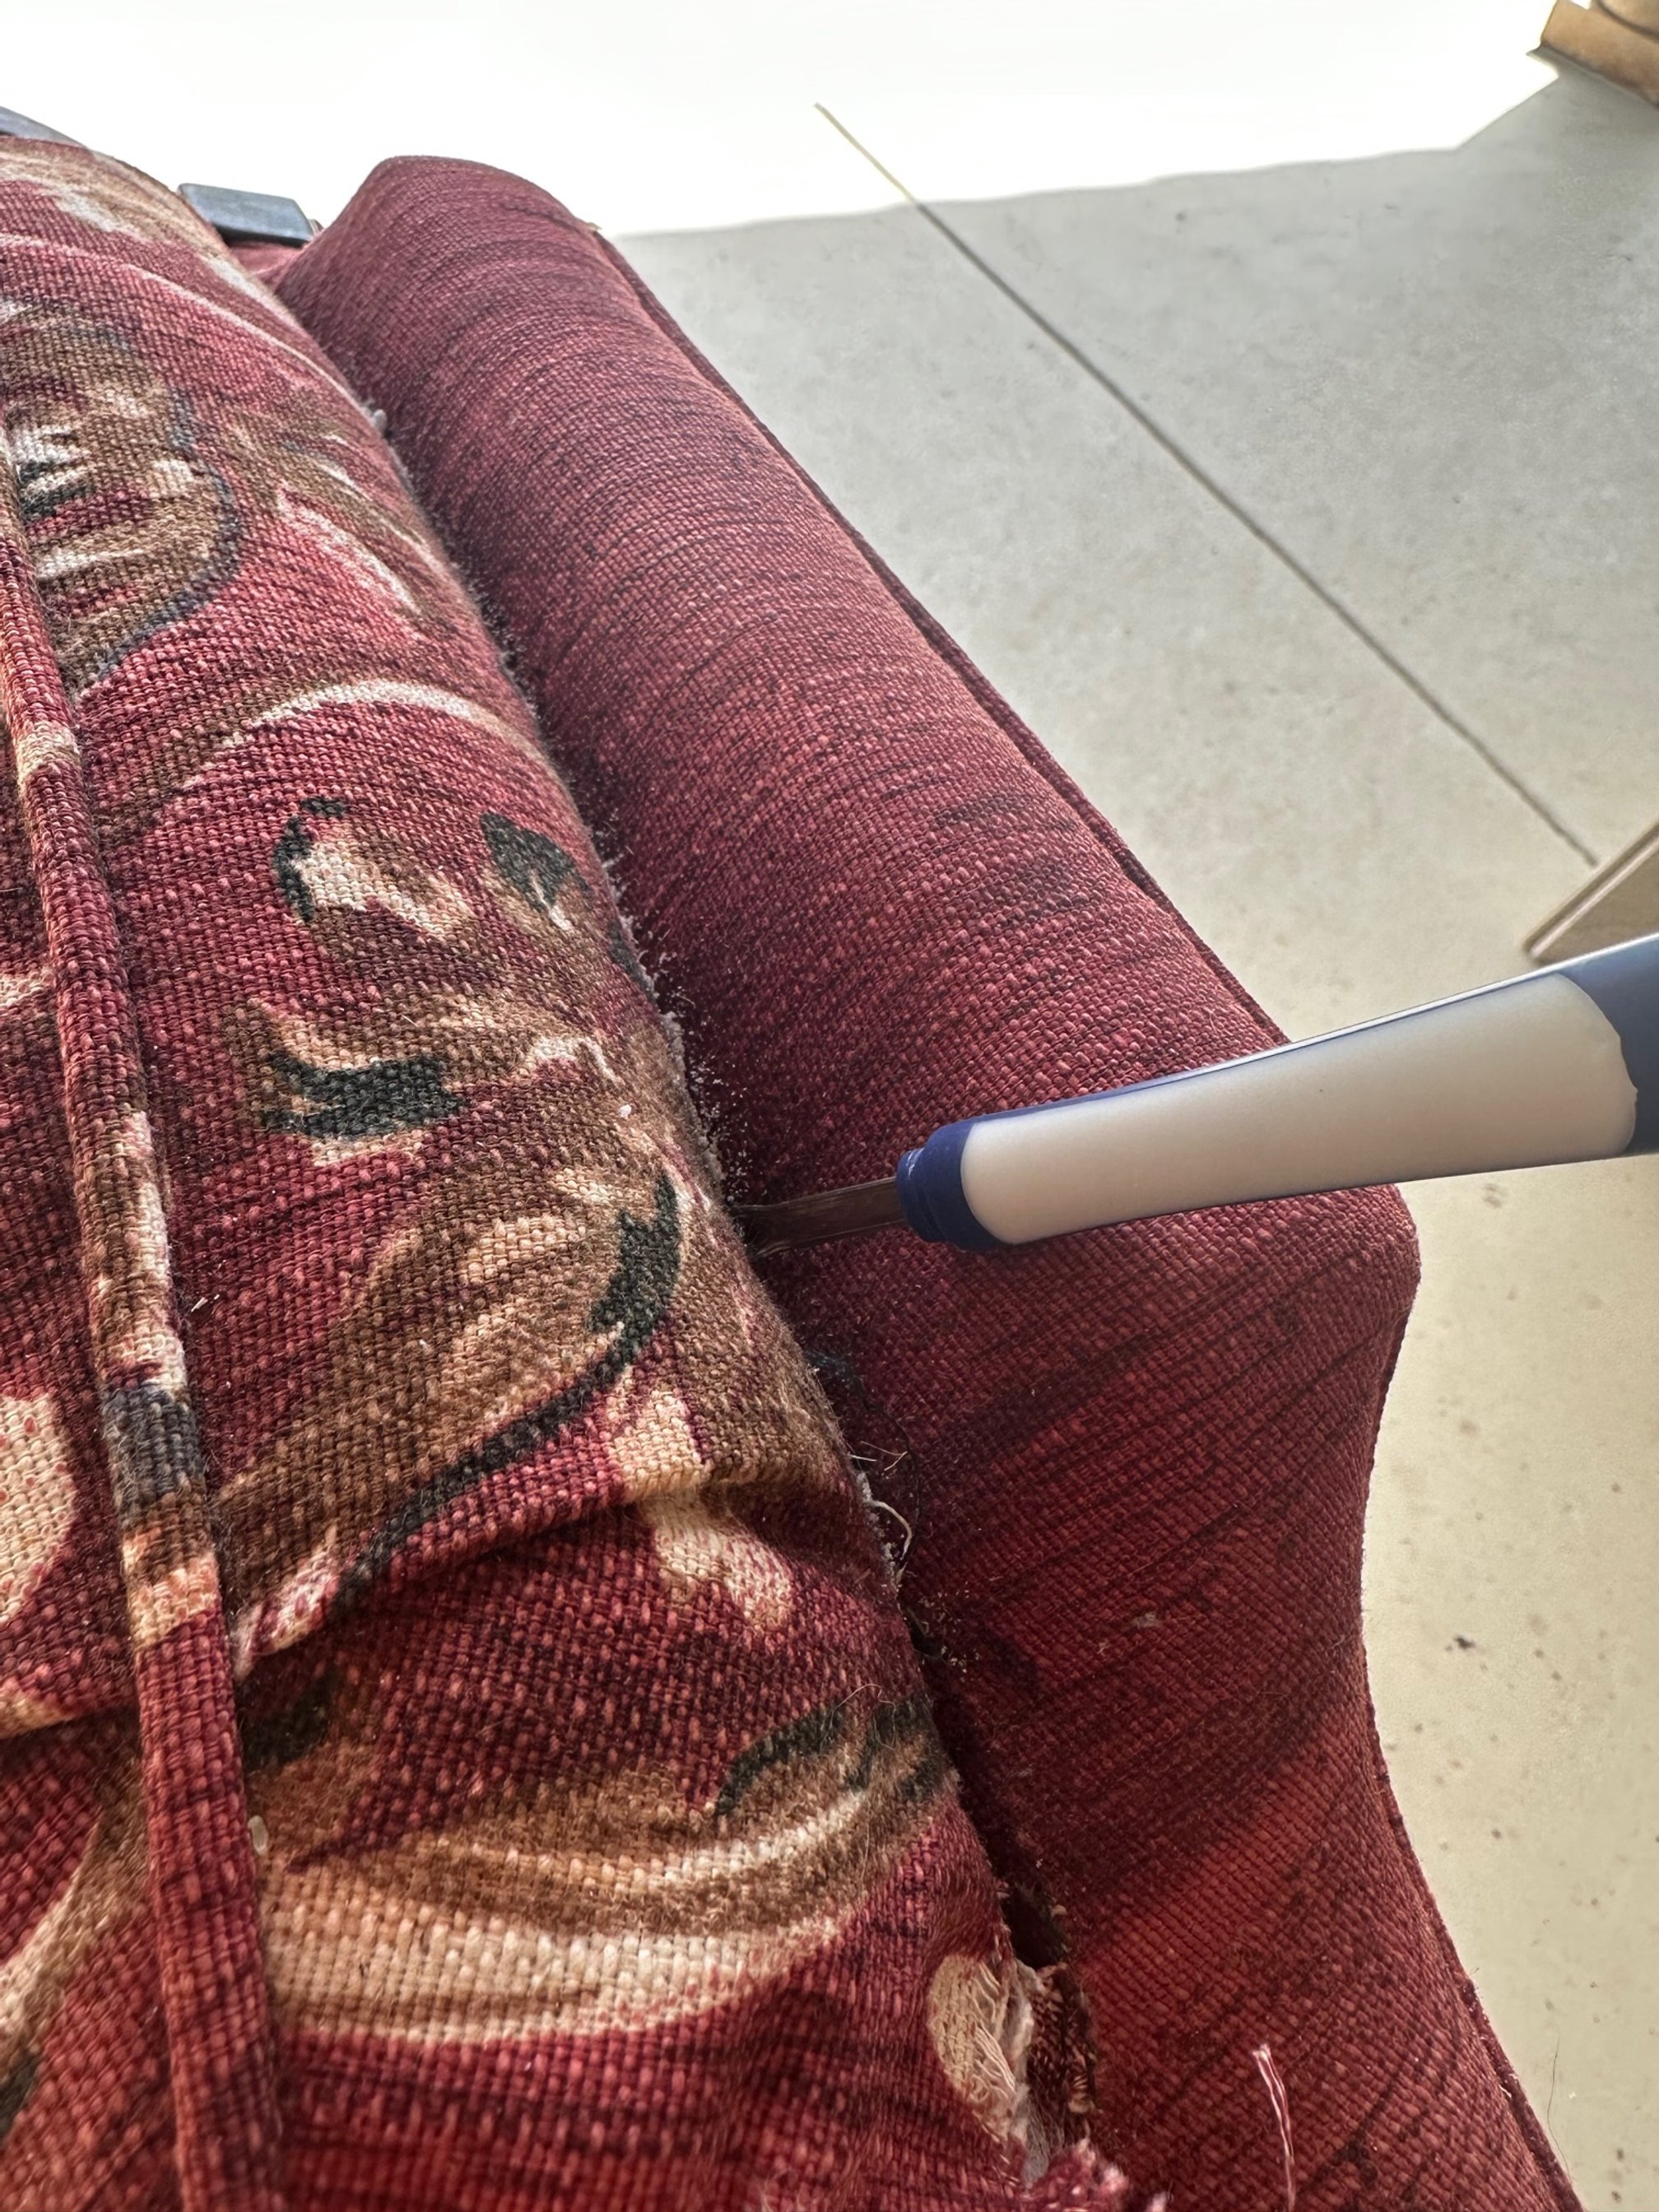
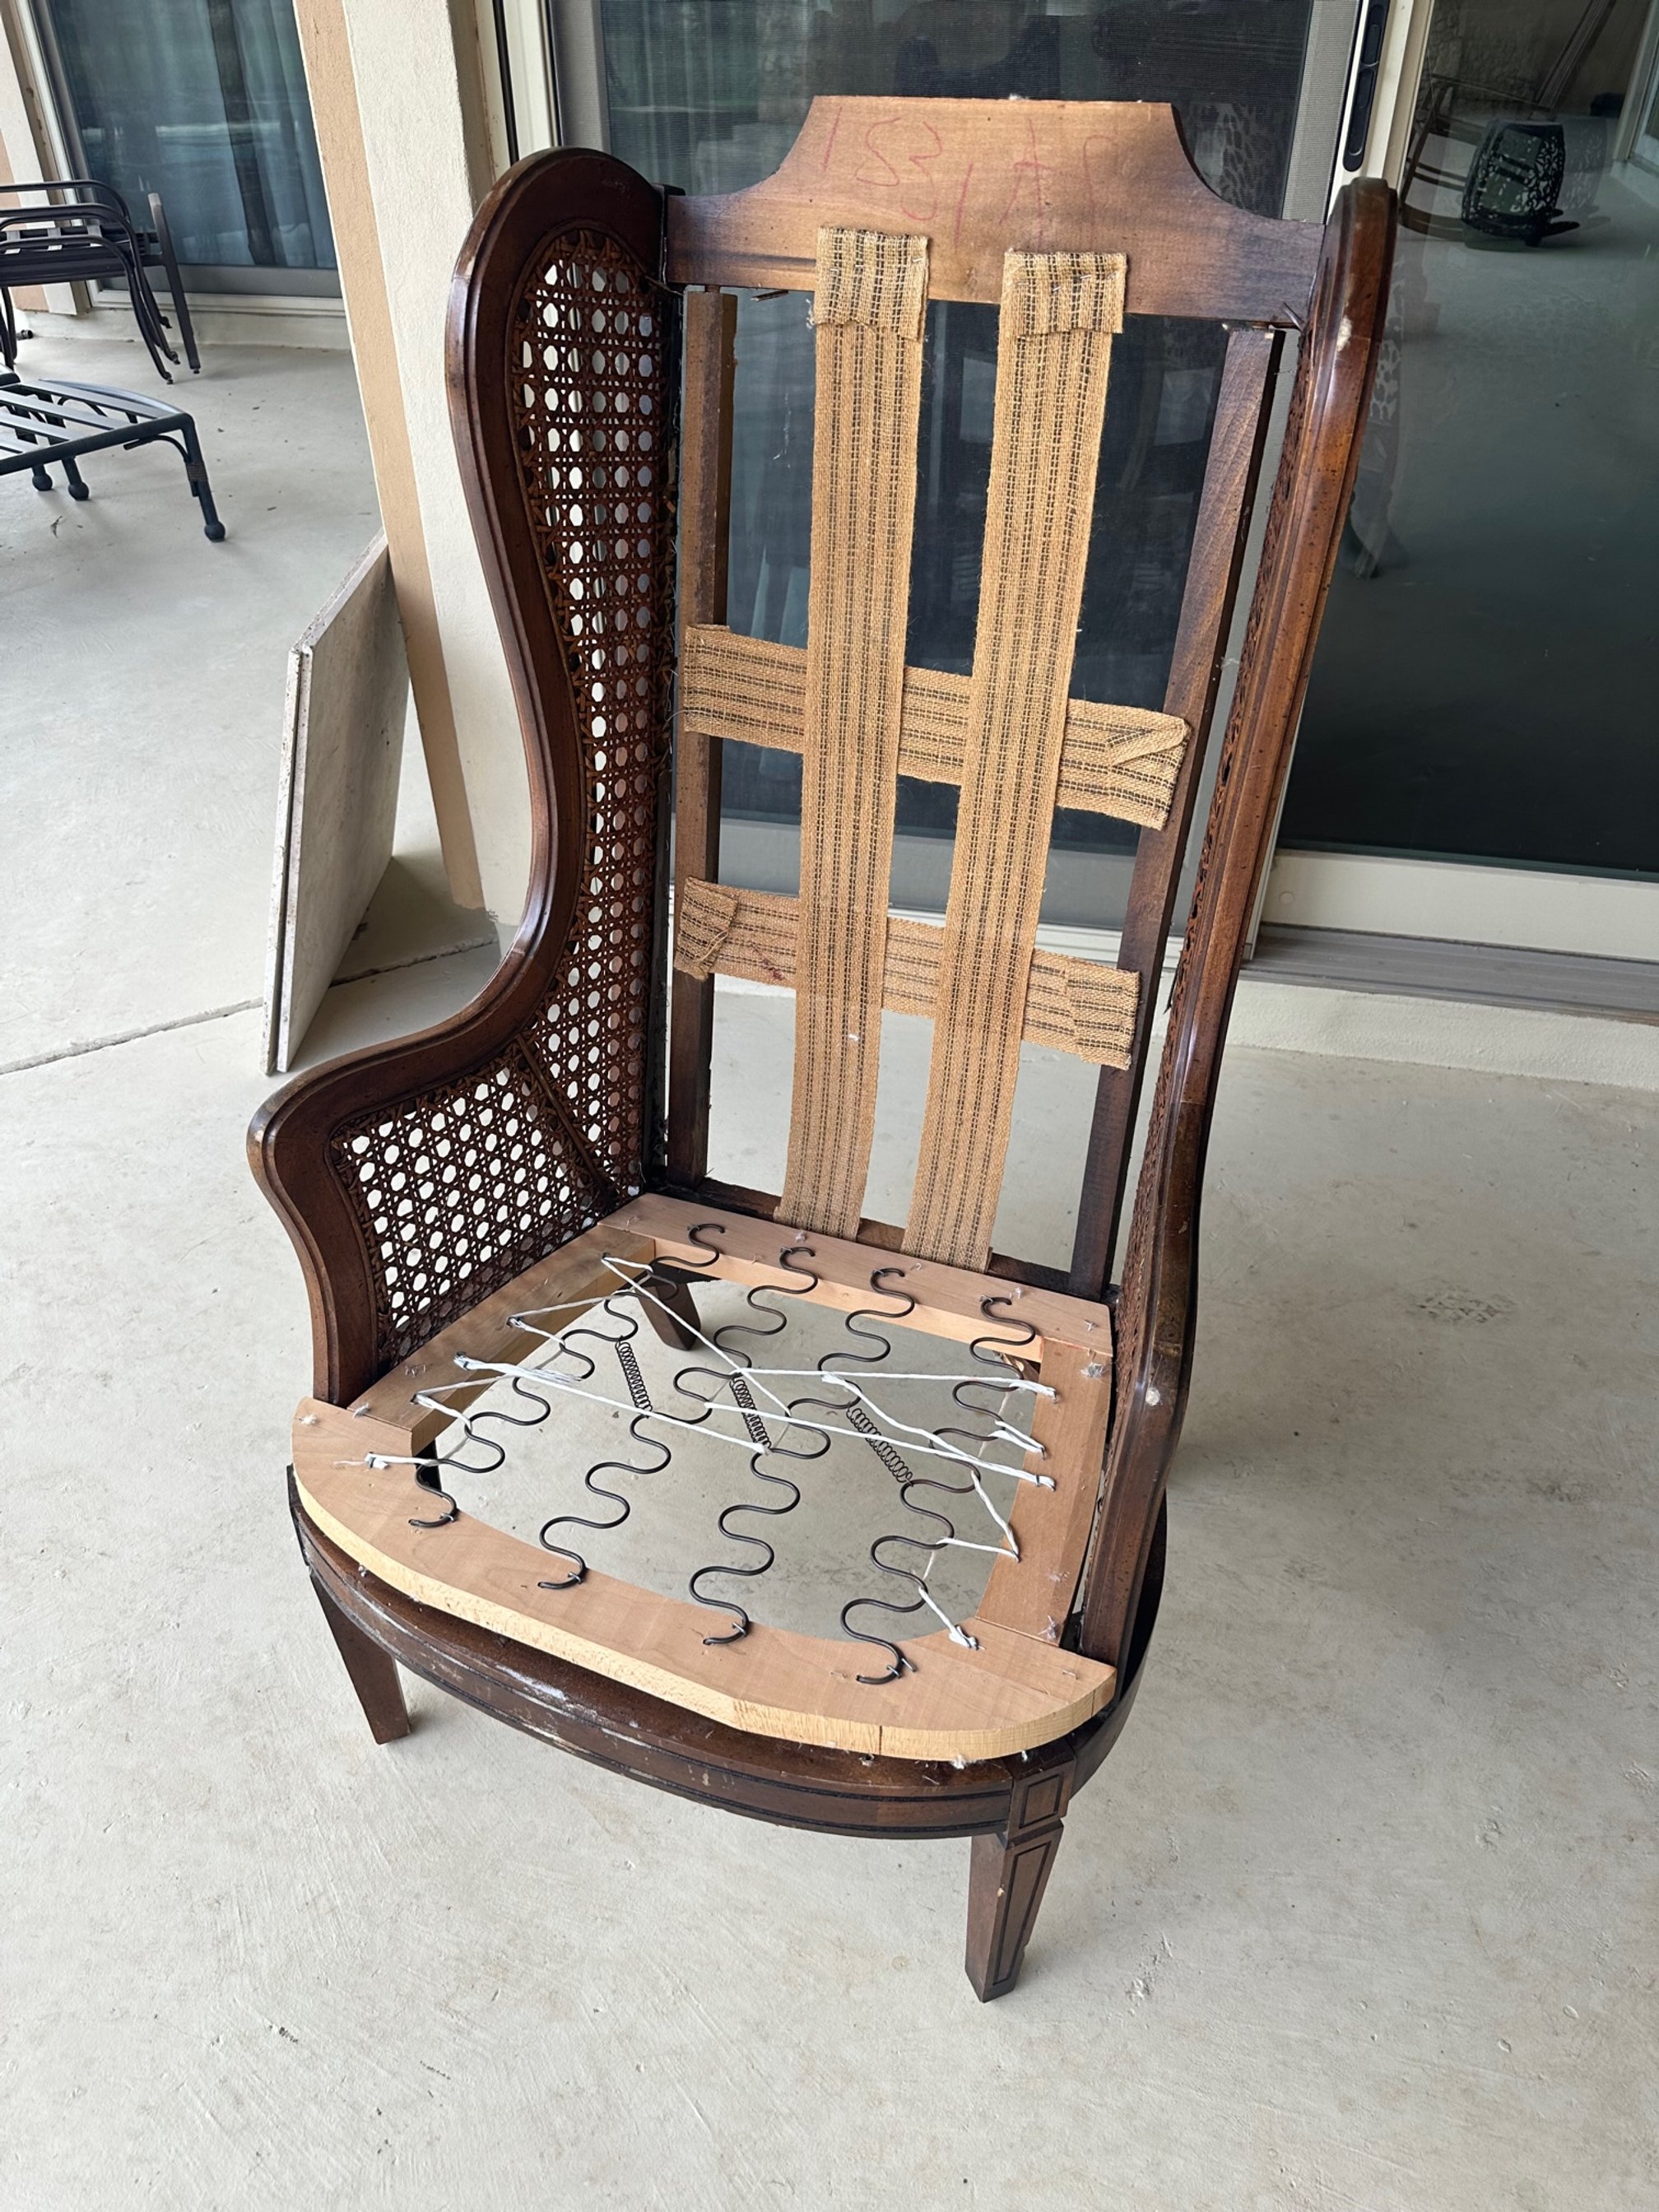
After removing about a thousand staples, letting it sit naked outside for a few days, several cleanings, and sanding it was finally smoke free! I was already 3 days in to a project that should have only taken 2 days total.
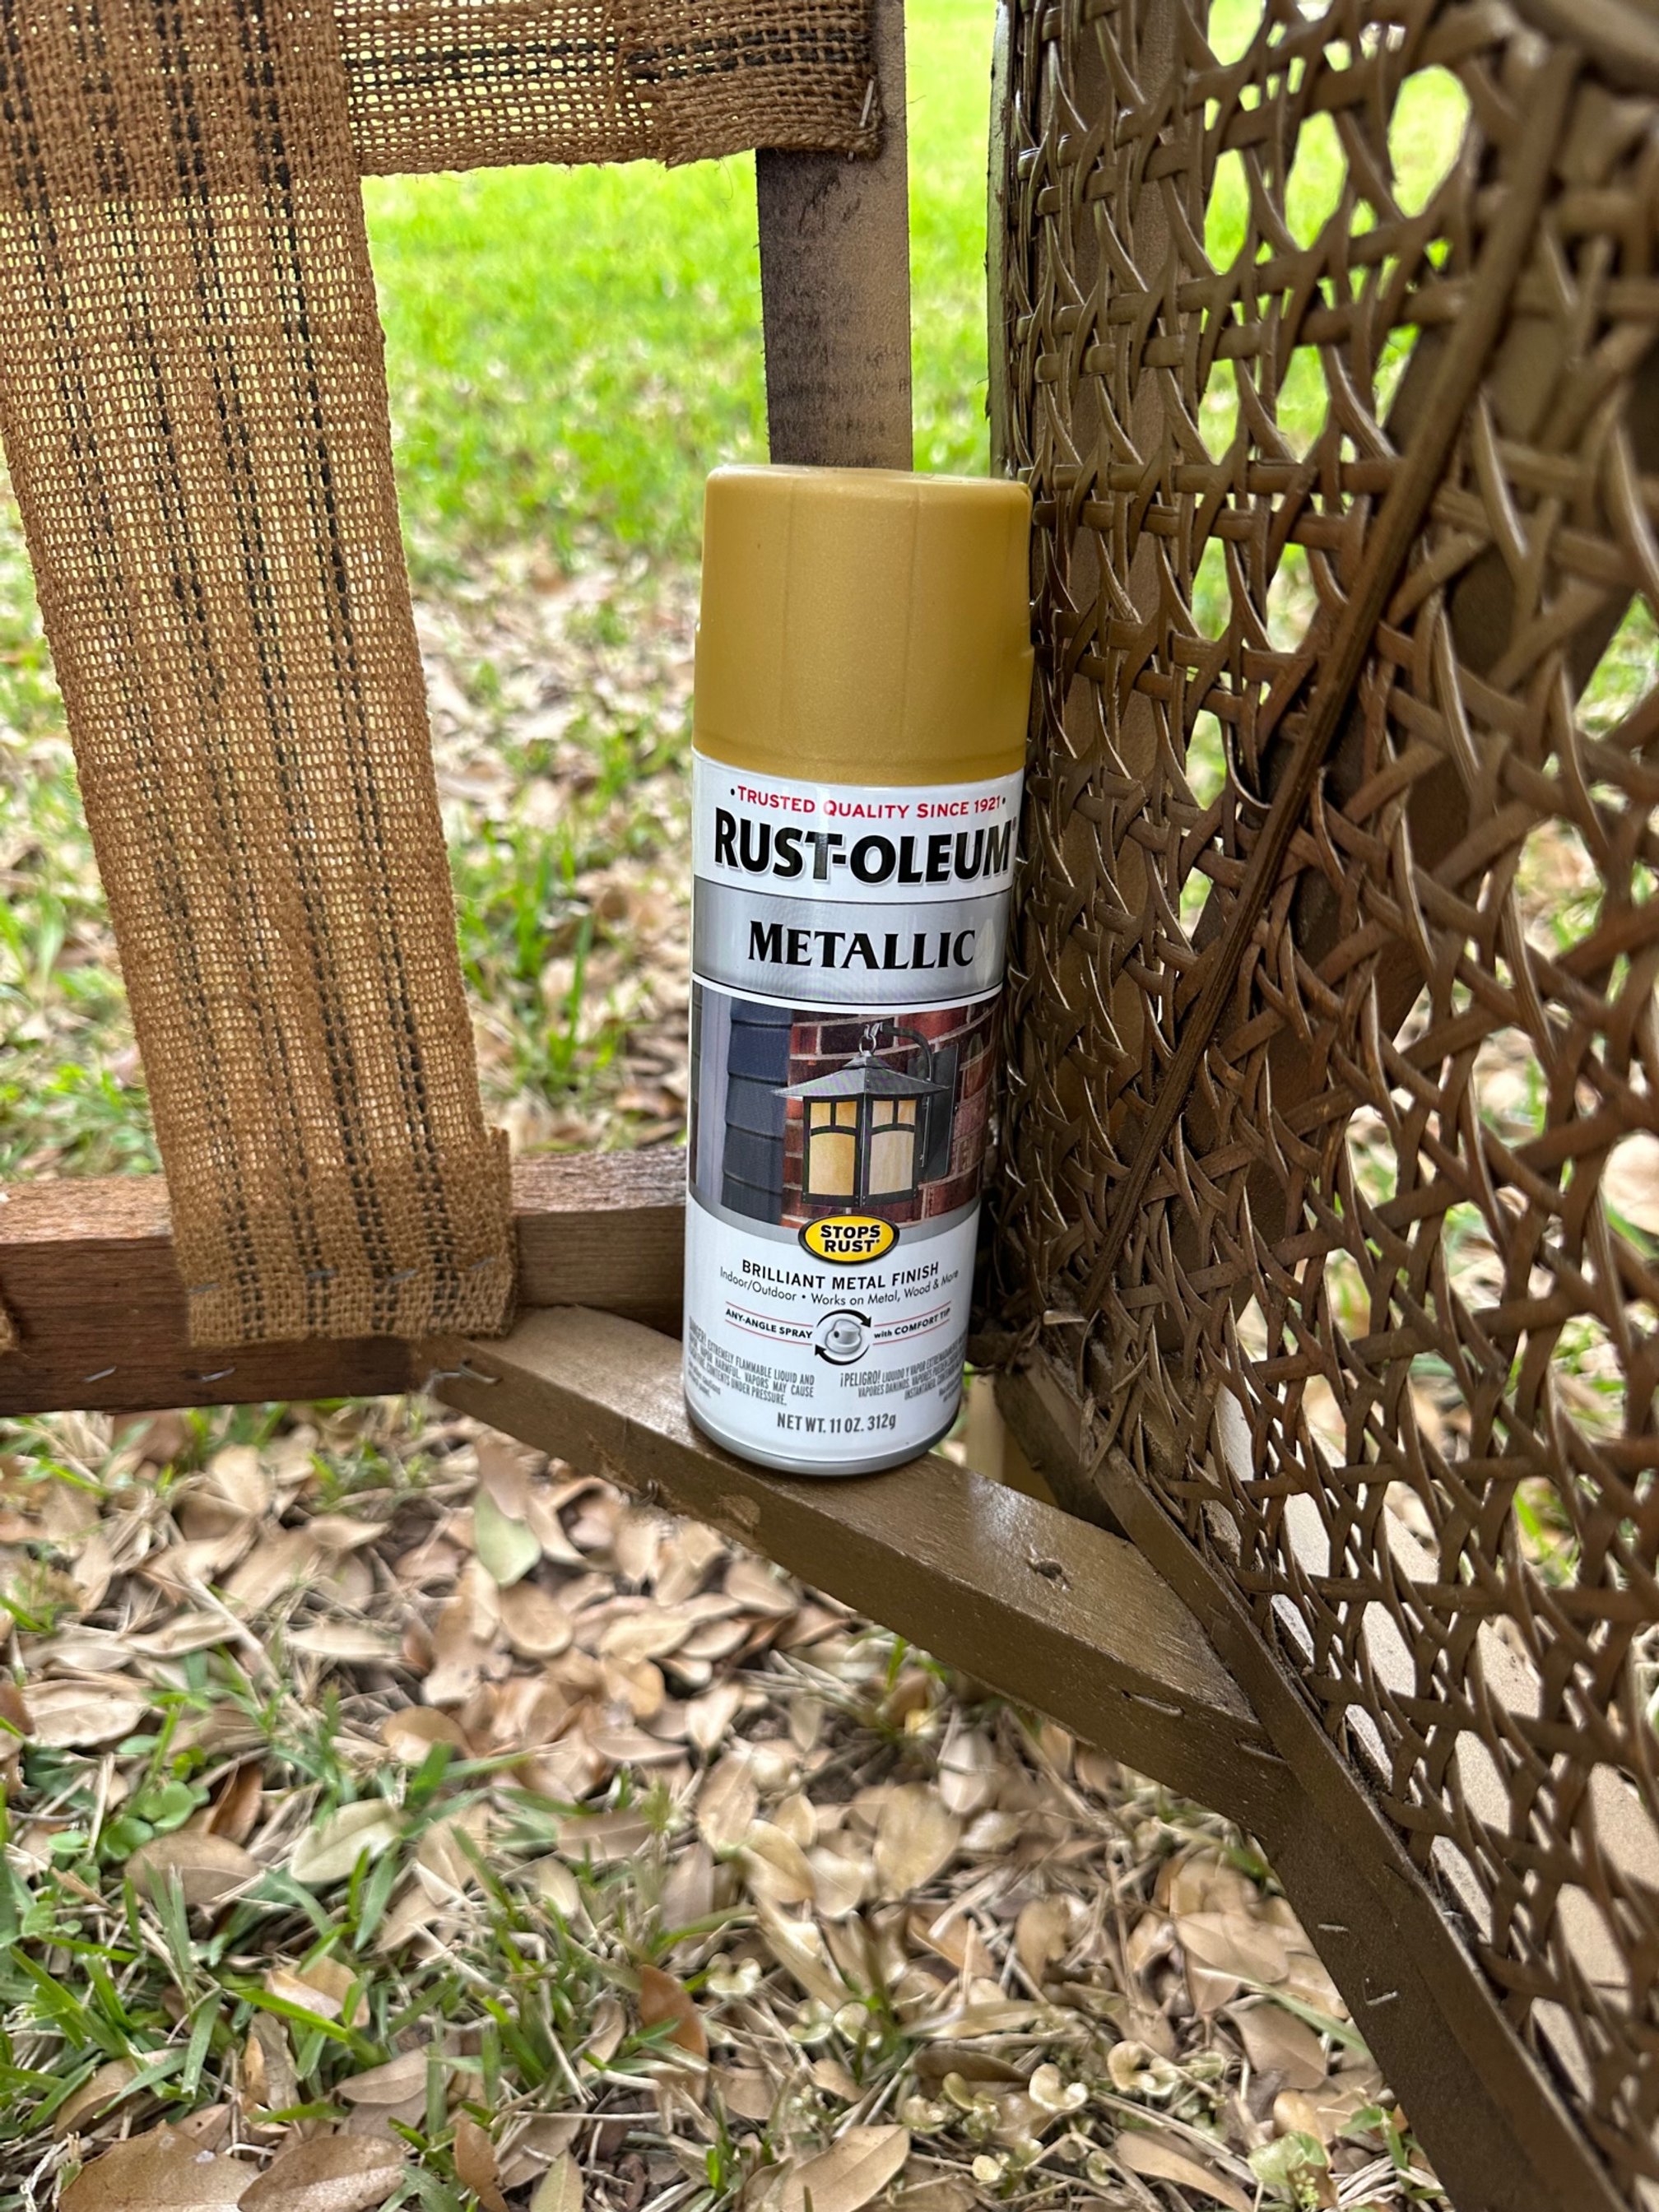
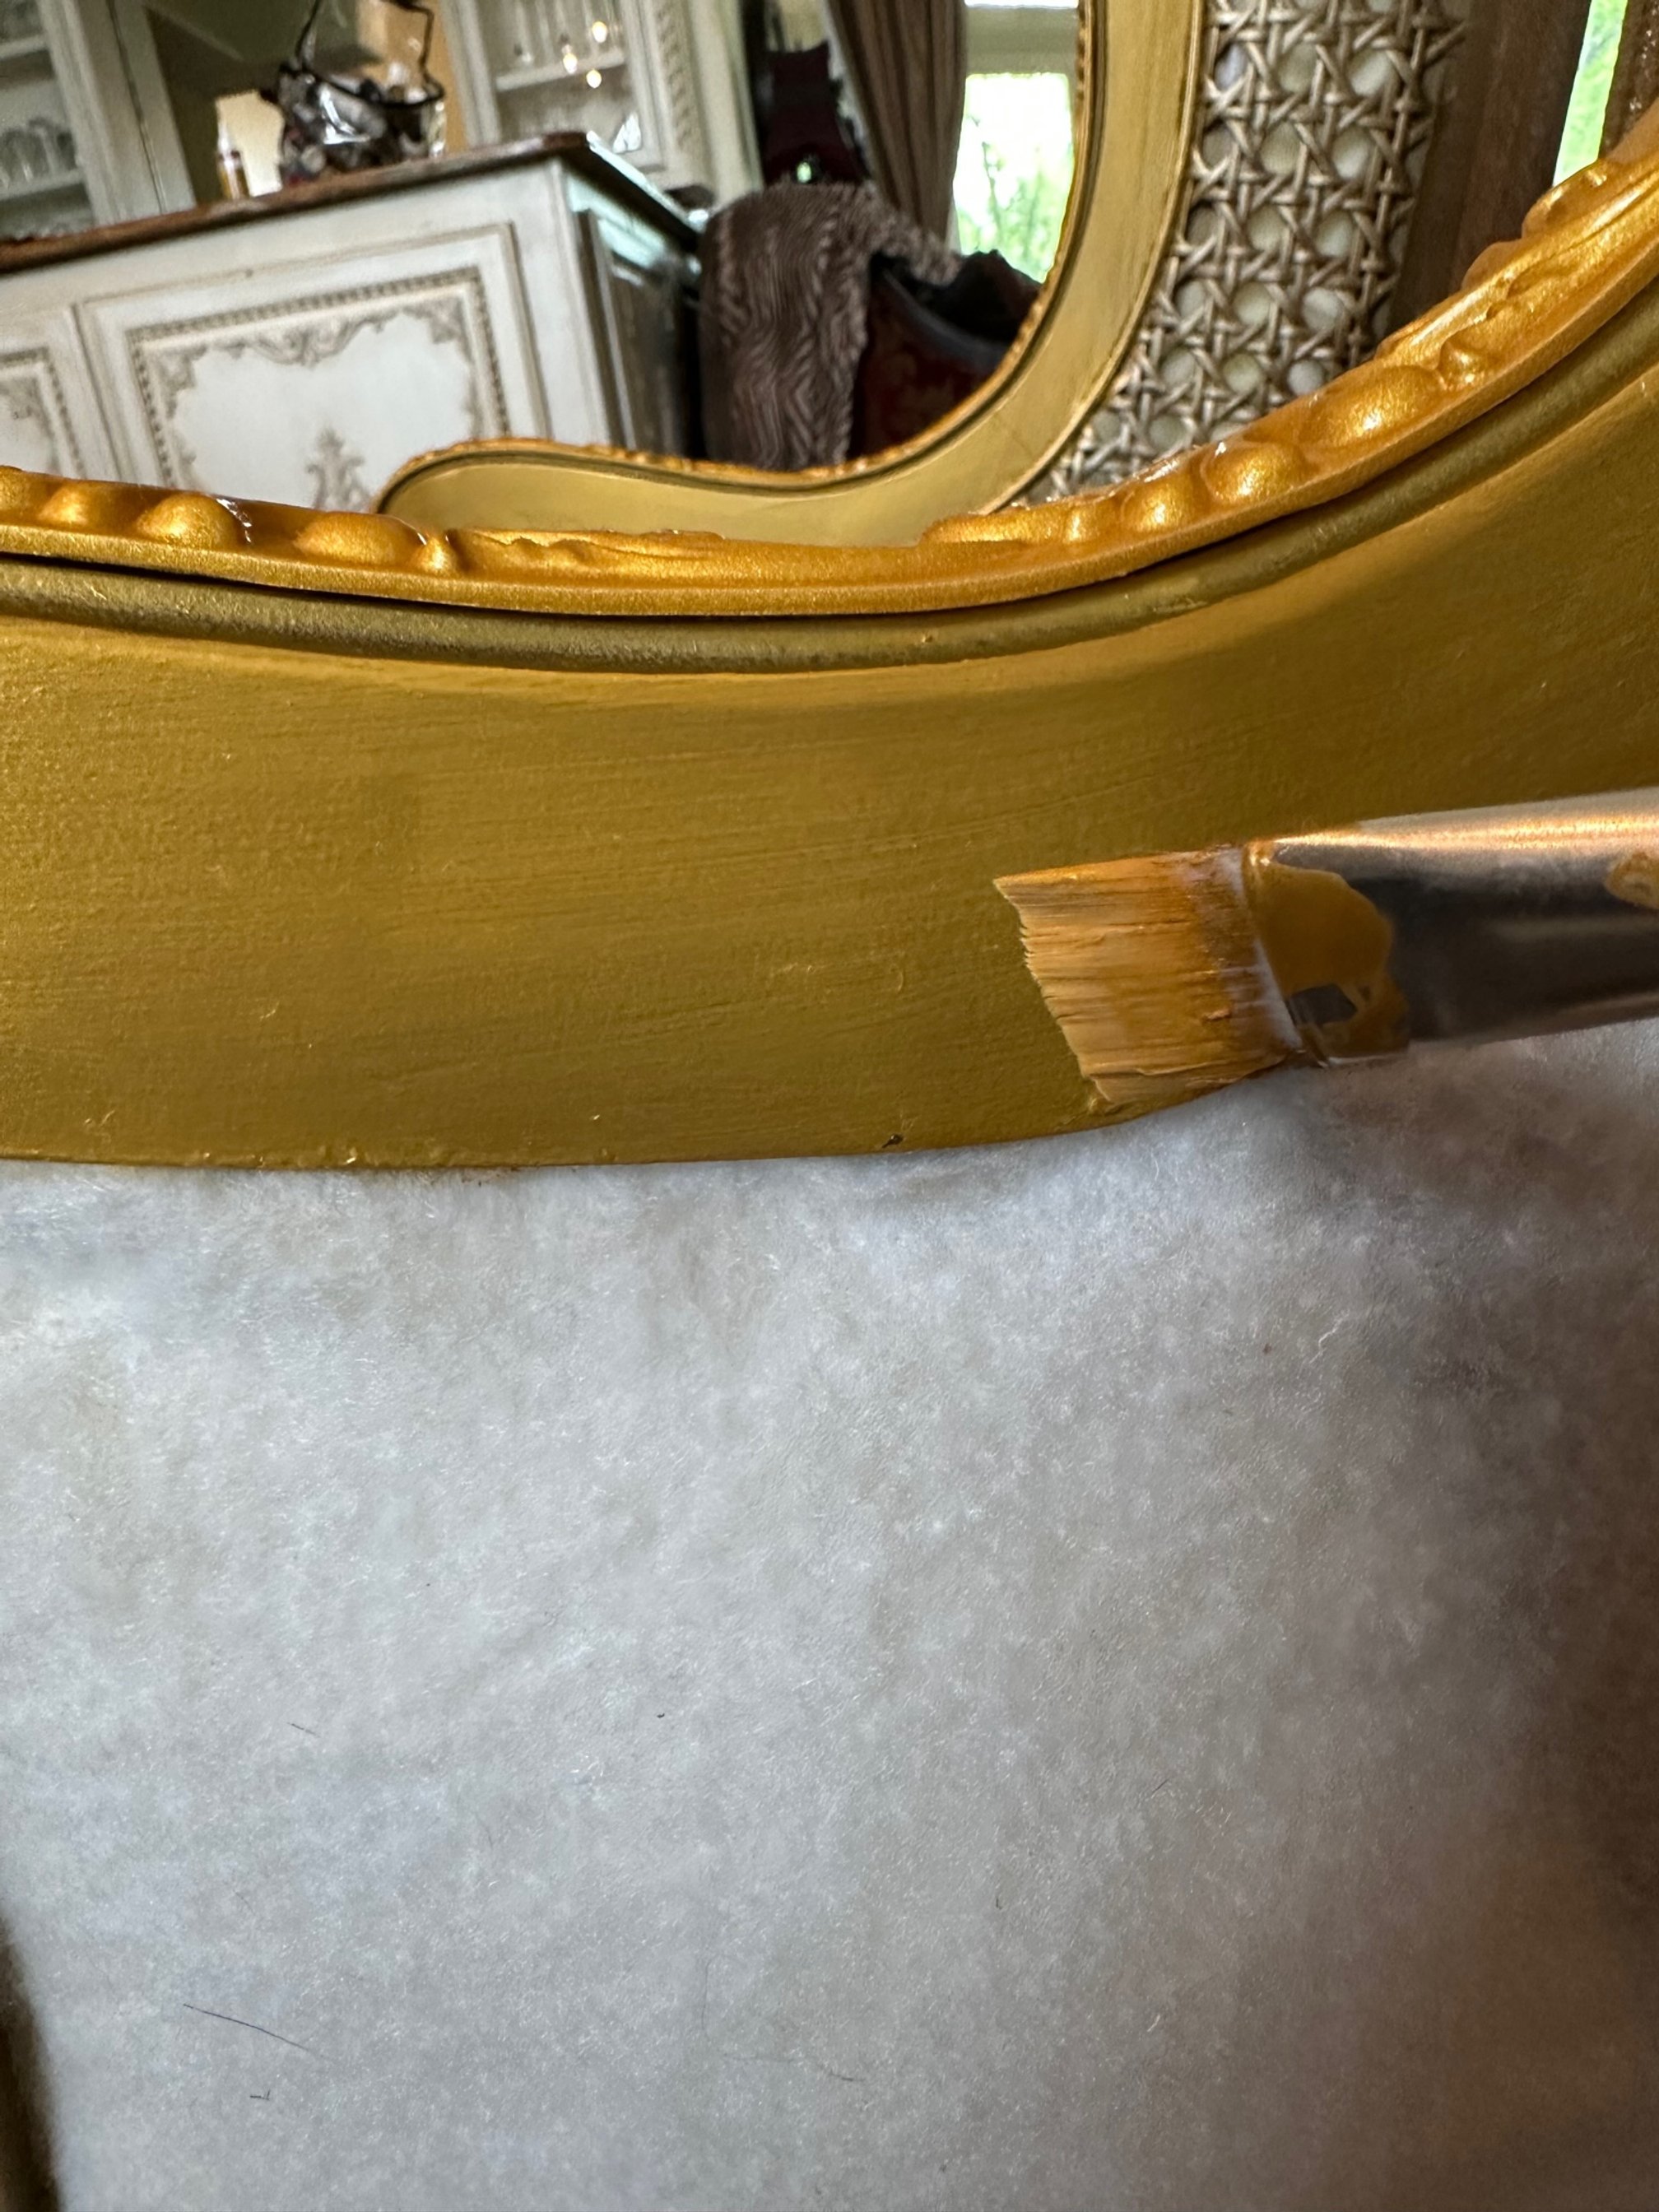
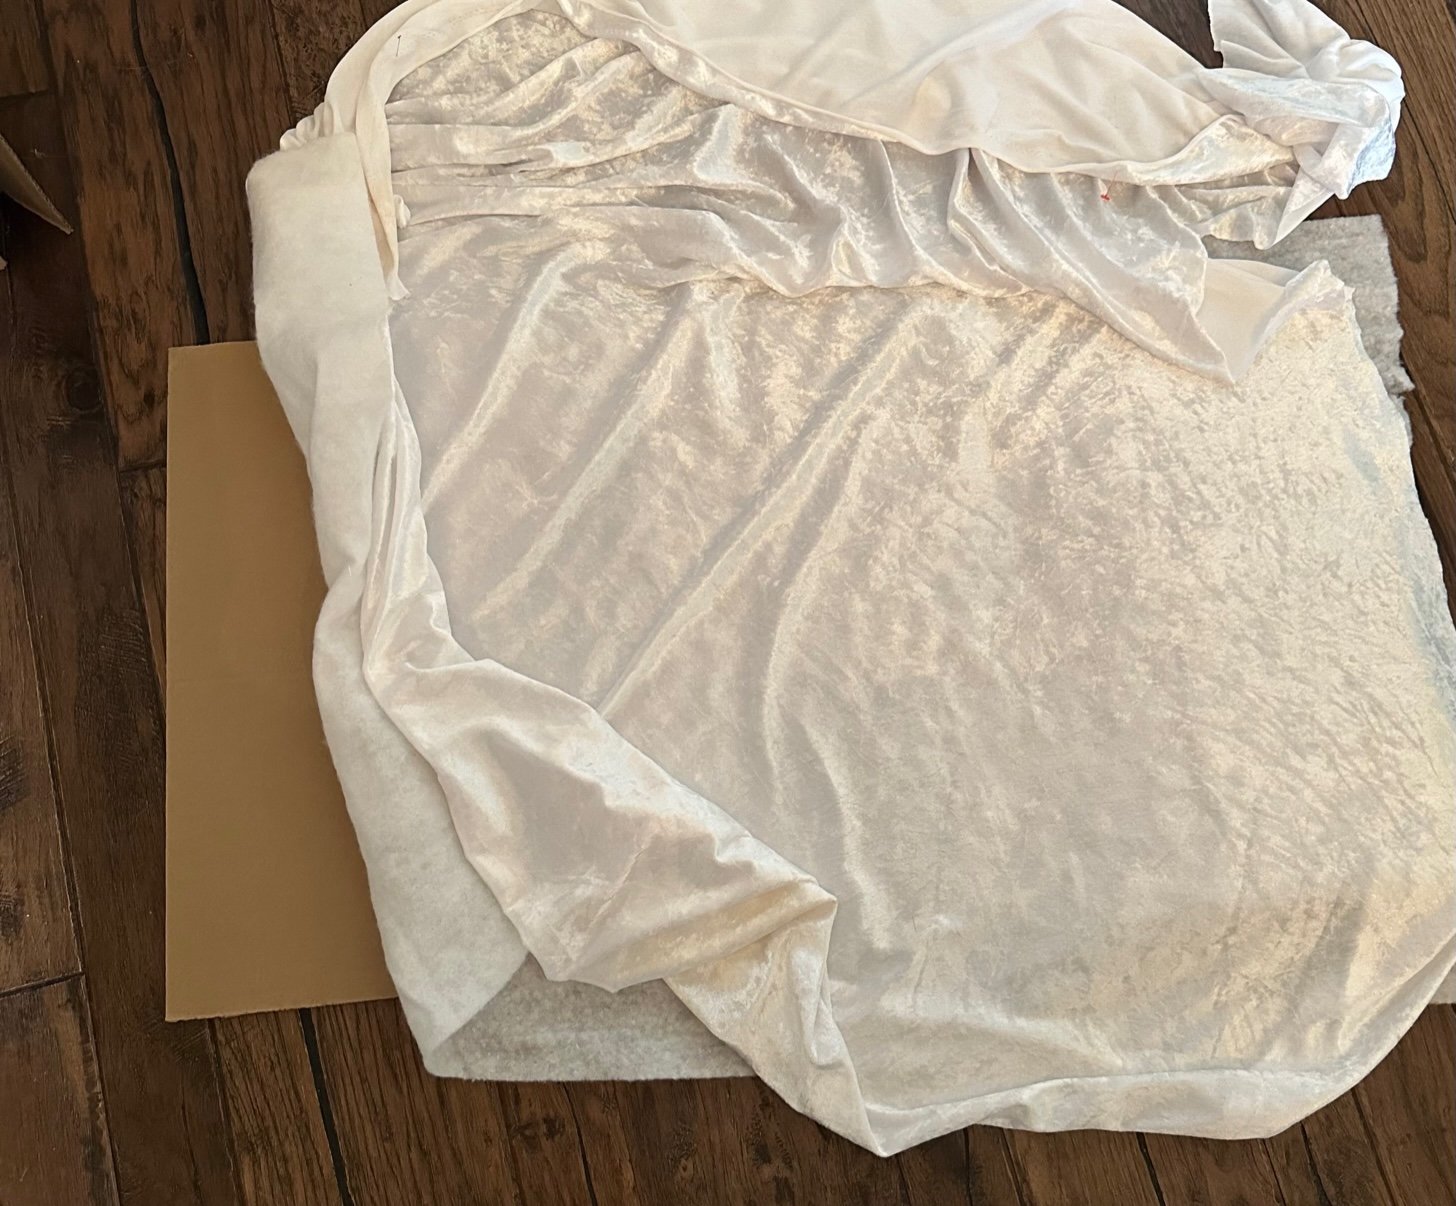
The hits kept coming when the spray paint color of the lid did not come close to matching the actual color in the can. Most of the chair would be covered with fabric, so I decided to mix the paint myself to match the flexible gold trim I had ordered from Amazon. I did however get a great deal on the 2.25 yards of fabric. When she went to cut it, she noticed there was a stain on the side of it so Hobby Lobby gave me the whole thing for $2!
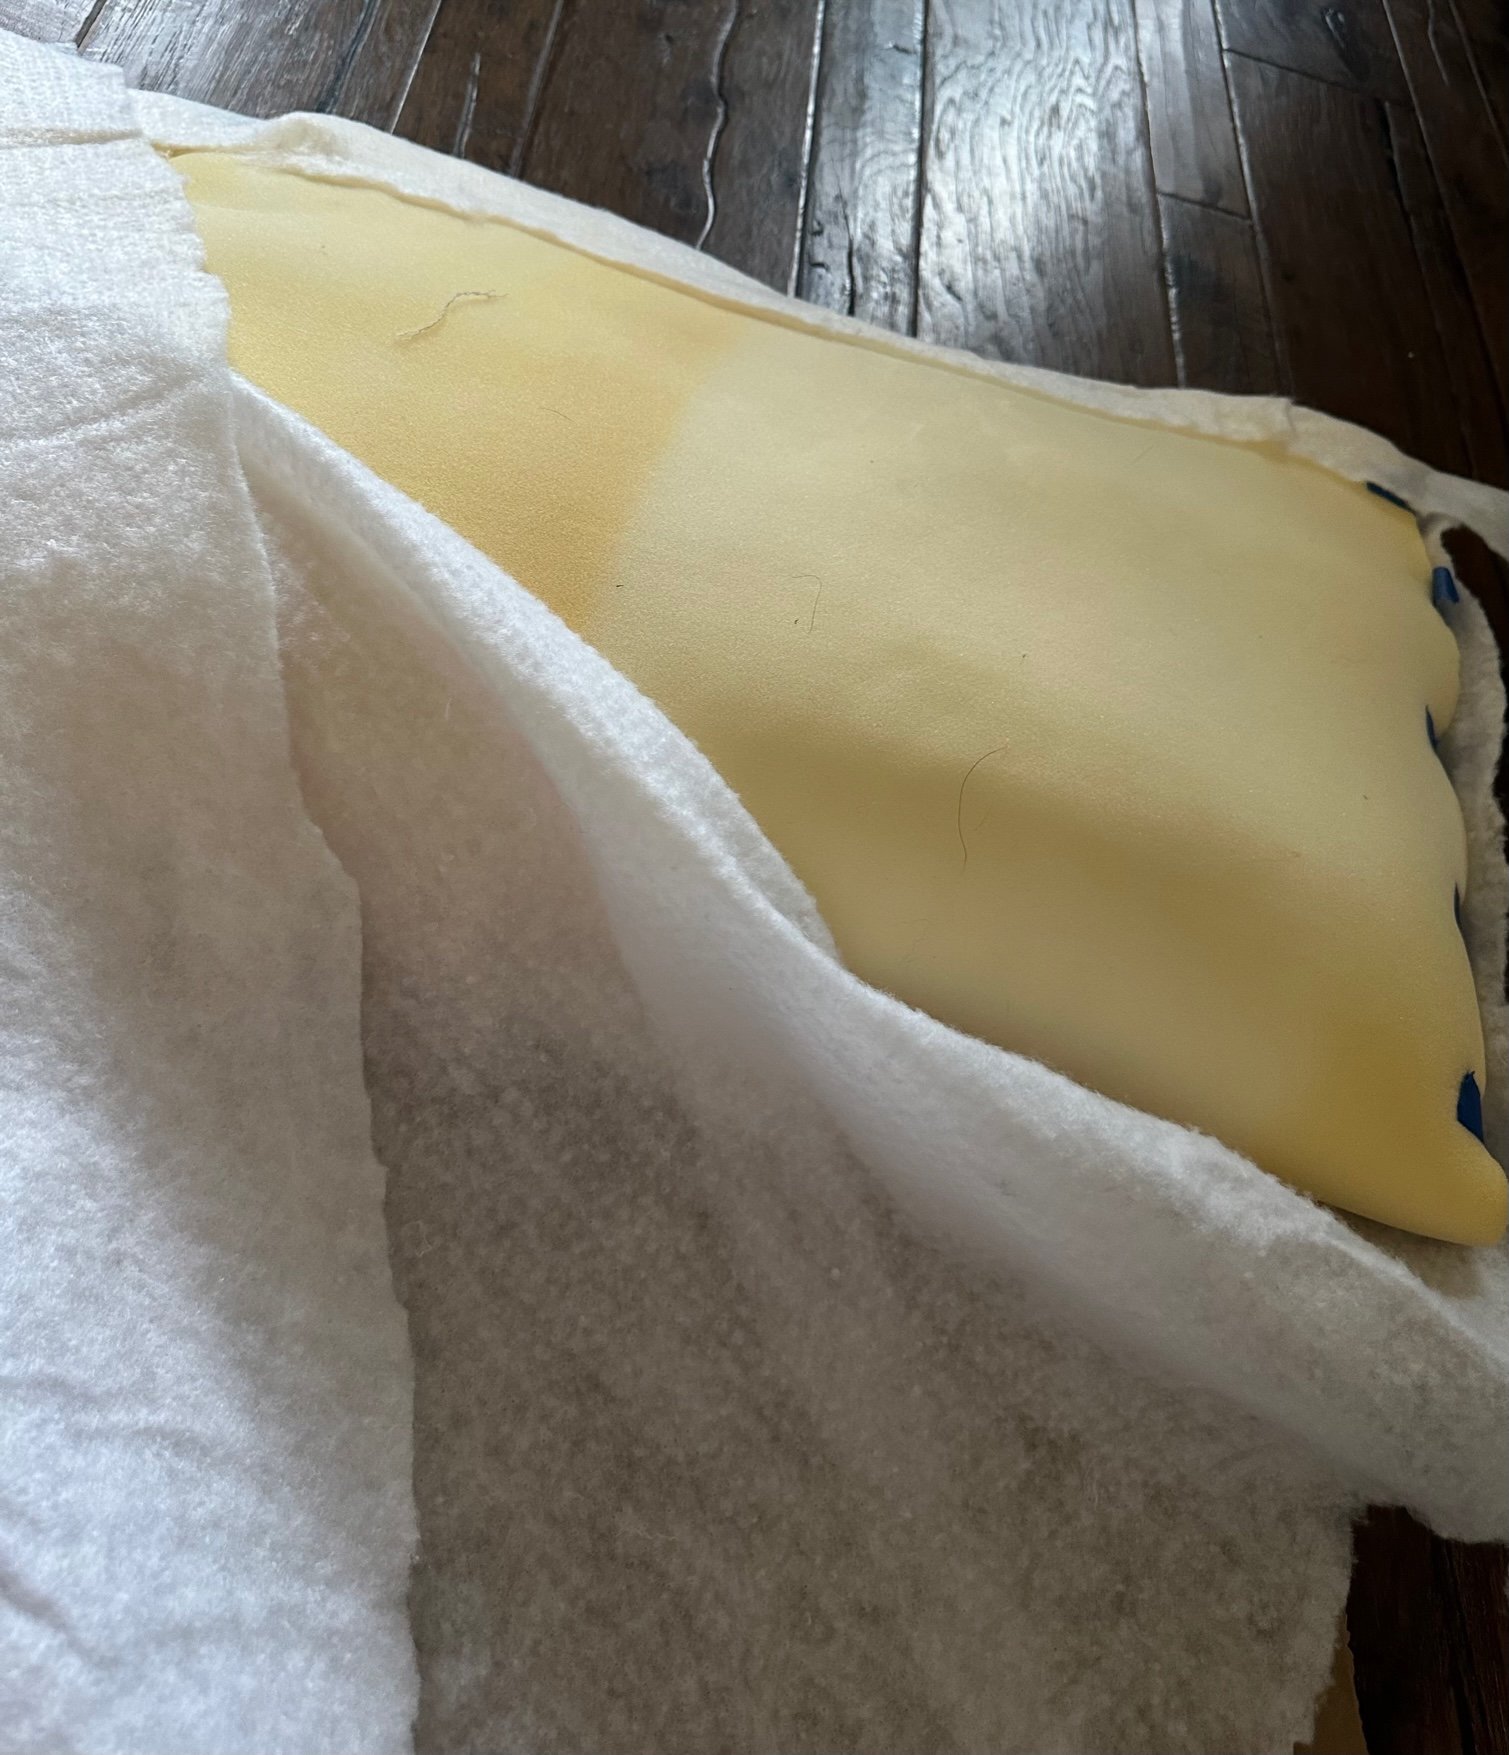
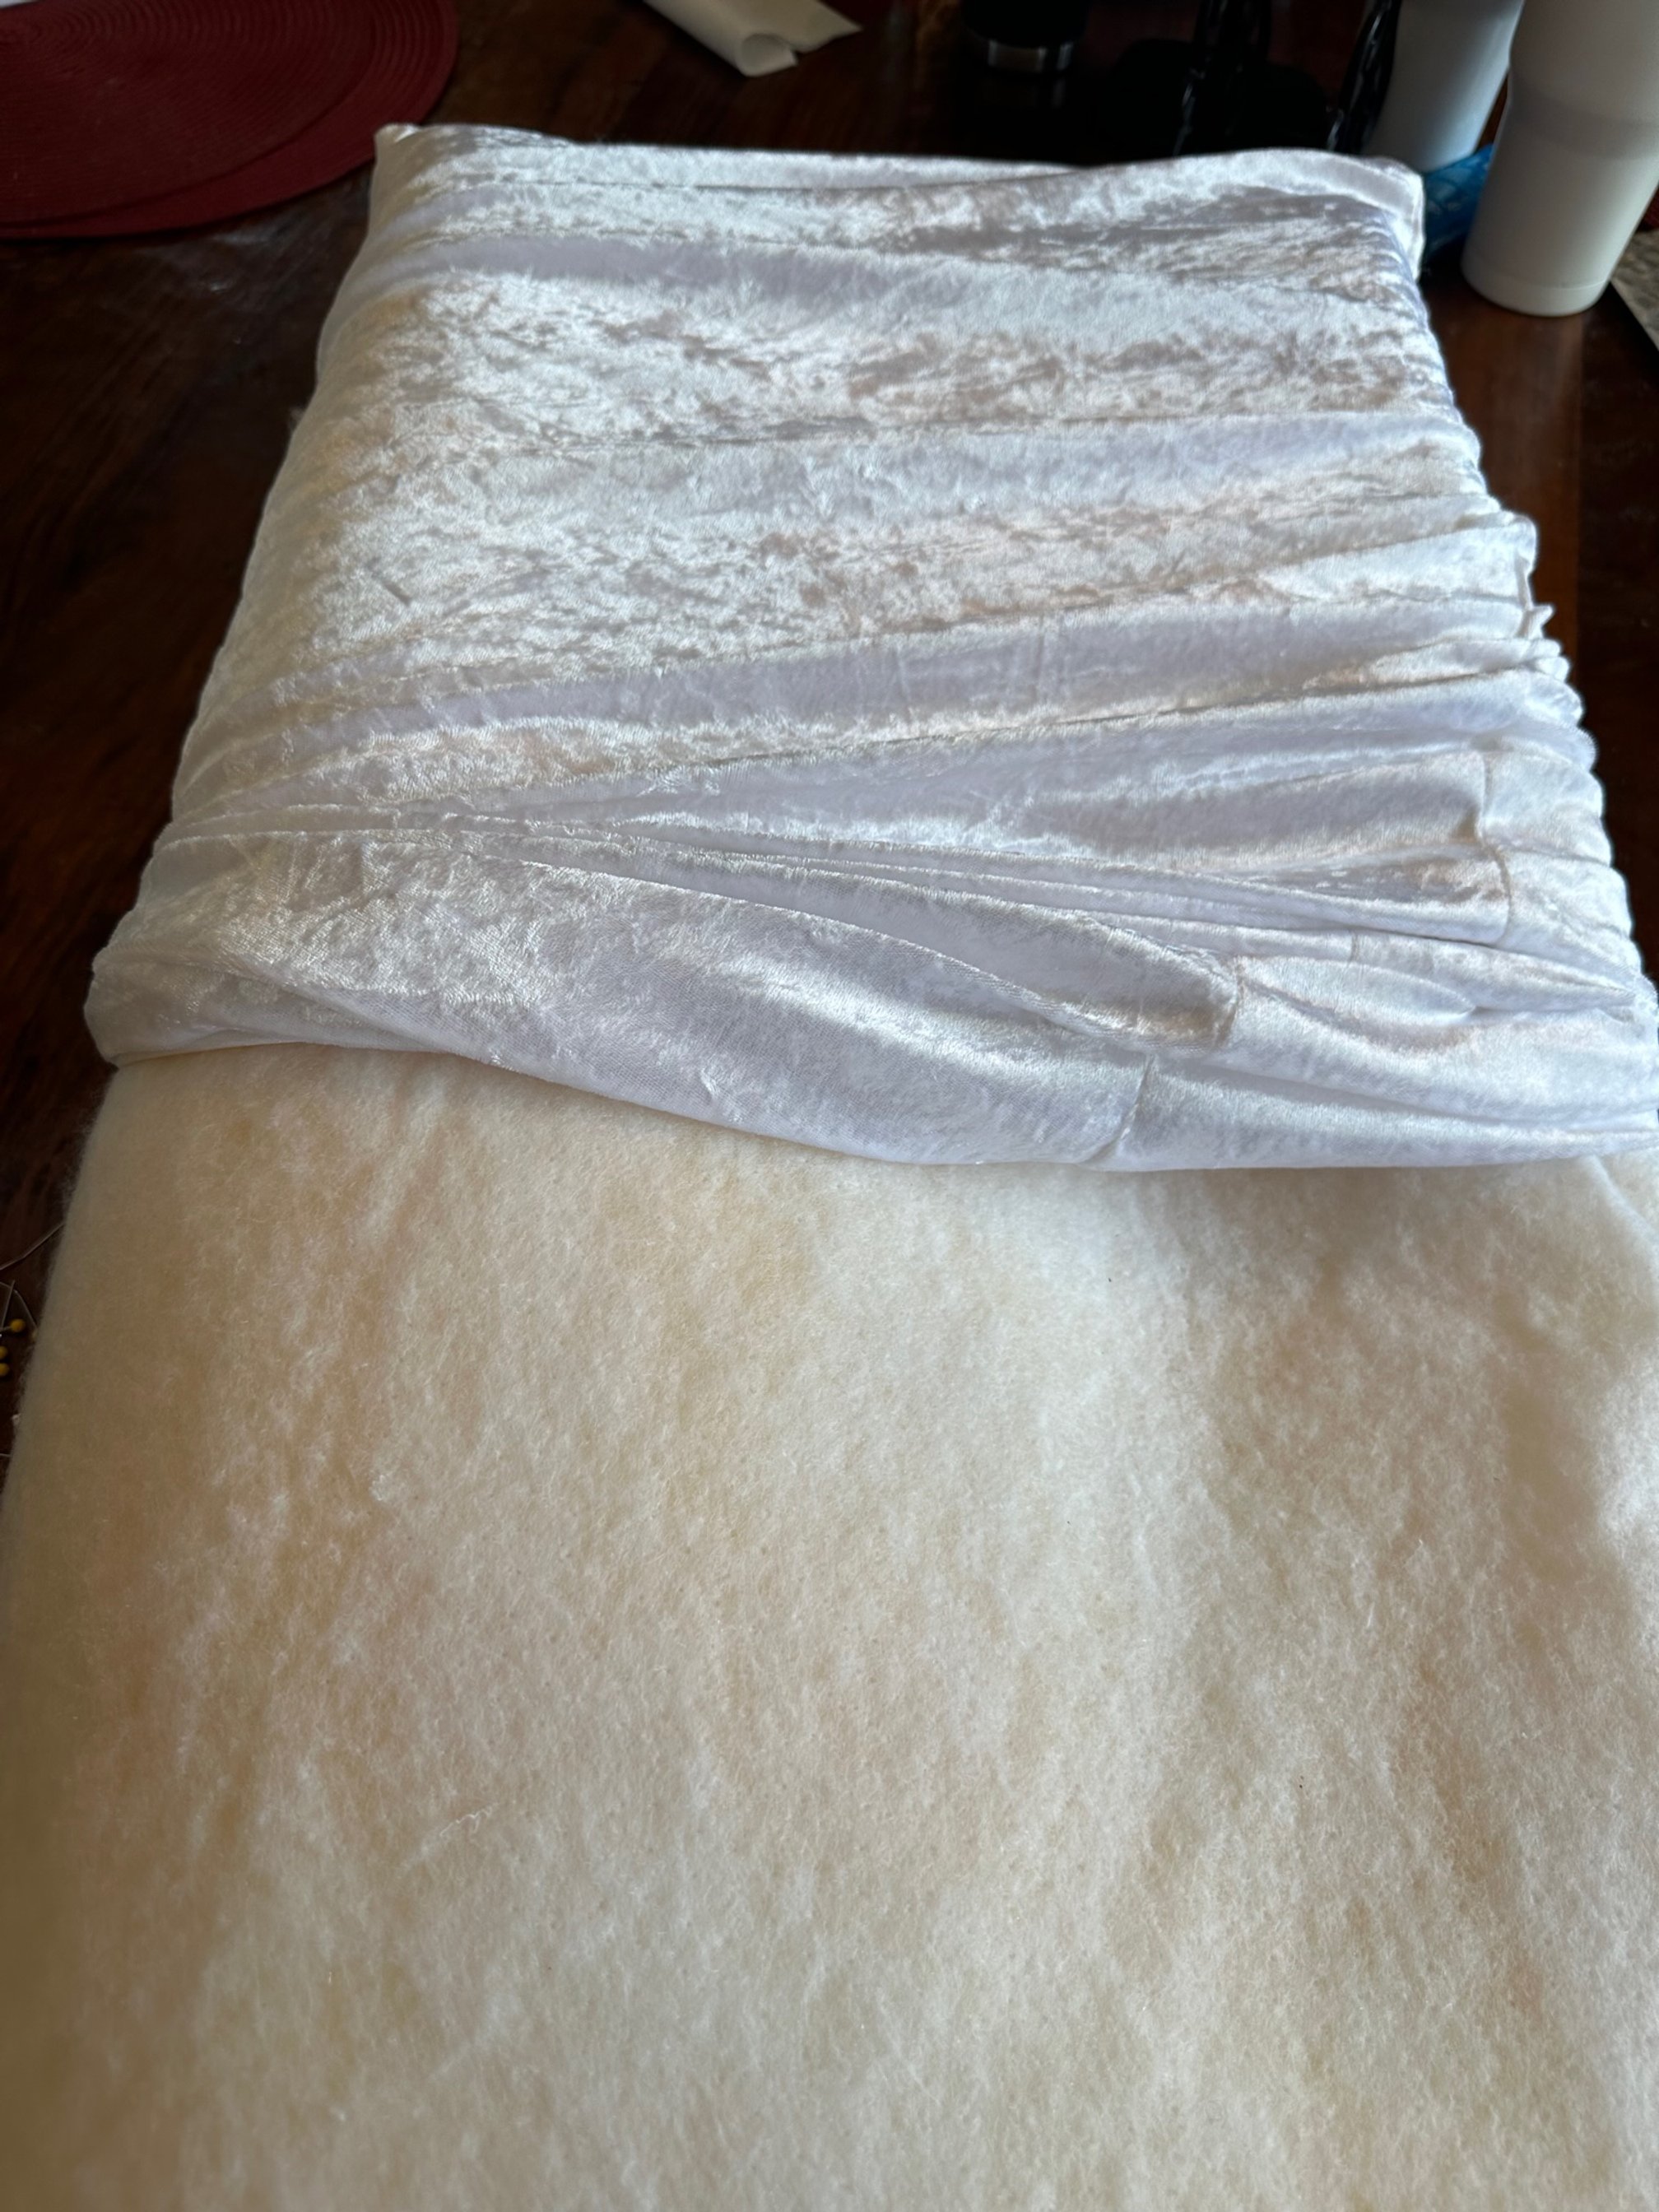
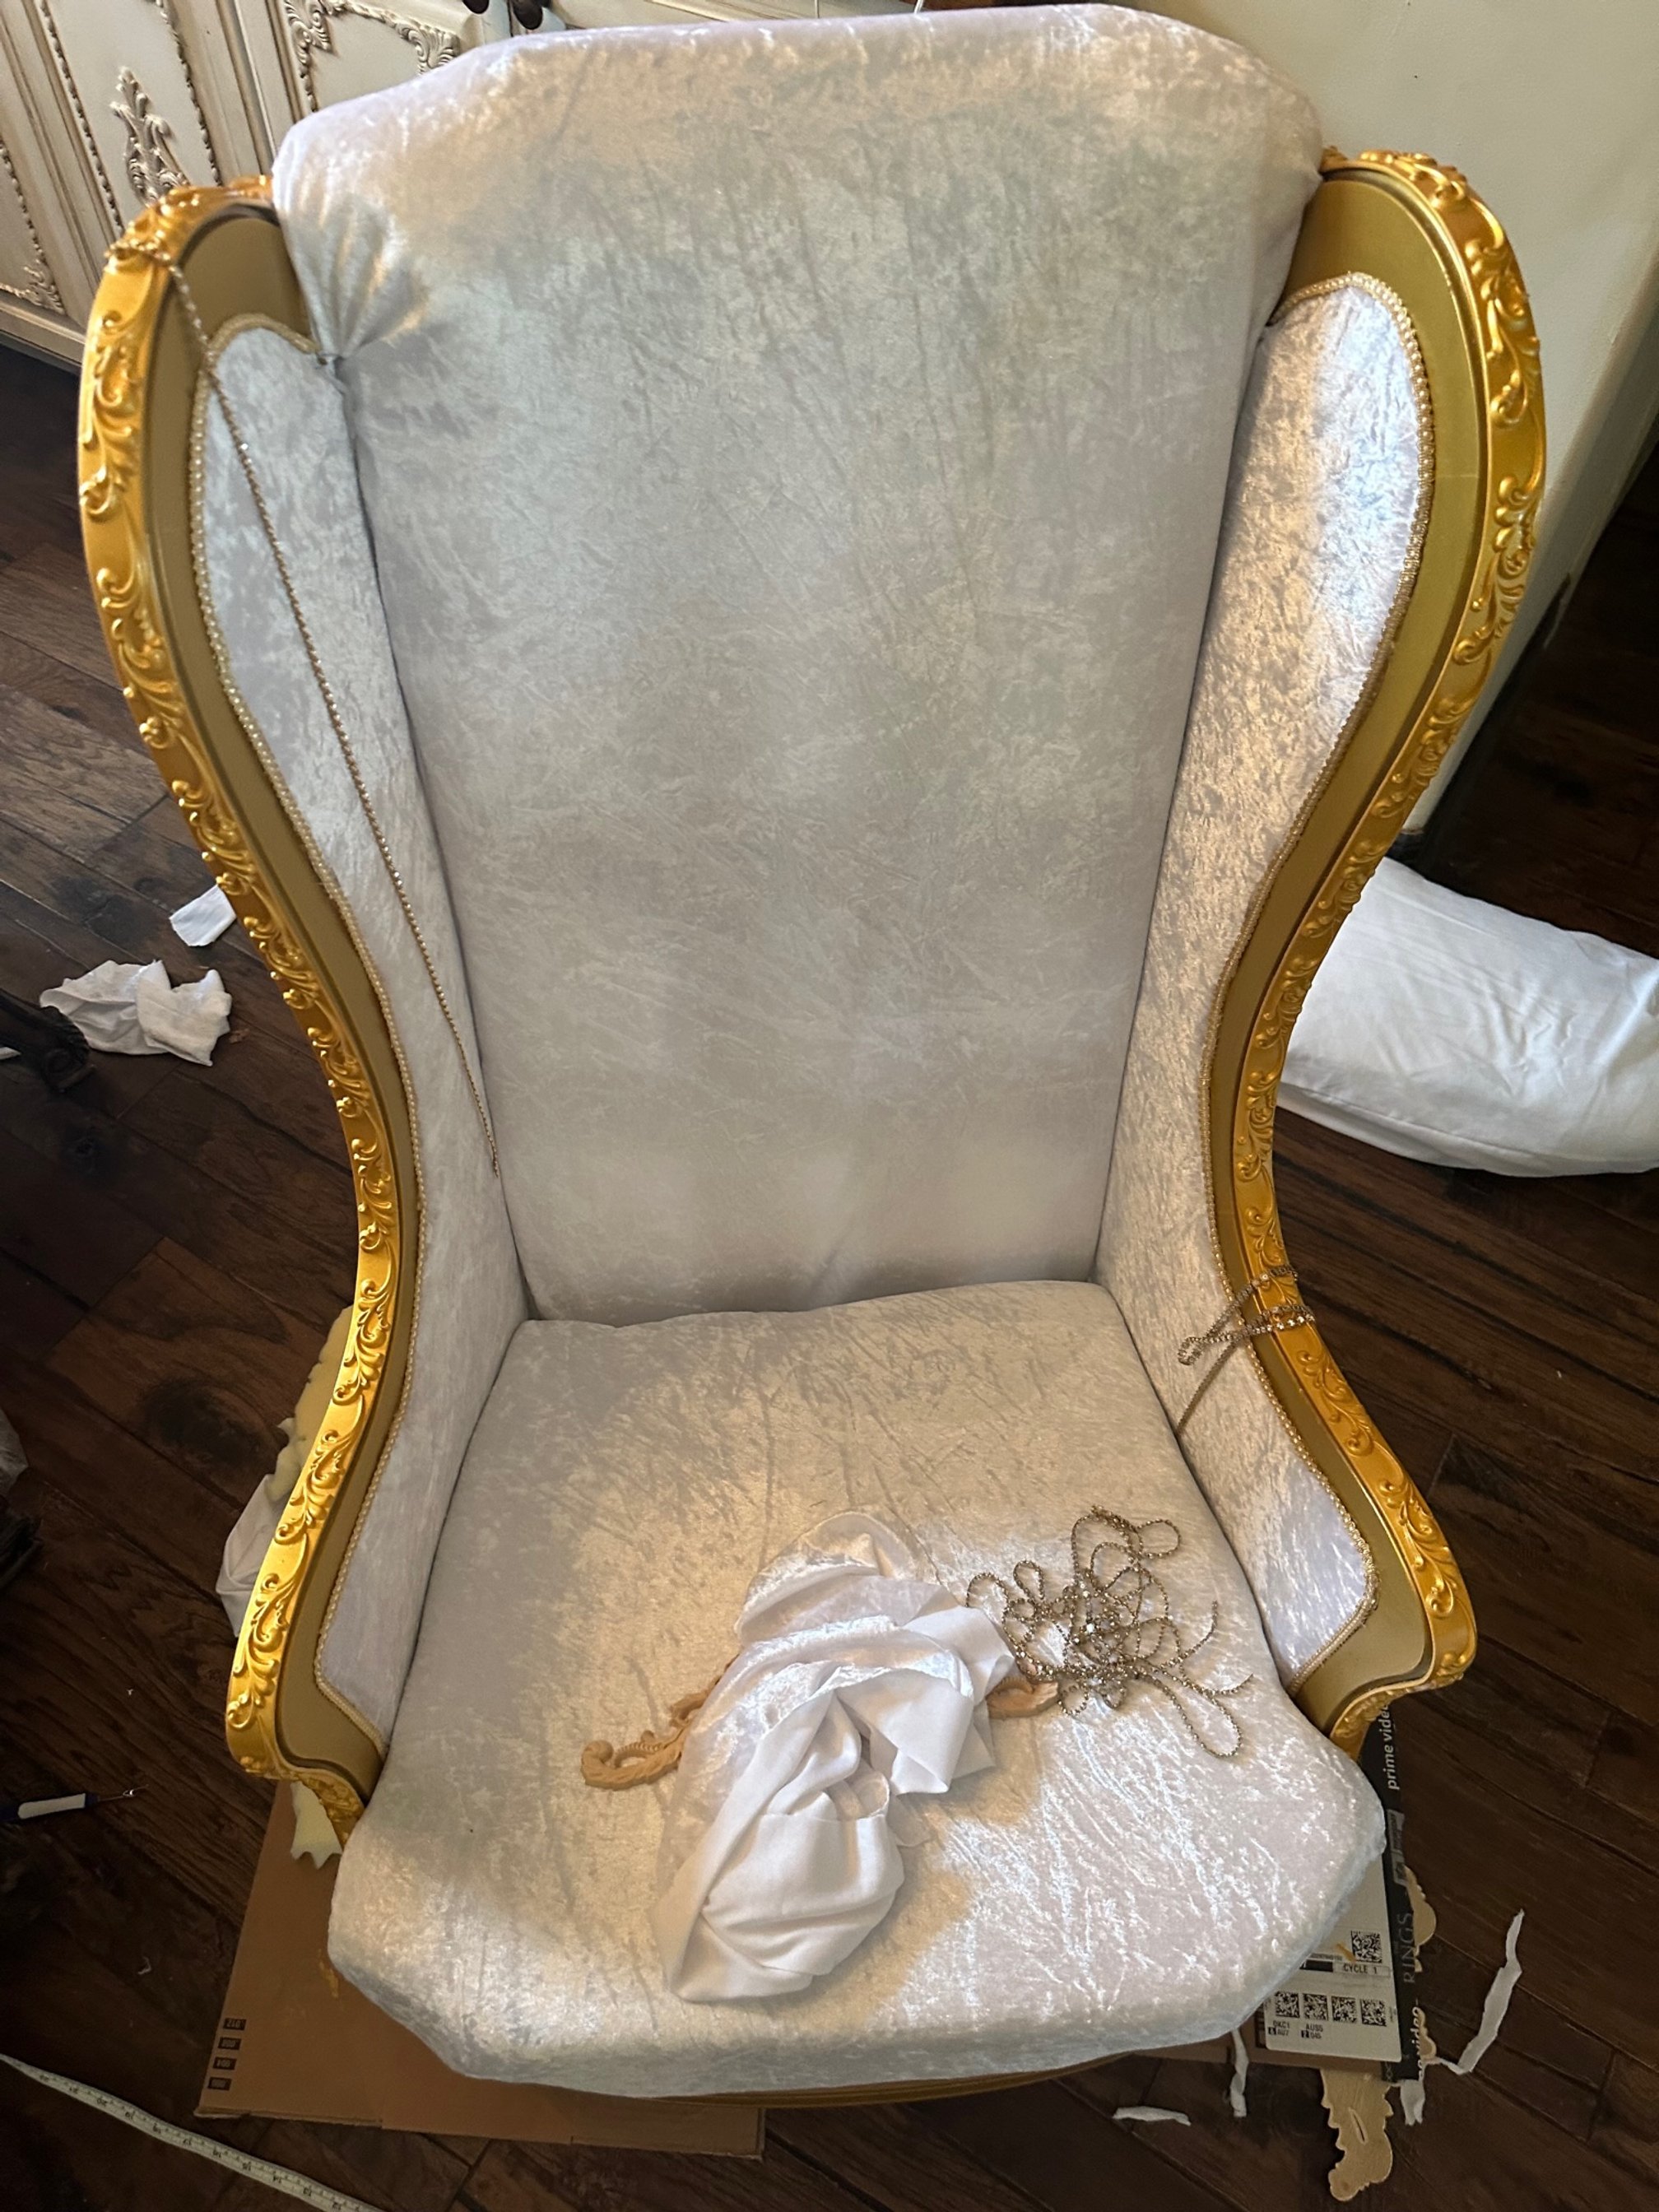
While the paint was drying I made the new cushions. A 3'‘ foam for the seat, recovered in the new fabric and 2 layers of foam covered in batting for the back cushion. I made a “pillowcase” from the faux velvet fabric to cover the cushion leaving the end open.

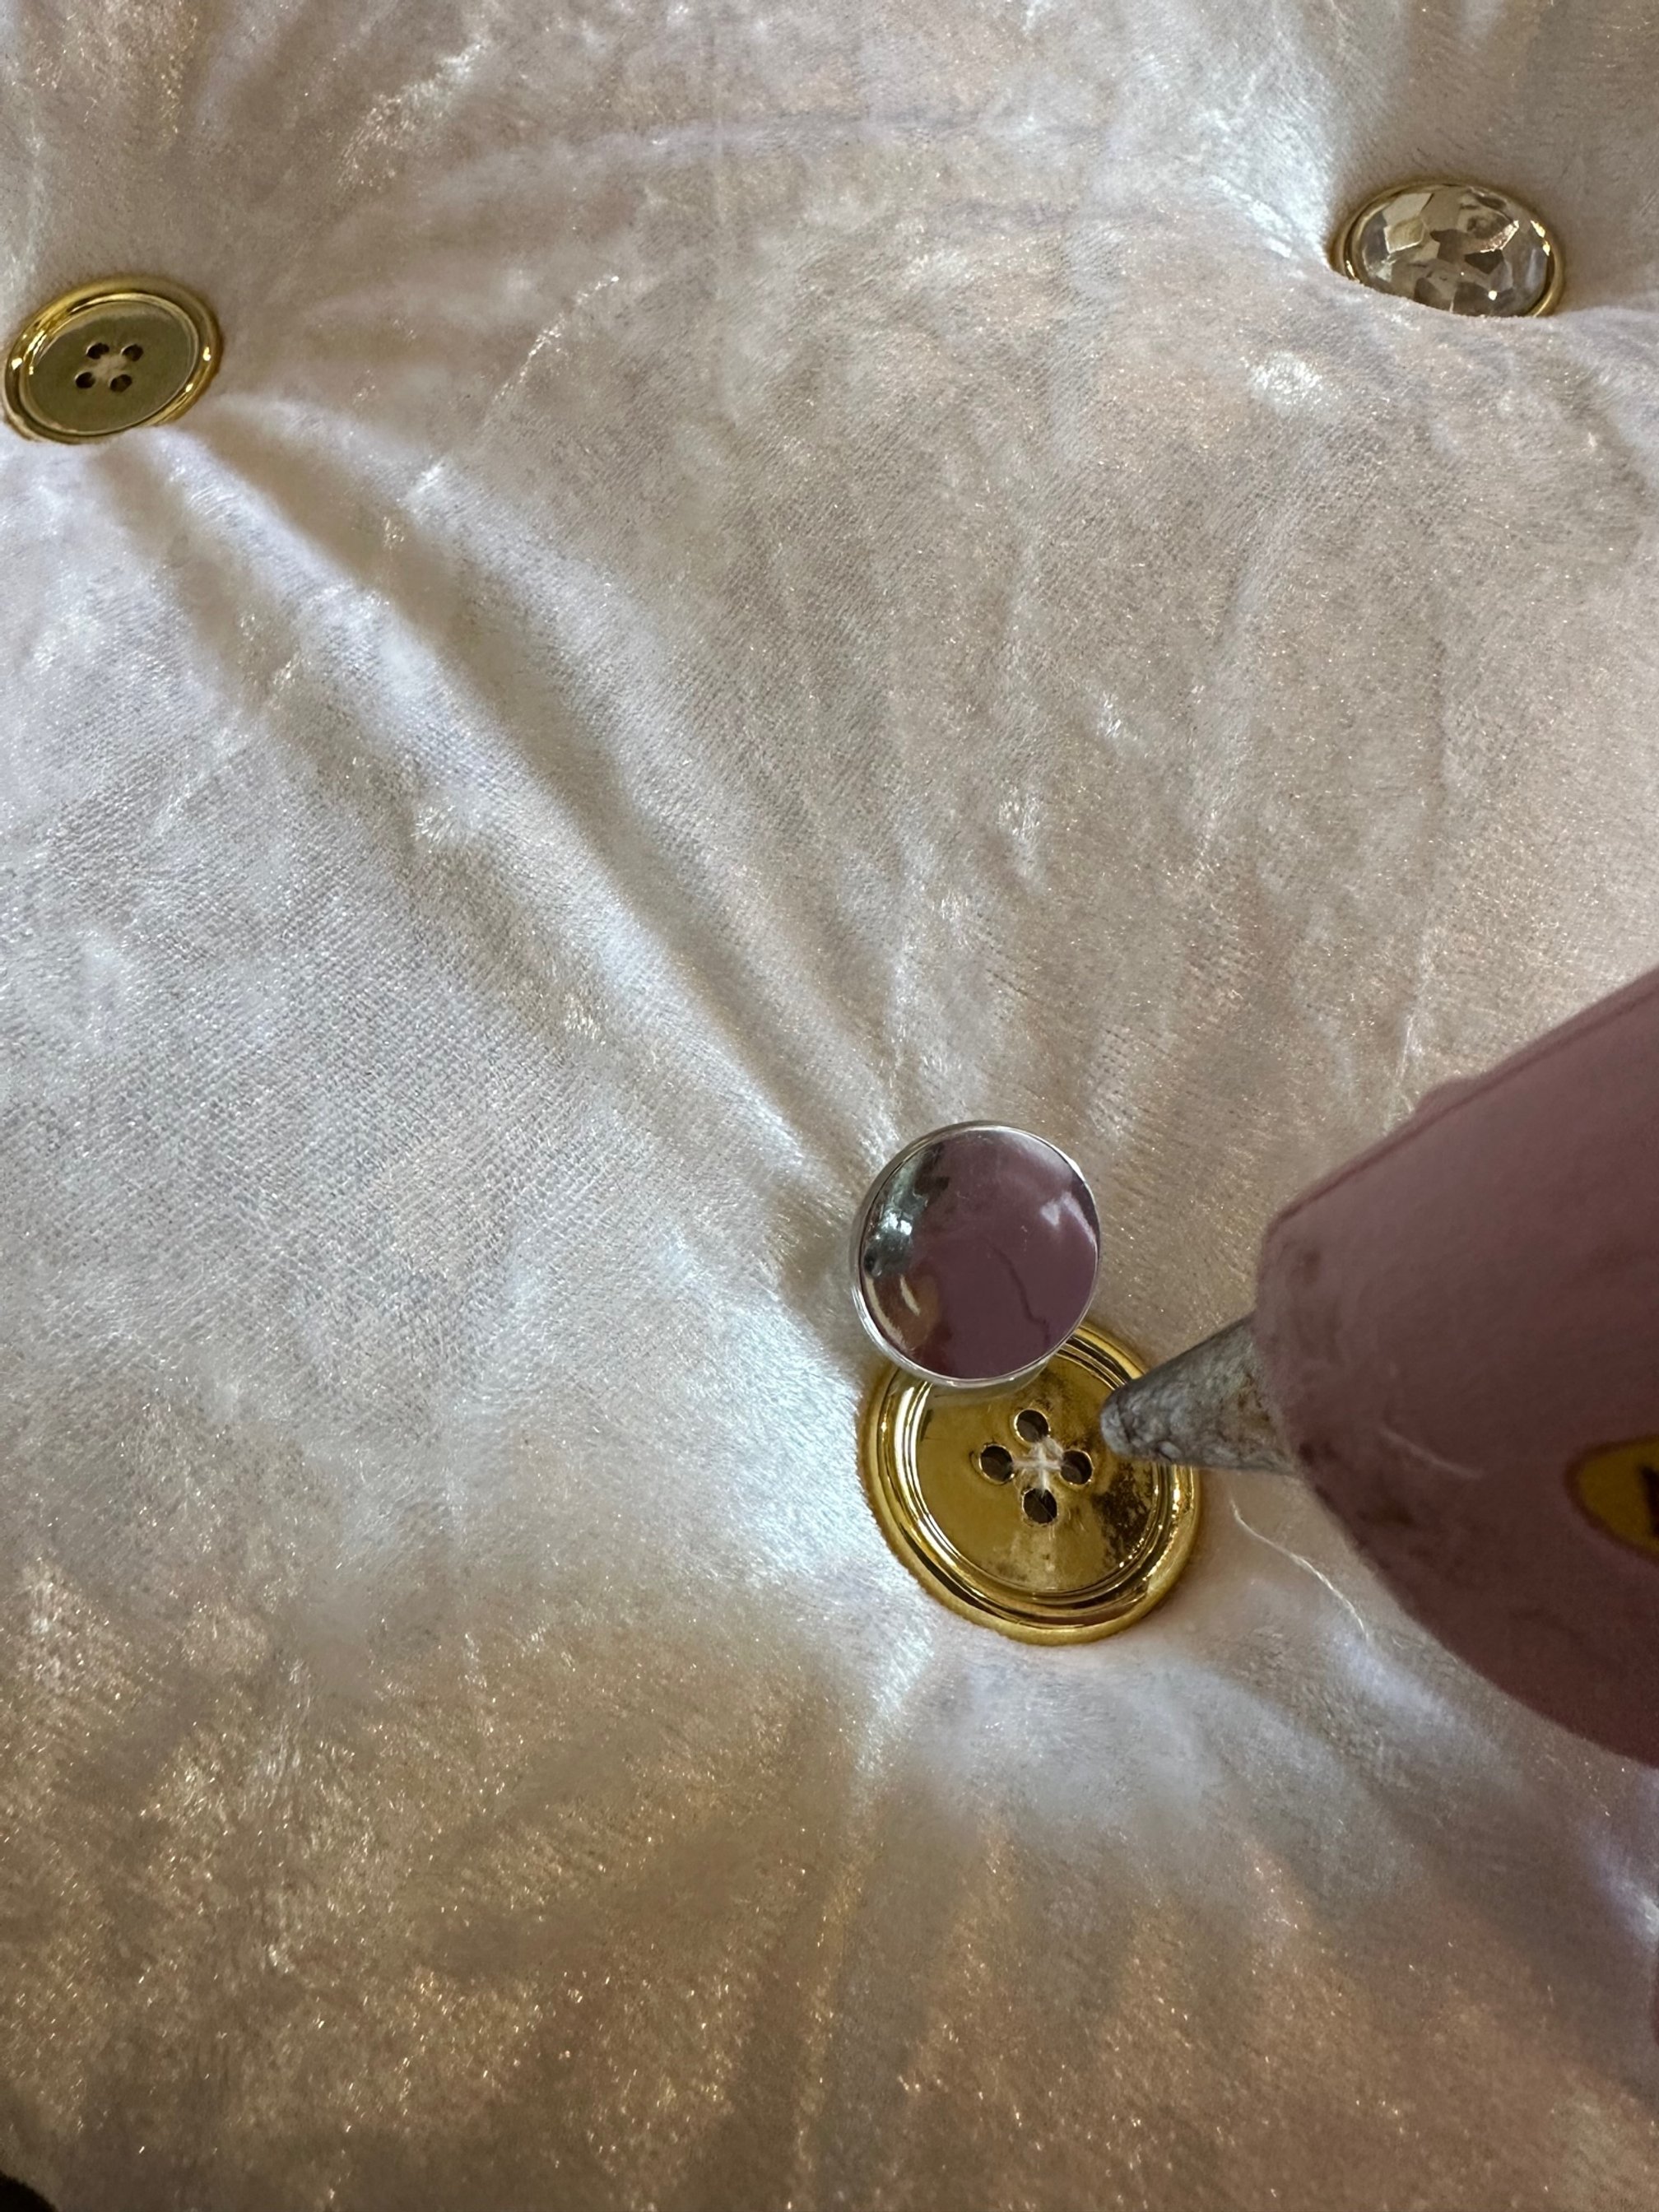
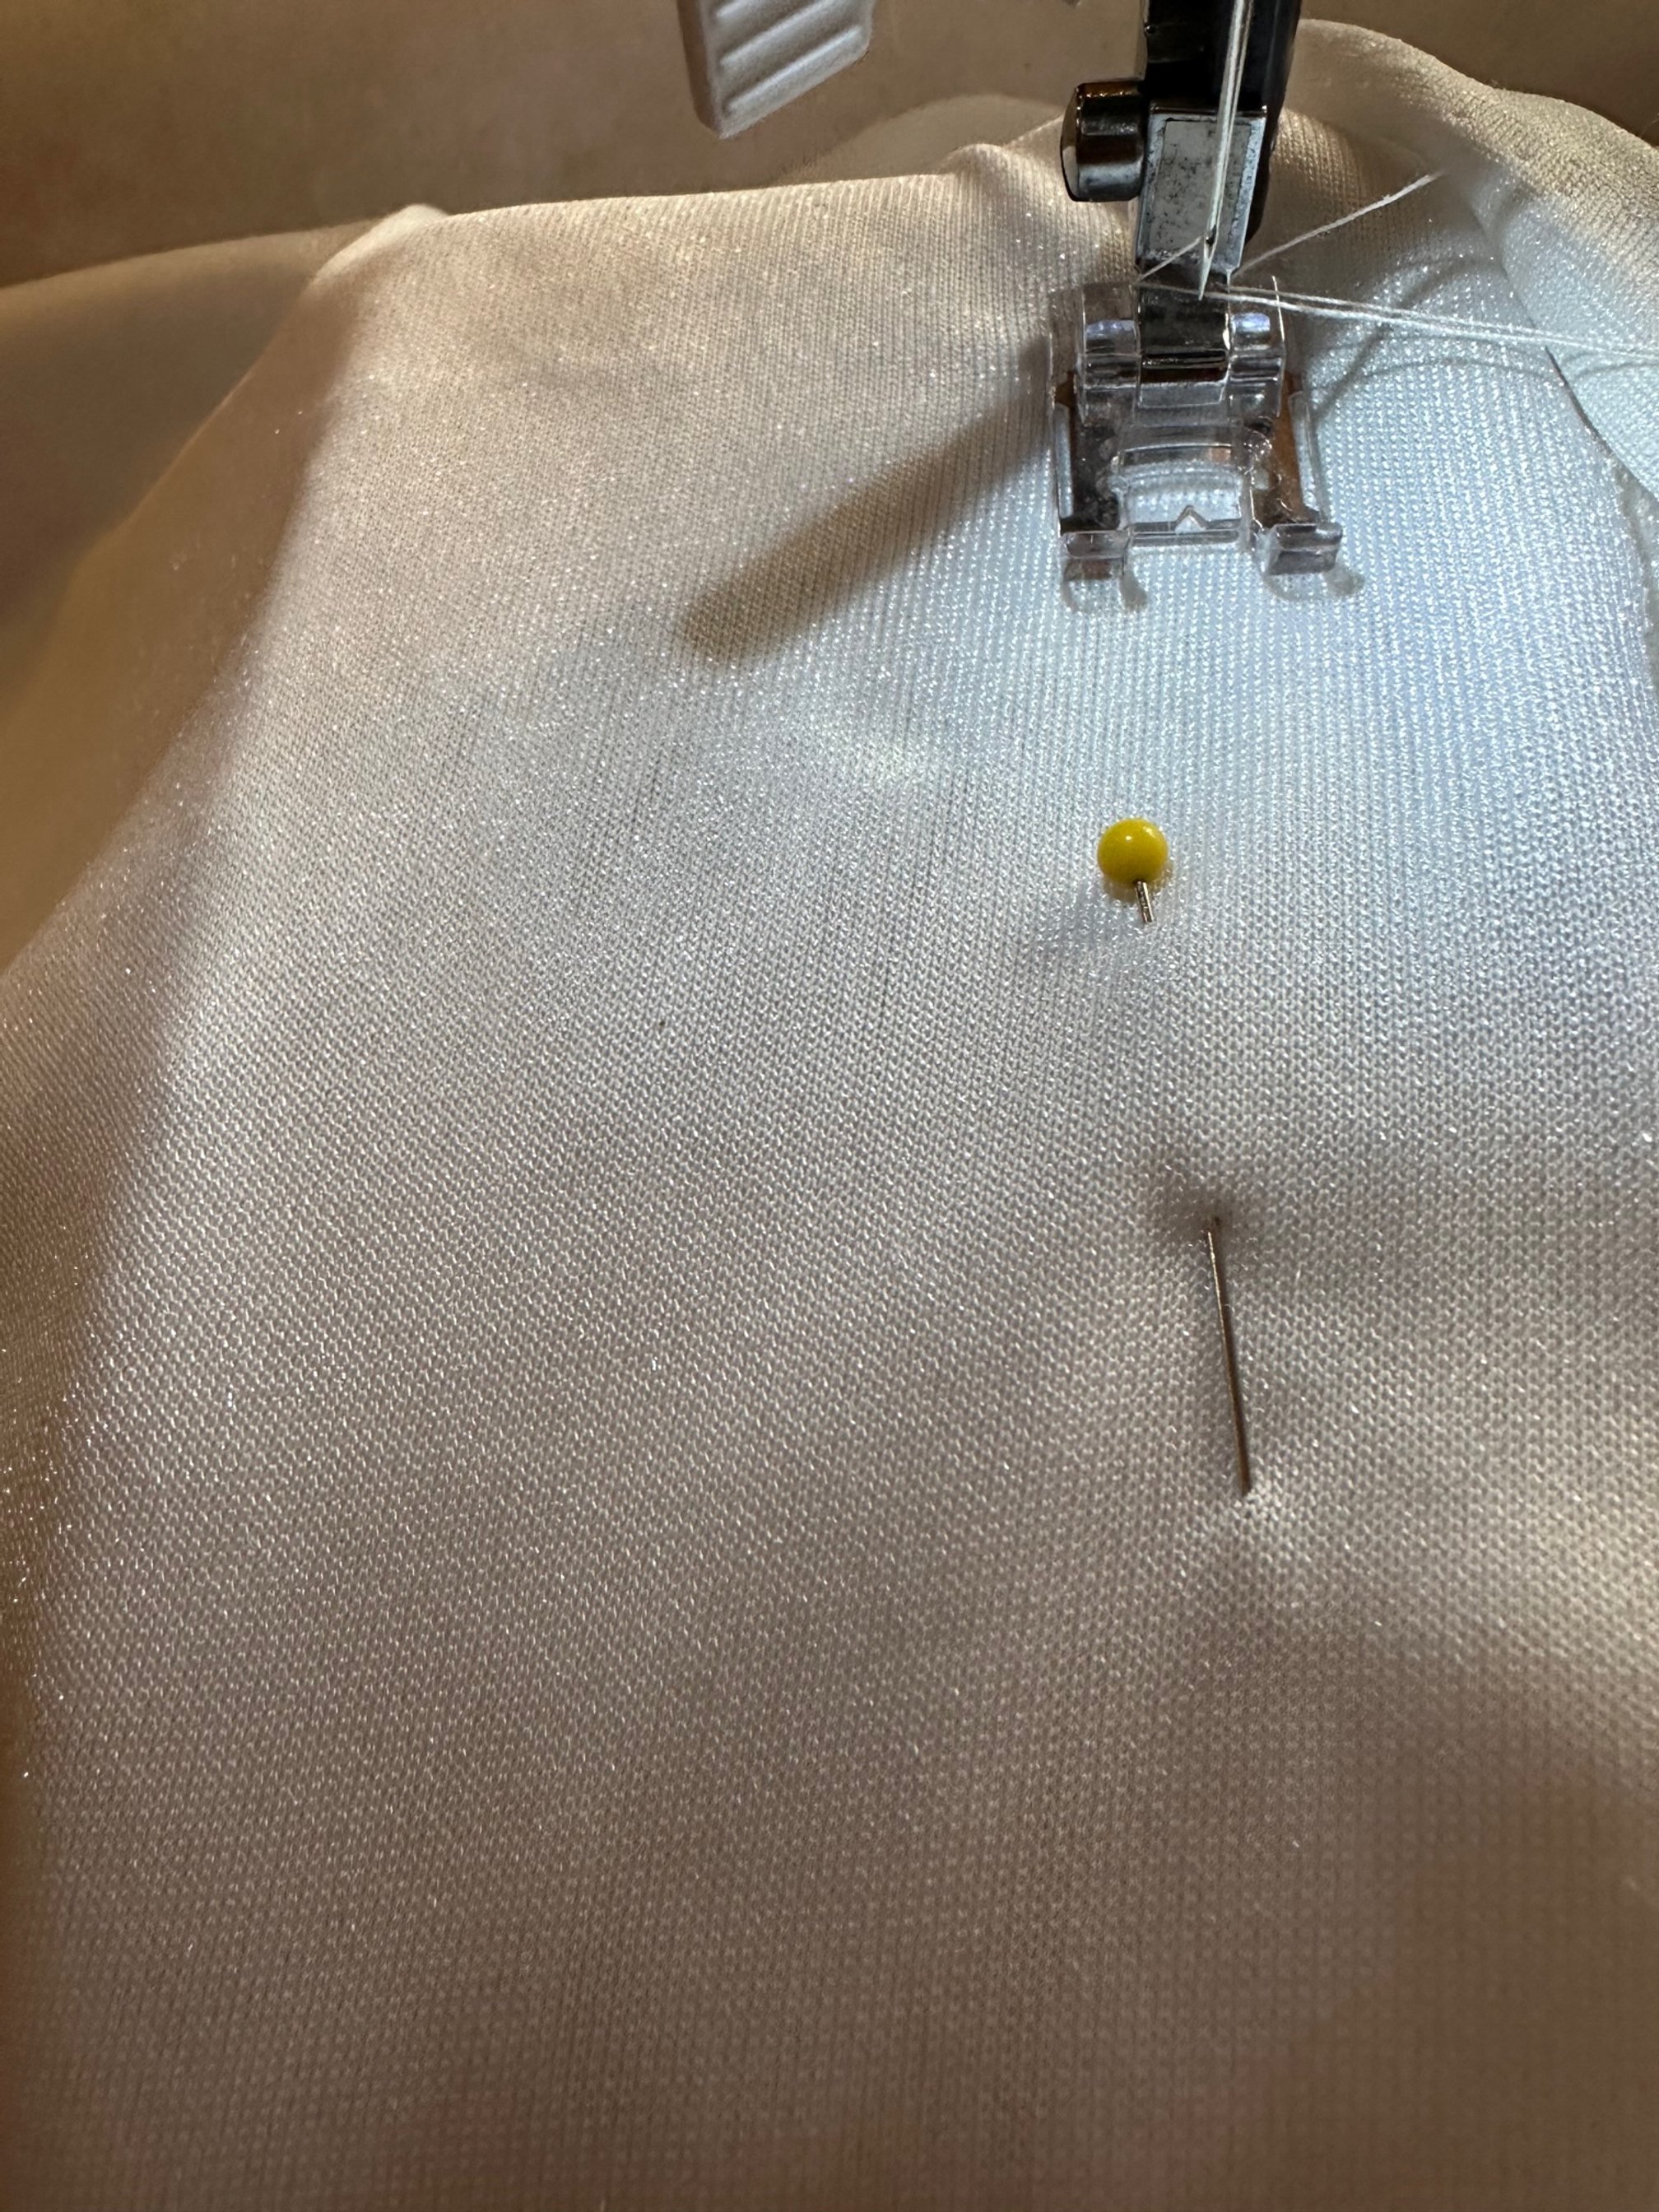
By placing the buttons on the cushion with long pins, I can move them around to get them where I want them instead of marking on the white fabric. Using an upholstery needle I tufted the cushion and then covered the button with a rhinestone gem. Leaving the bottom open, I was able to have access to the buttons if I made a mistake. Once I had it how I wanted it, I sewed the bottom up.
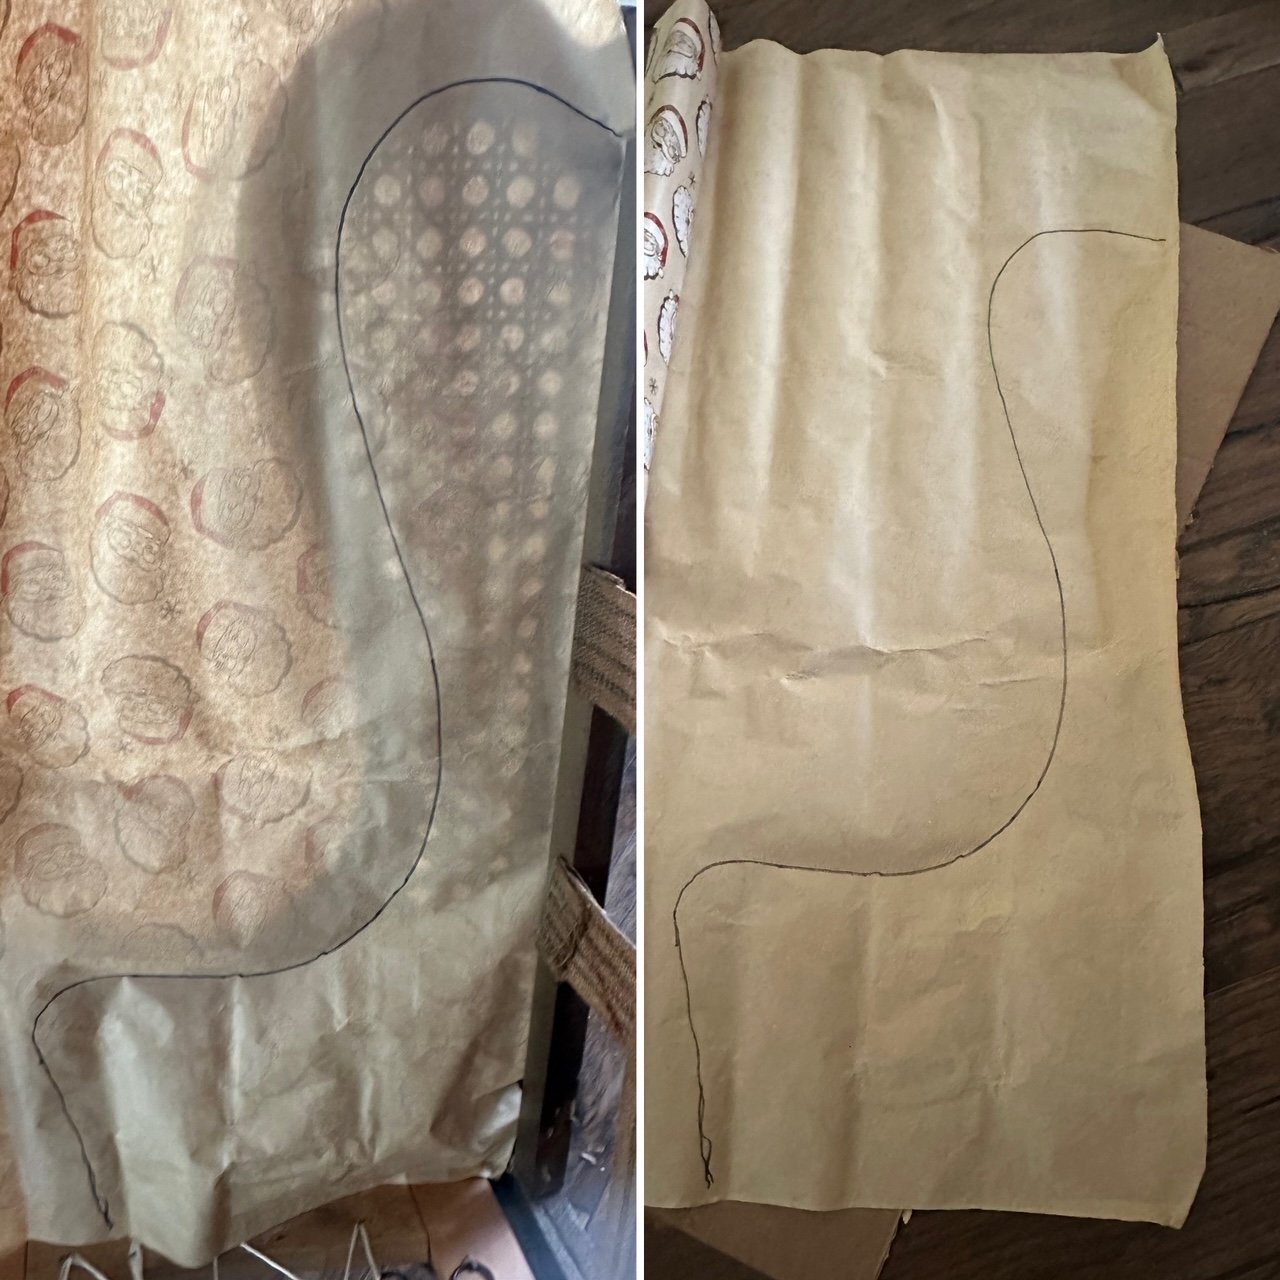
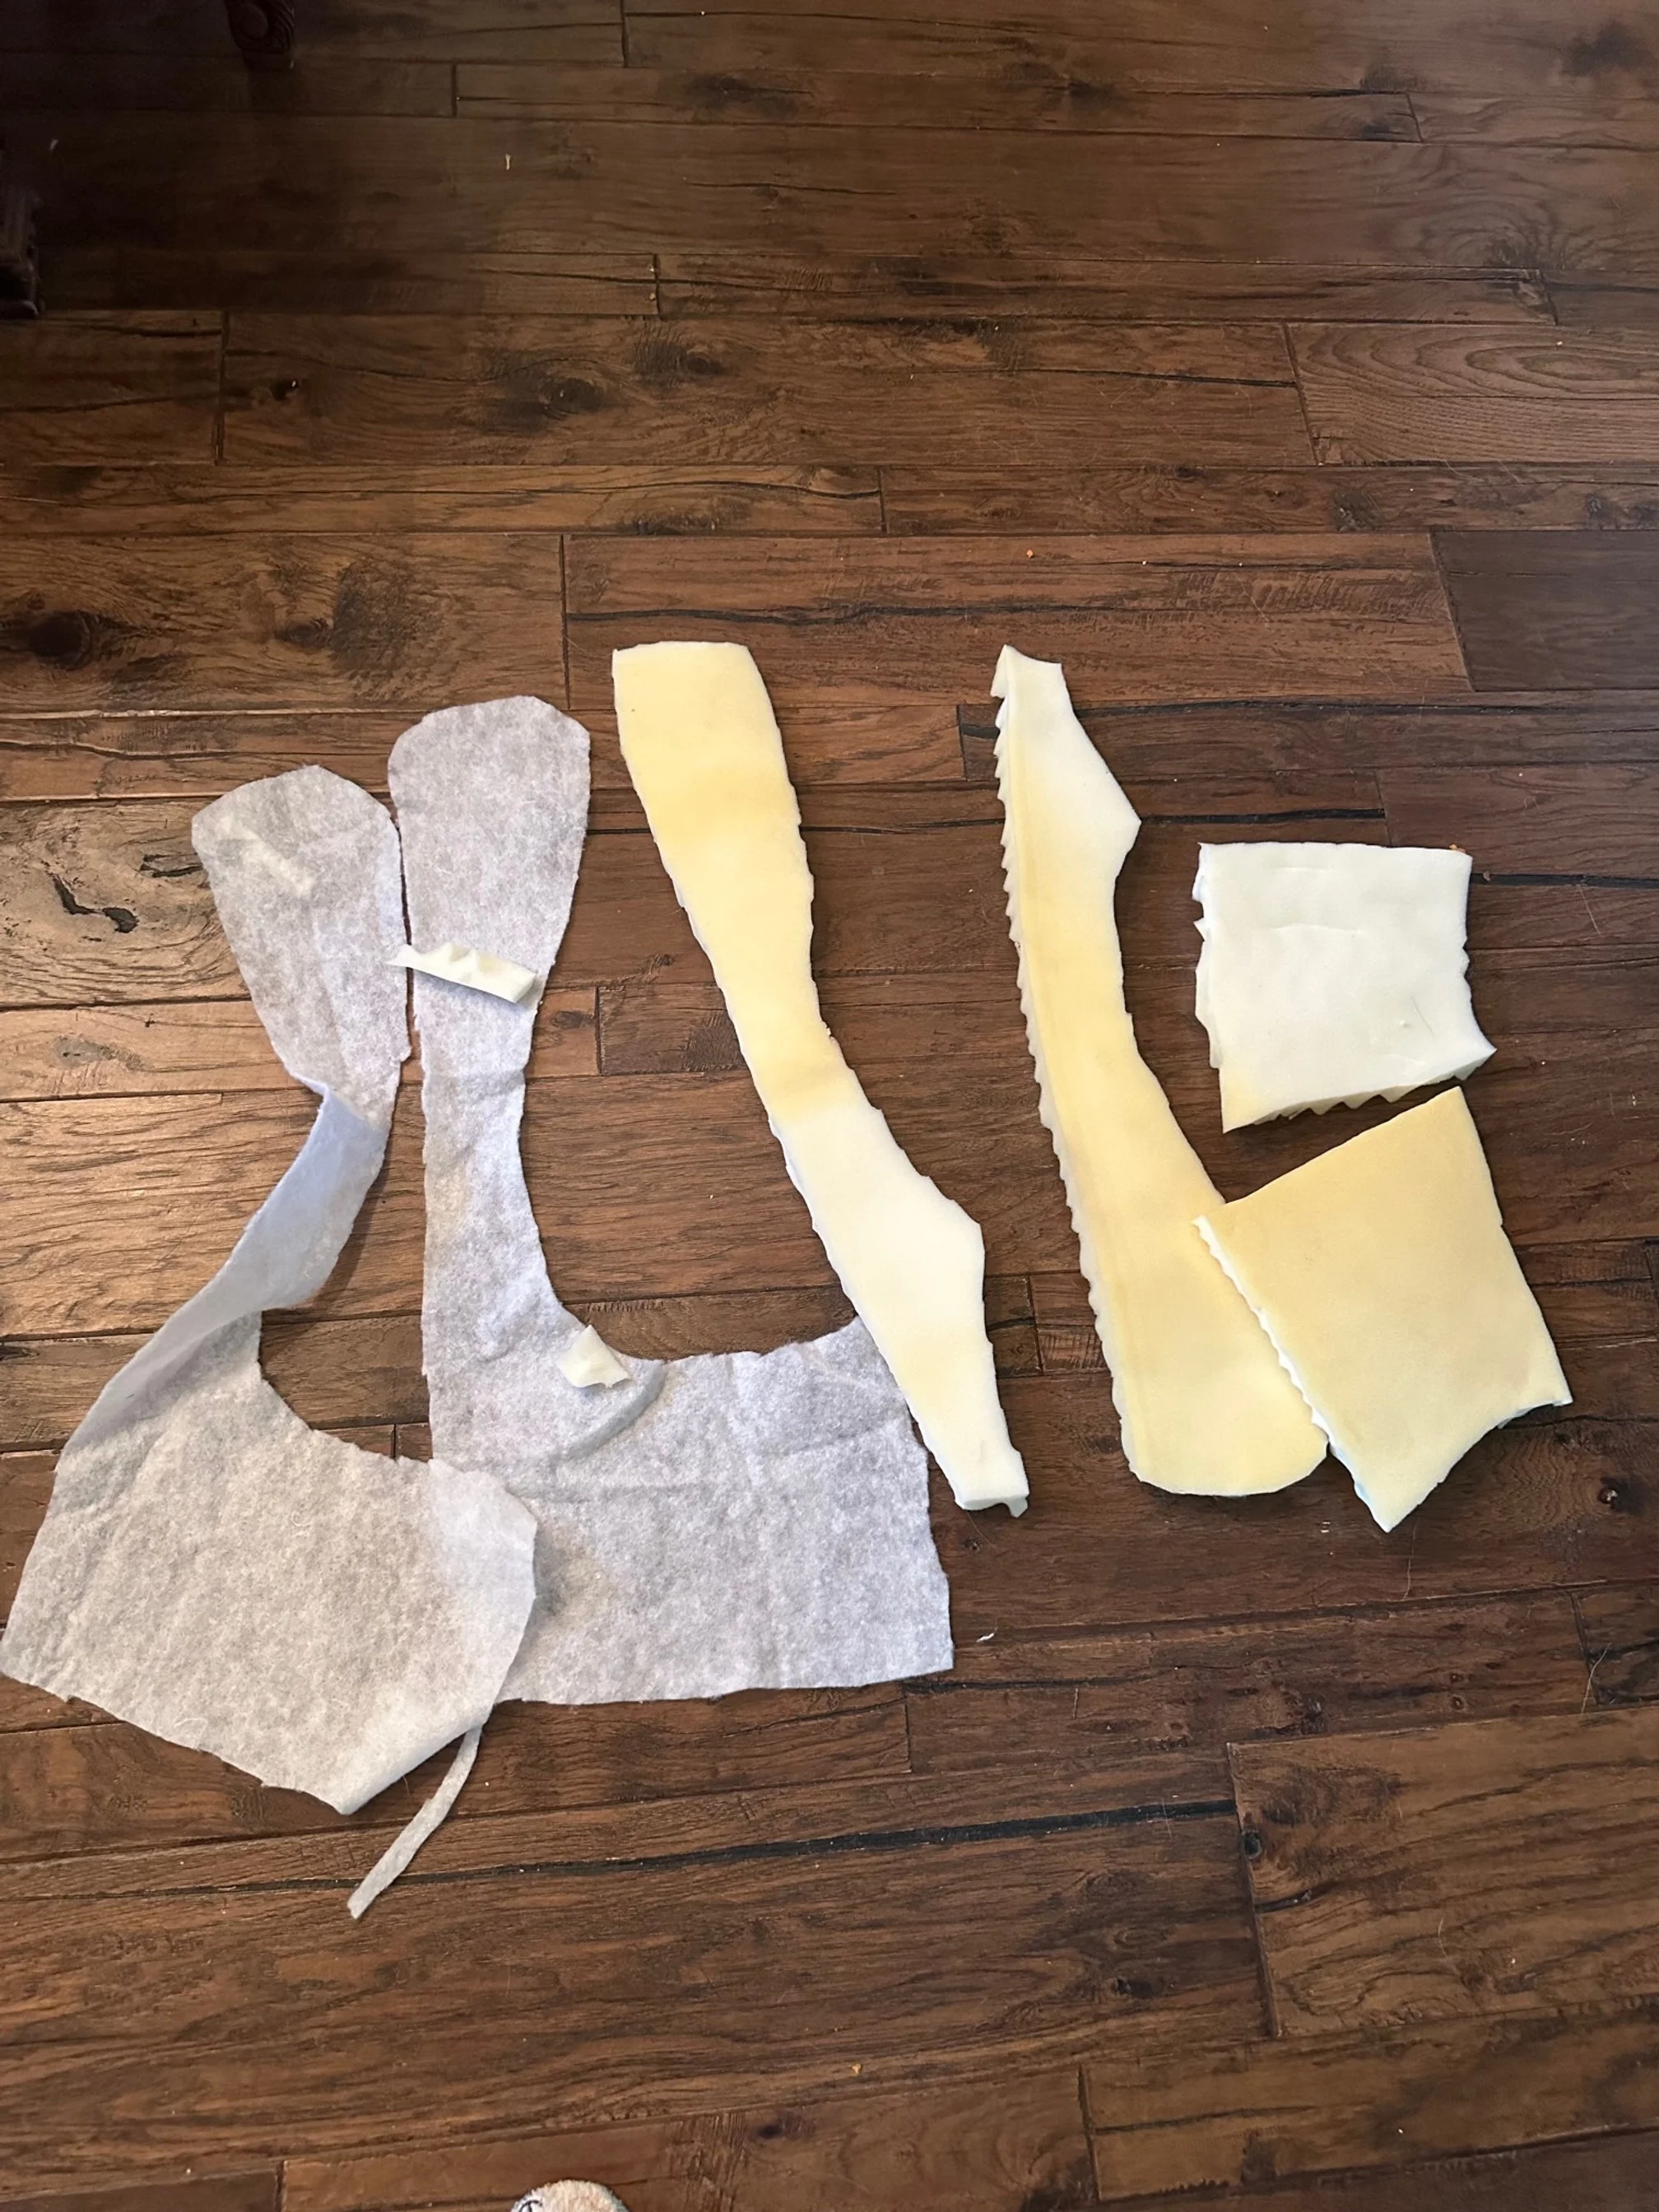
I used old wrapping paper to trace the pattern for the insets and cut them out of the foam and fabric.
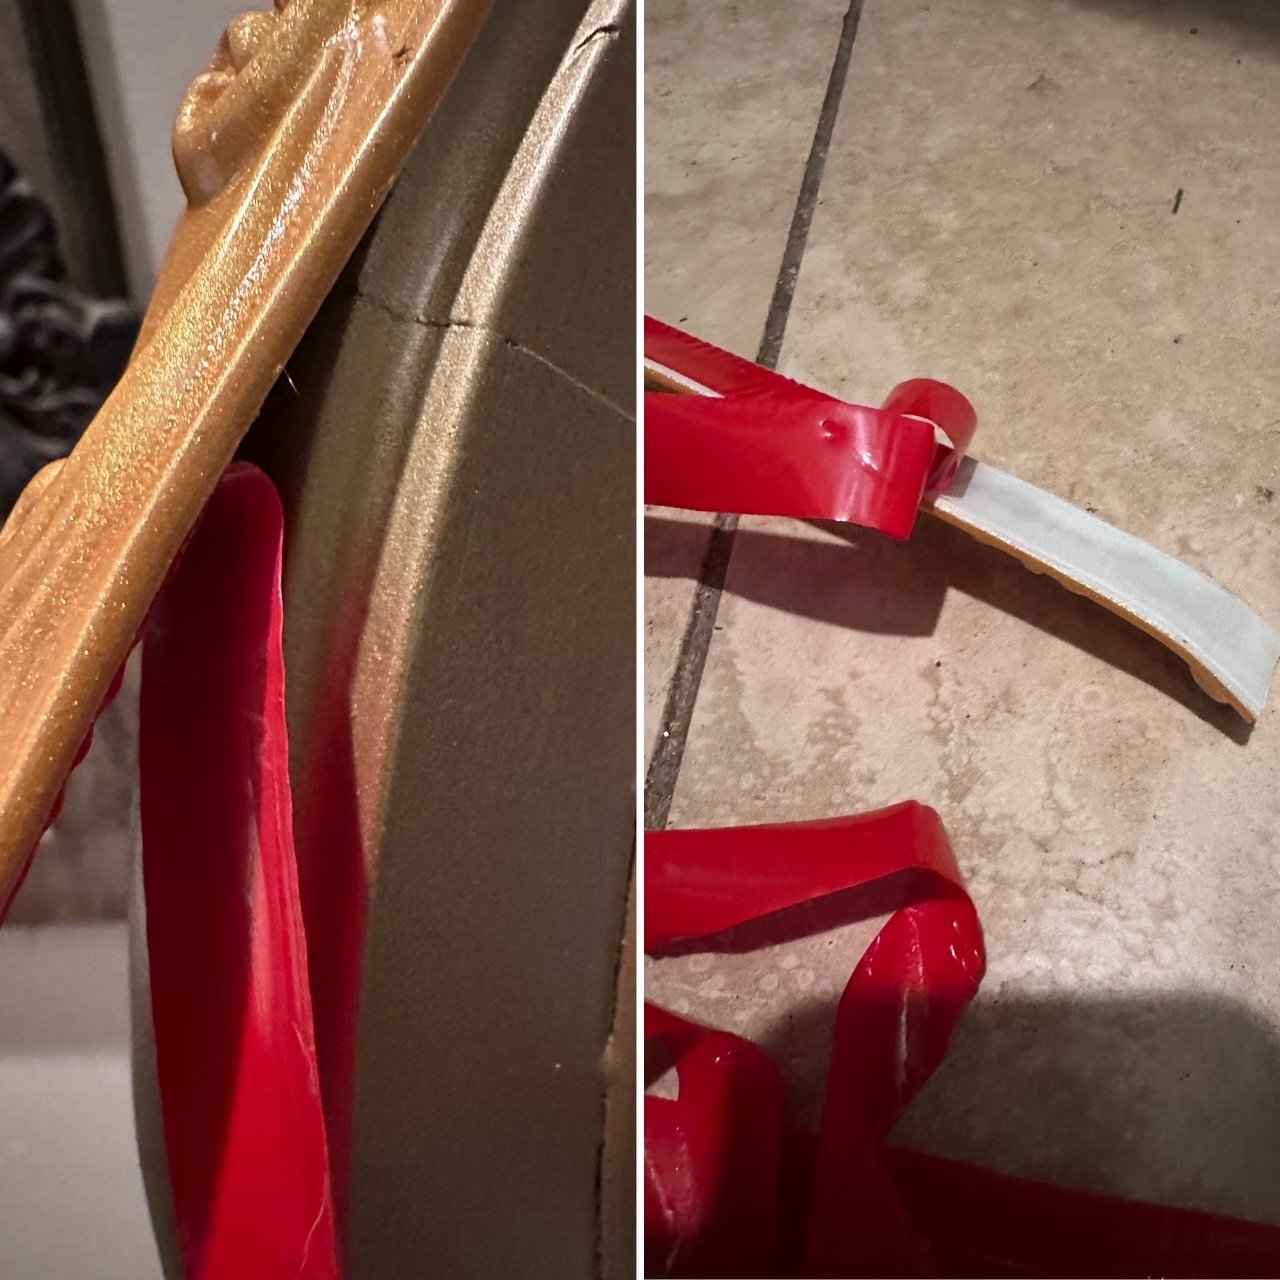

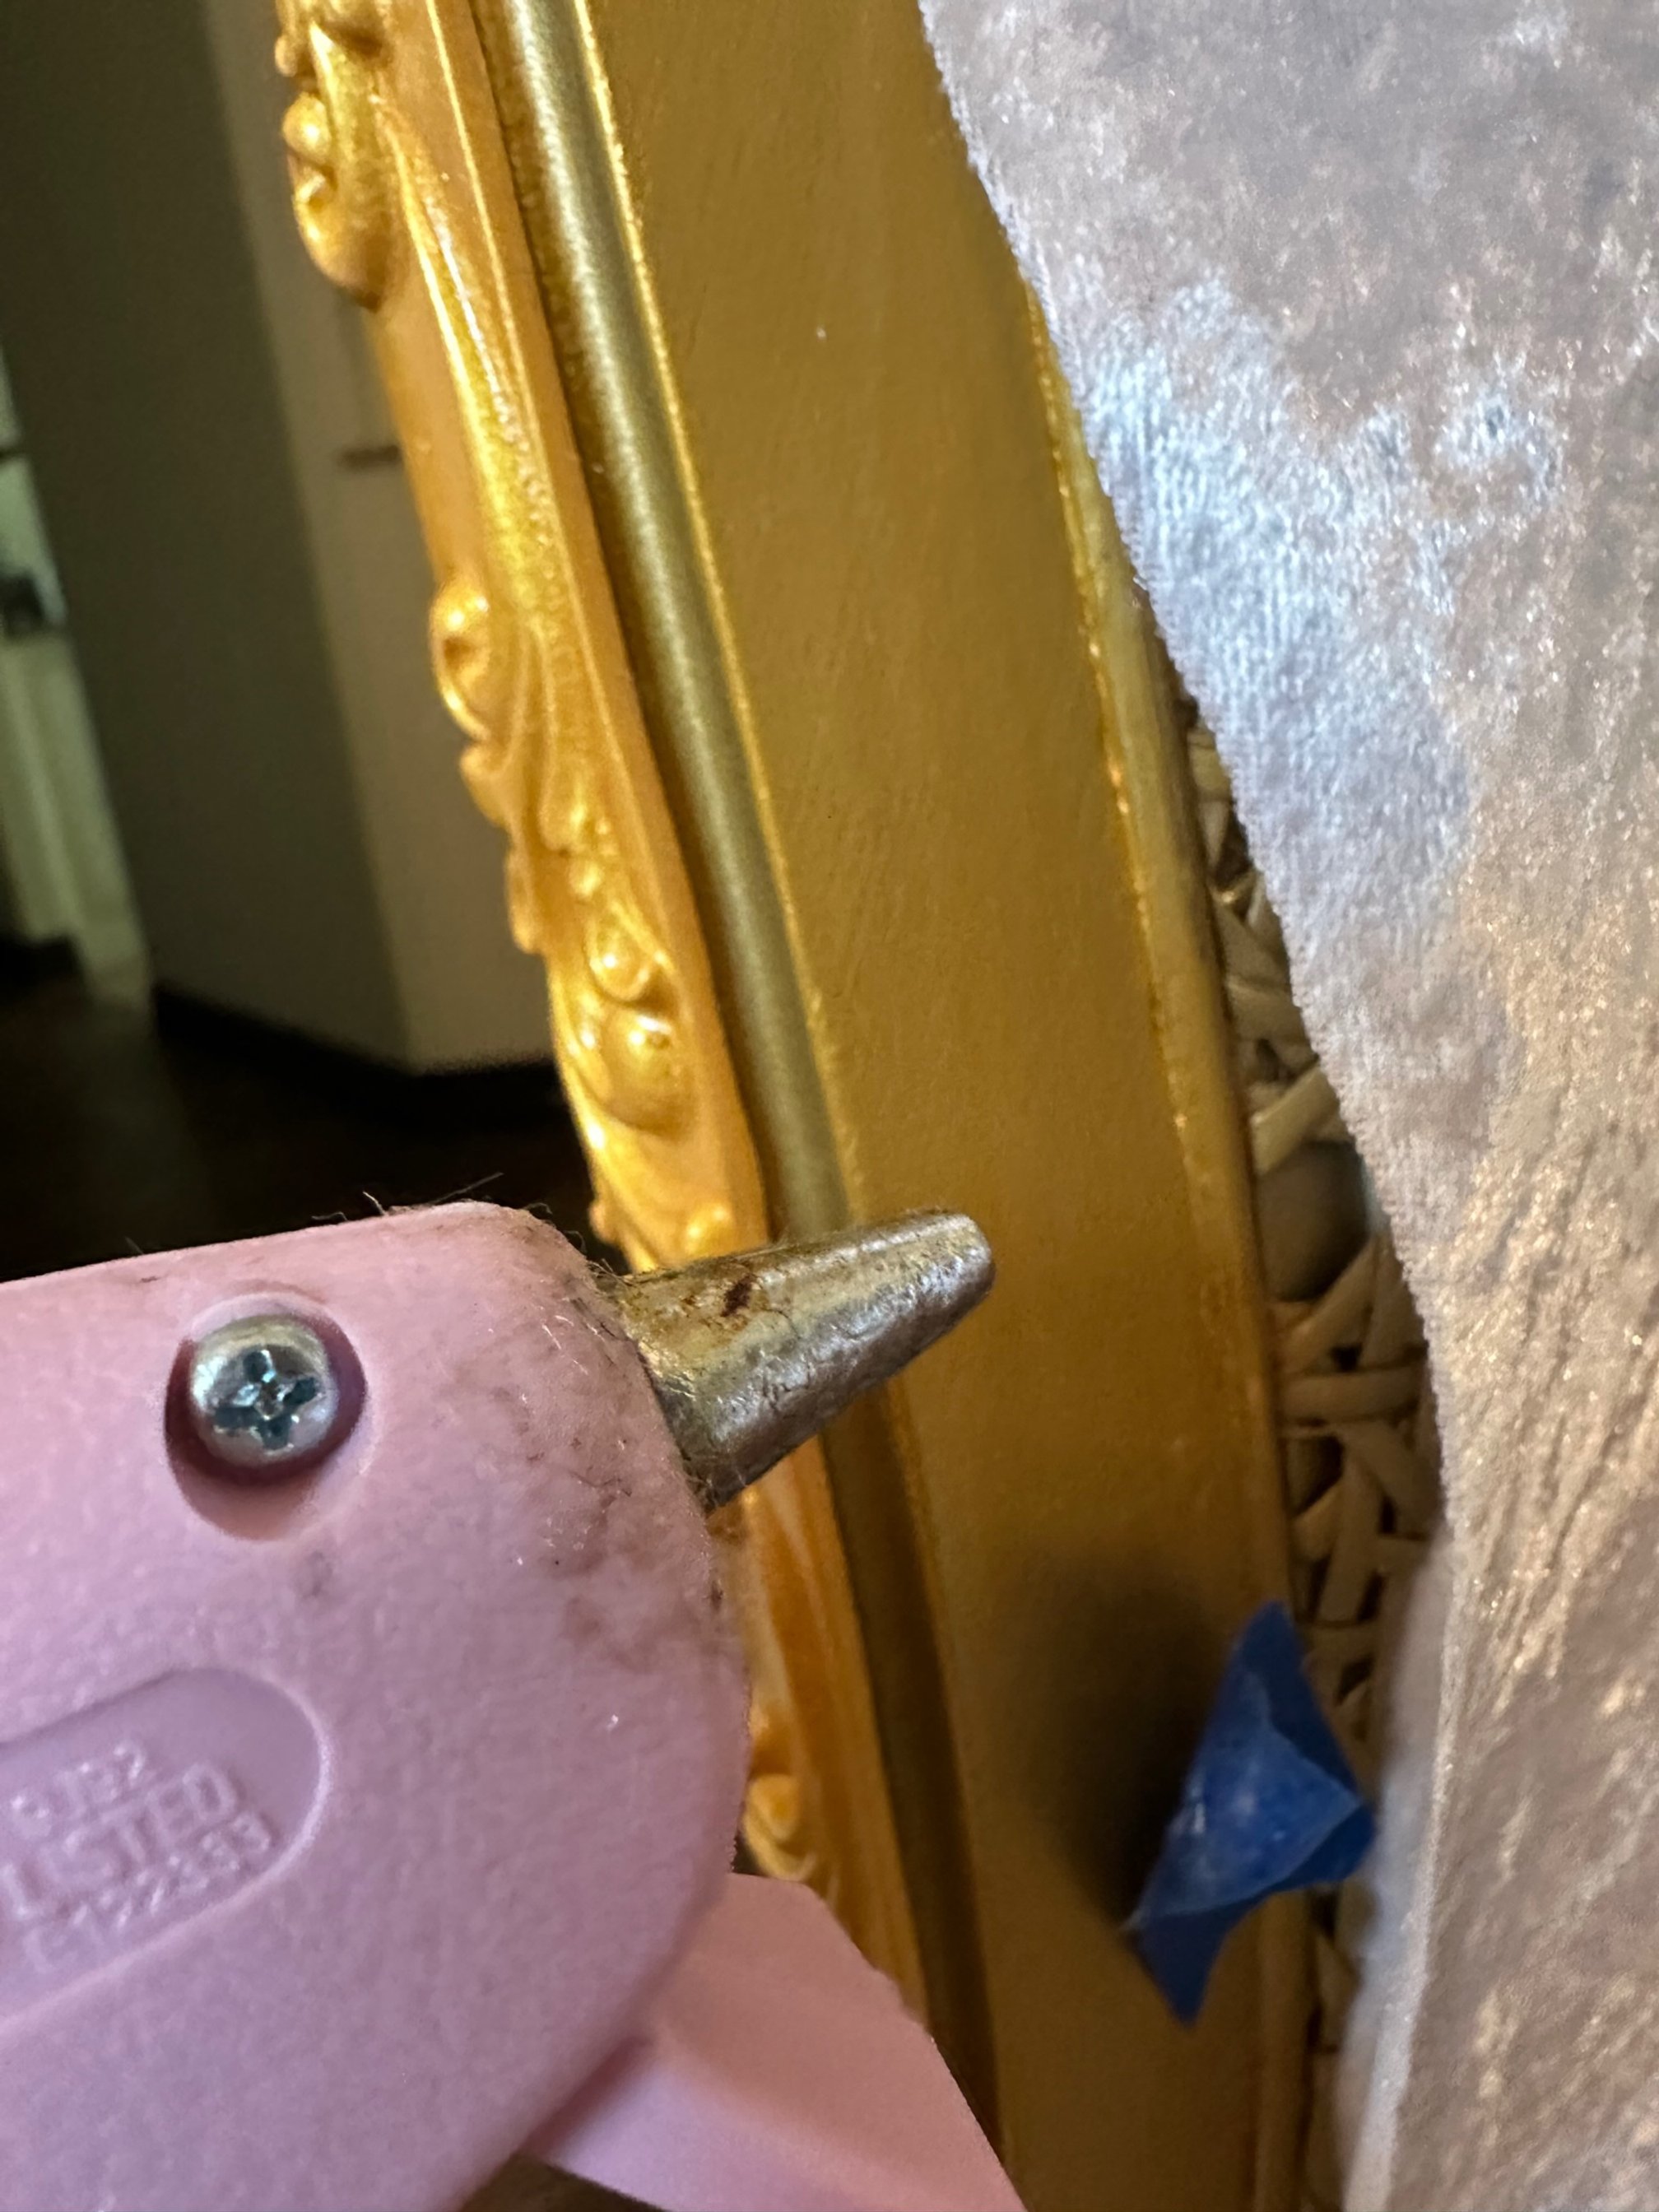
I added the peel and stick gold trim around the front and back base of the chair, it was so easy, it came in different colors and sizes. It was $25 for a 16 foot roll and I used almost all of it.
I added the foam into the insets and then the batting, gluing it in.

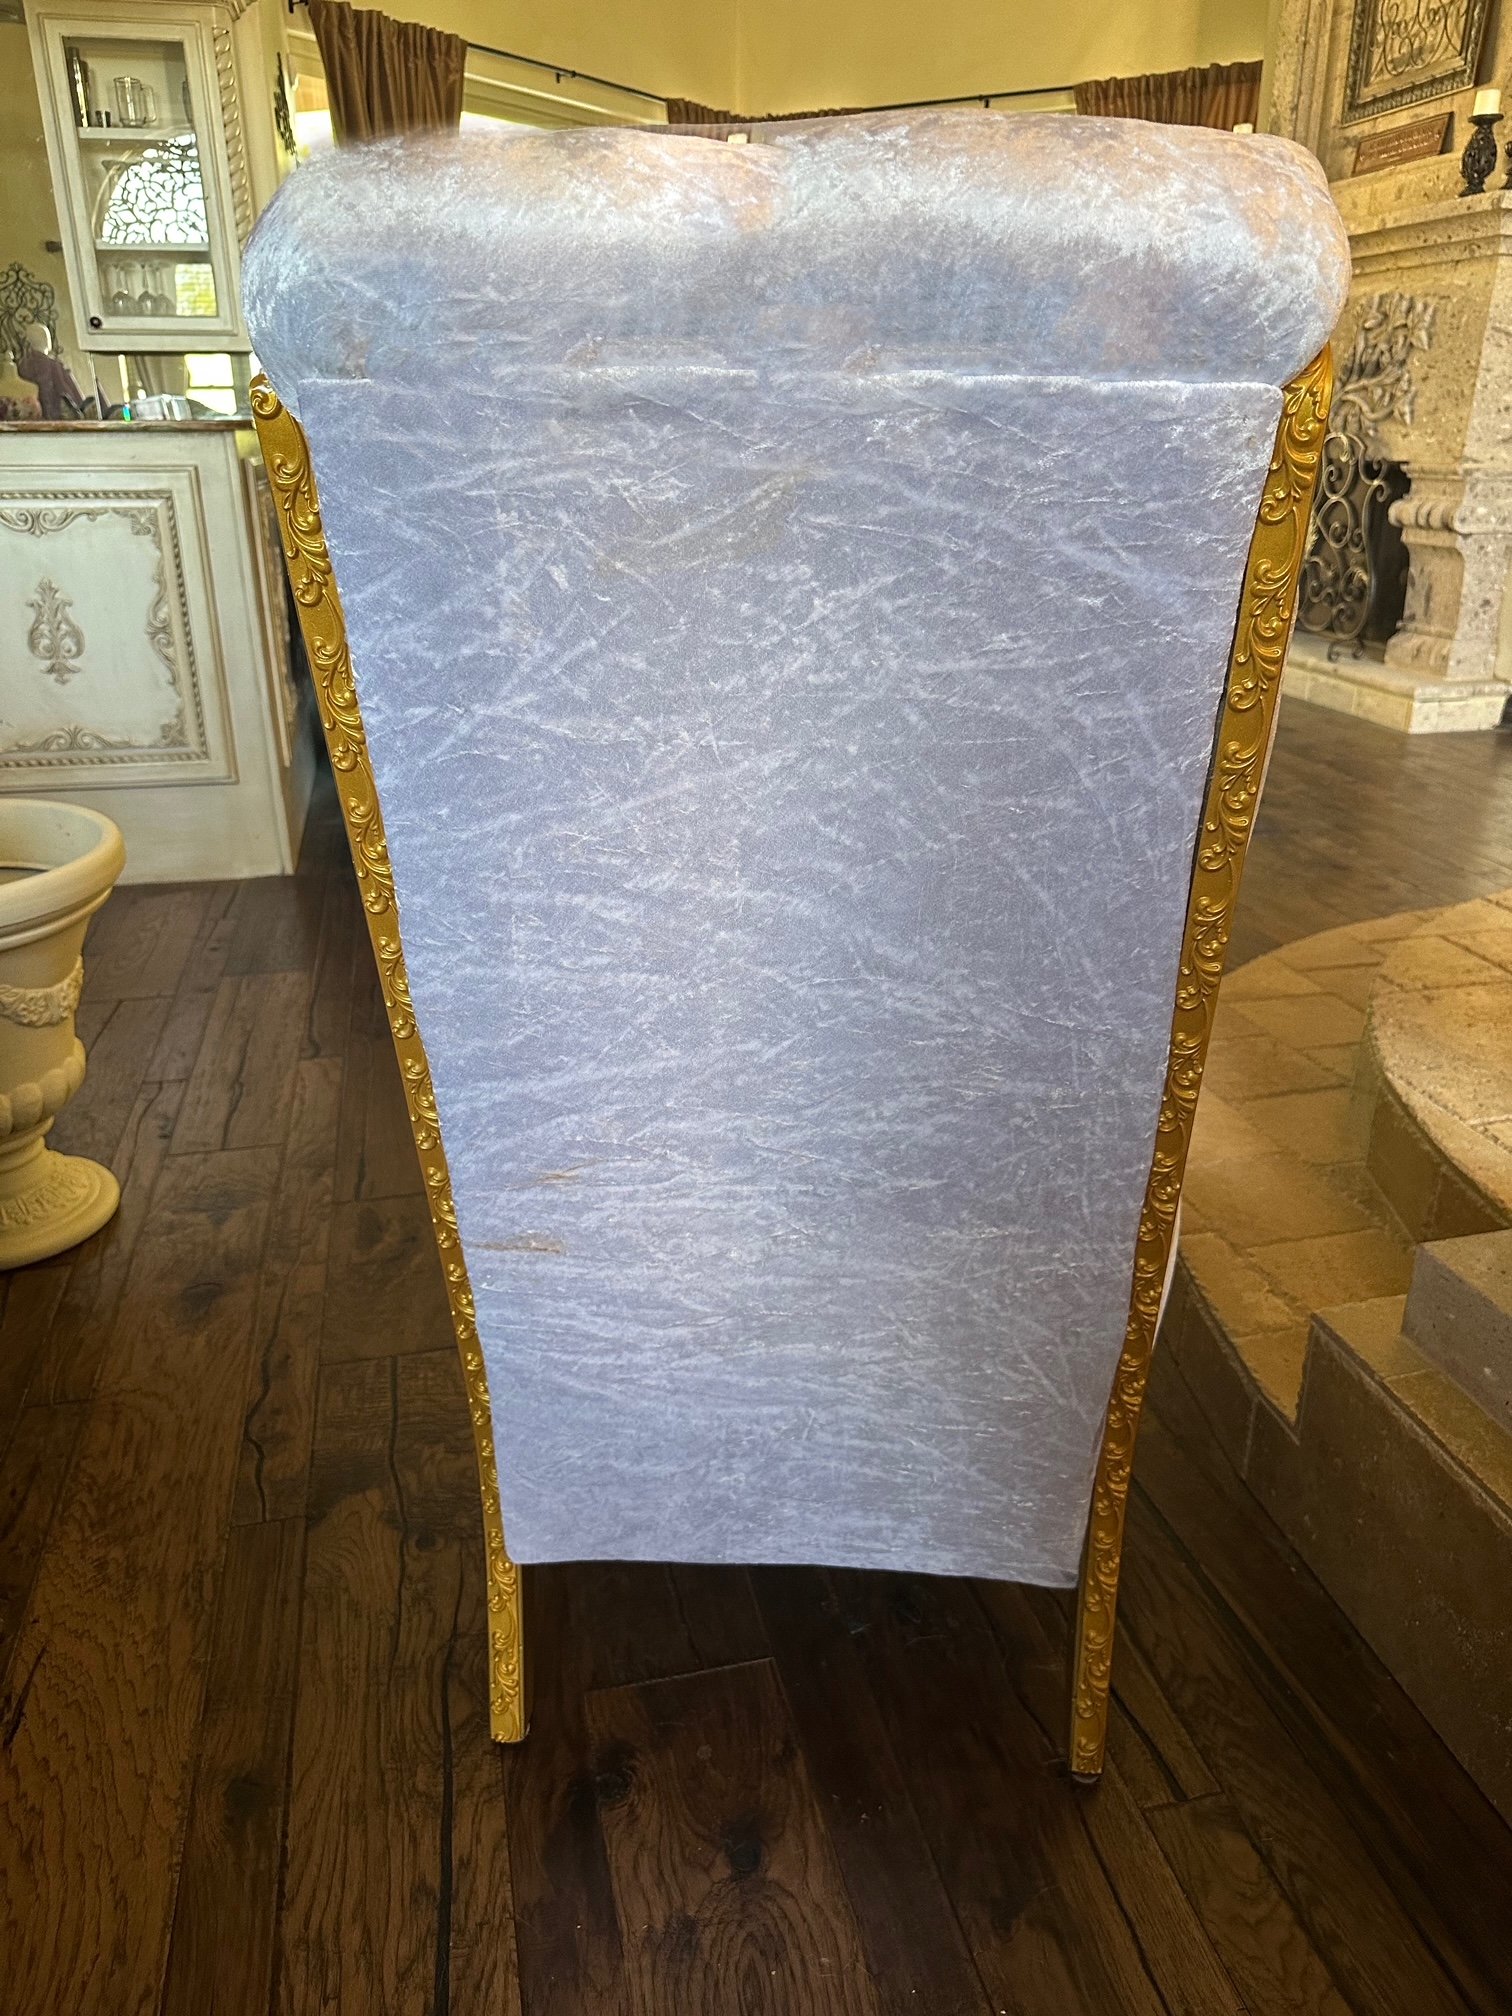
I added additional fabric to the front back rest and then covered a piece of cardboard to create the back piece.
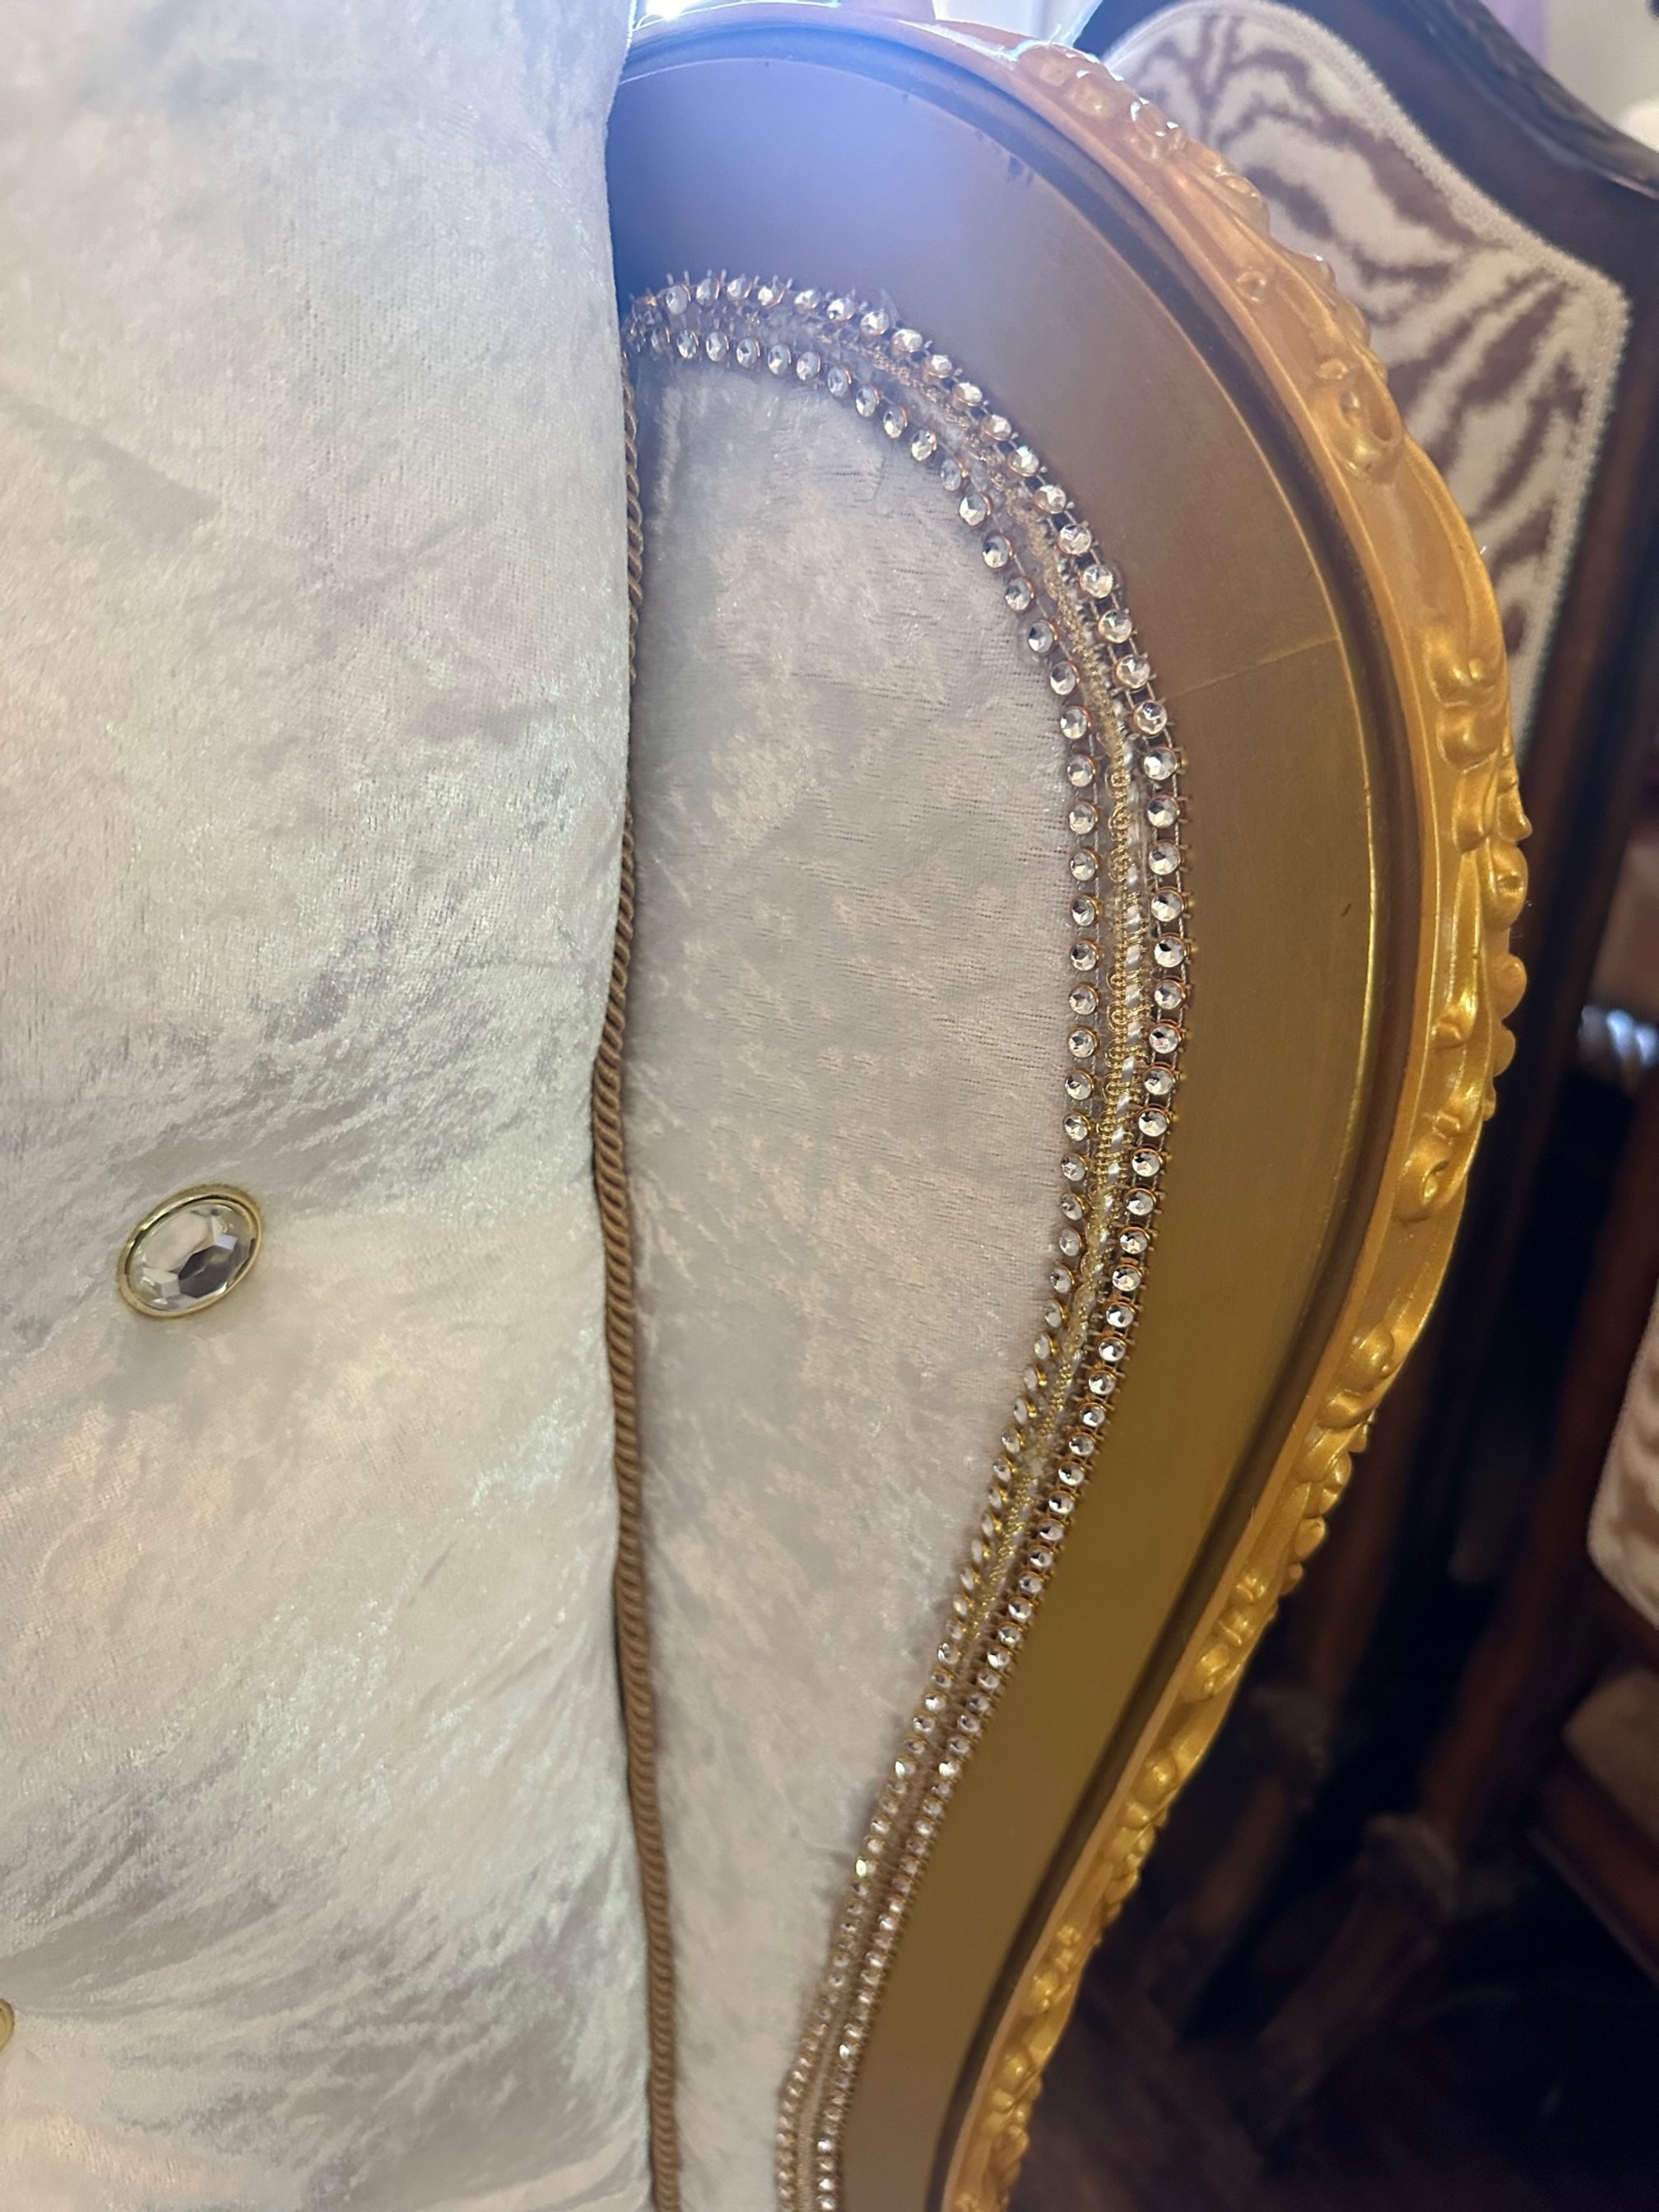
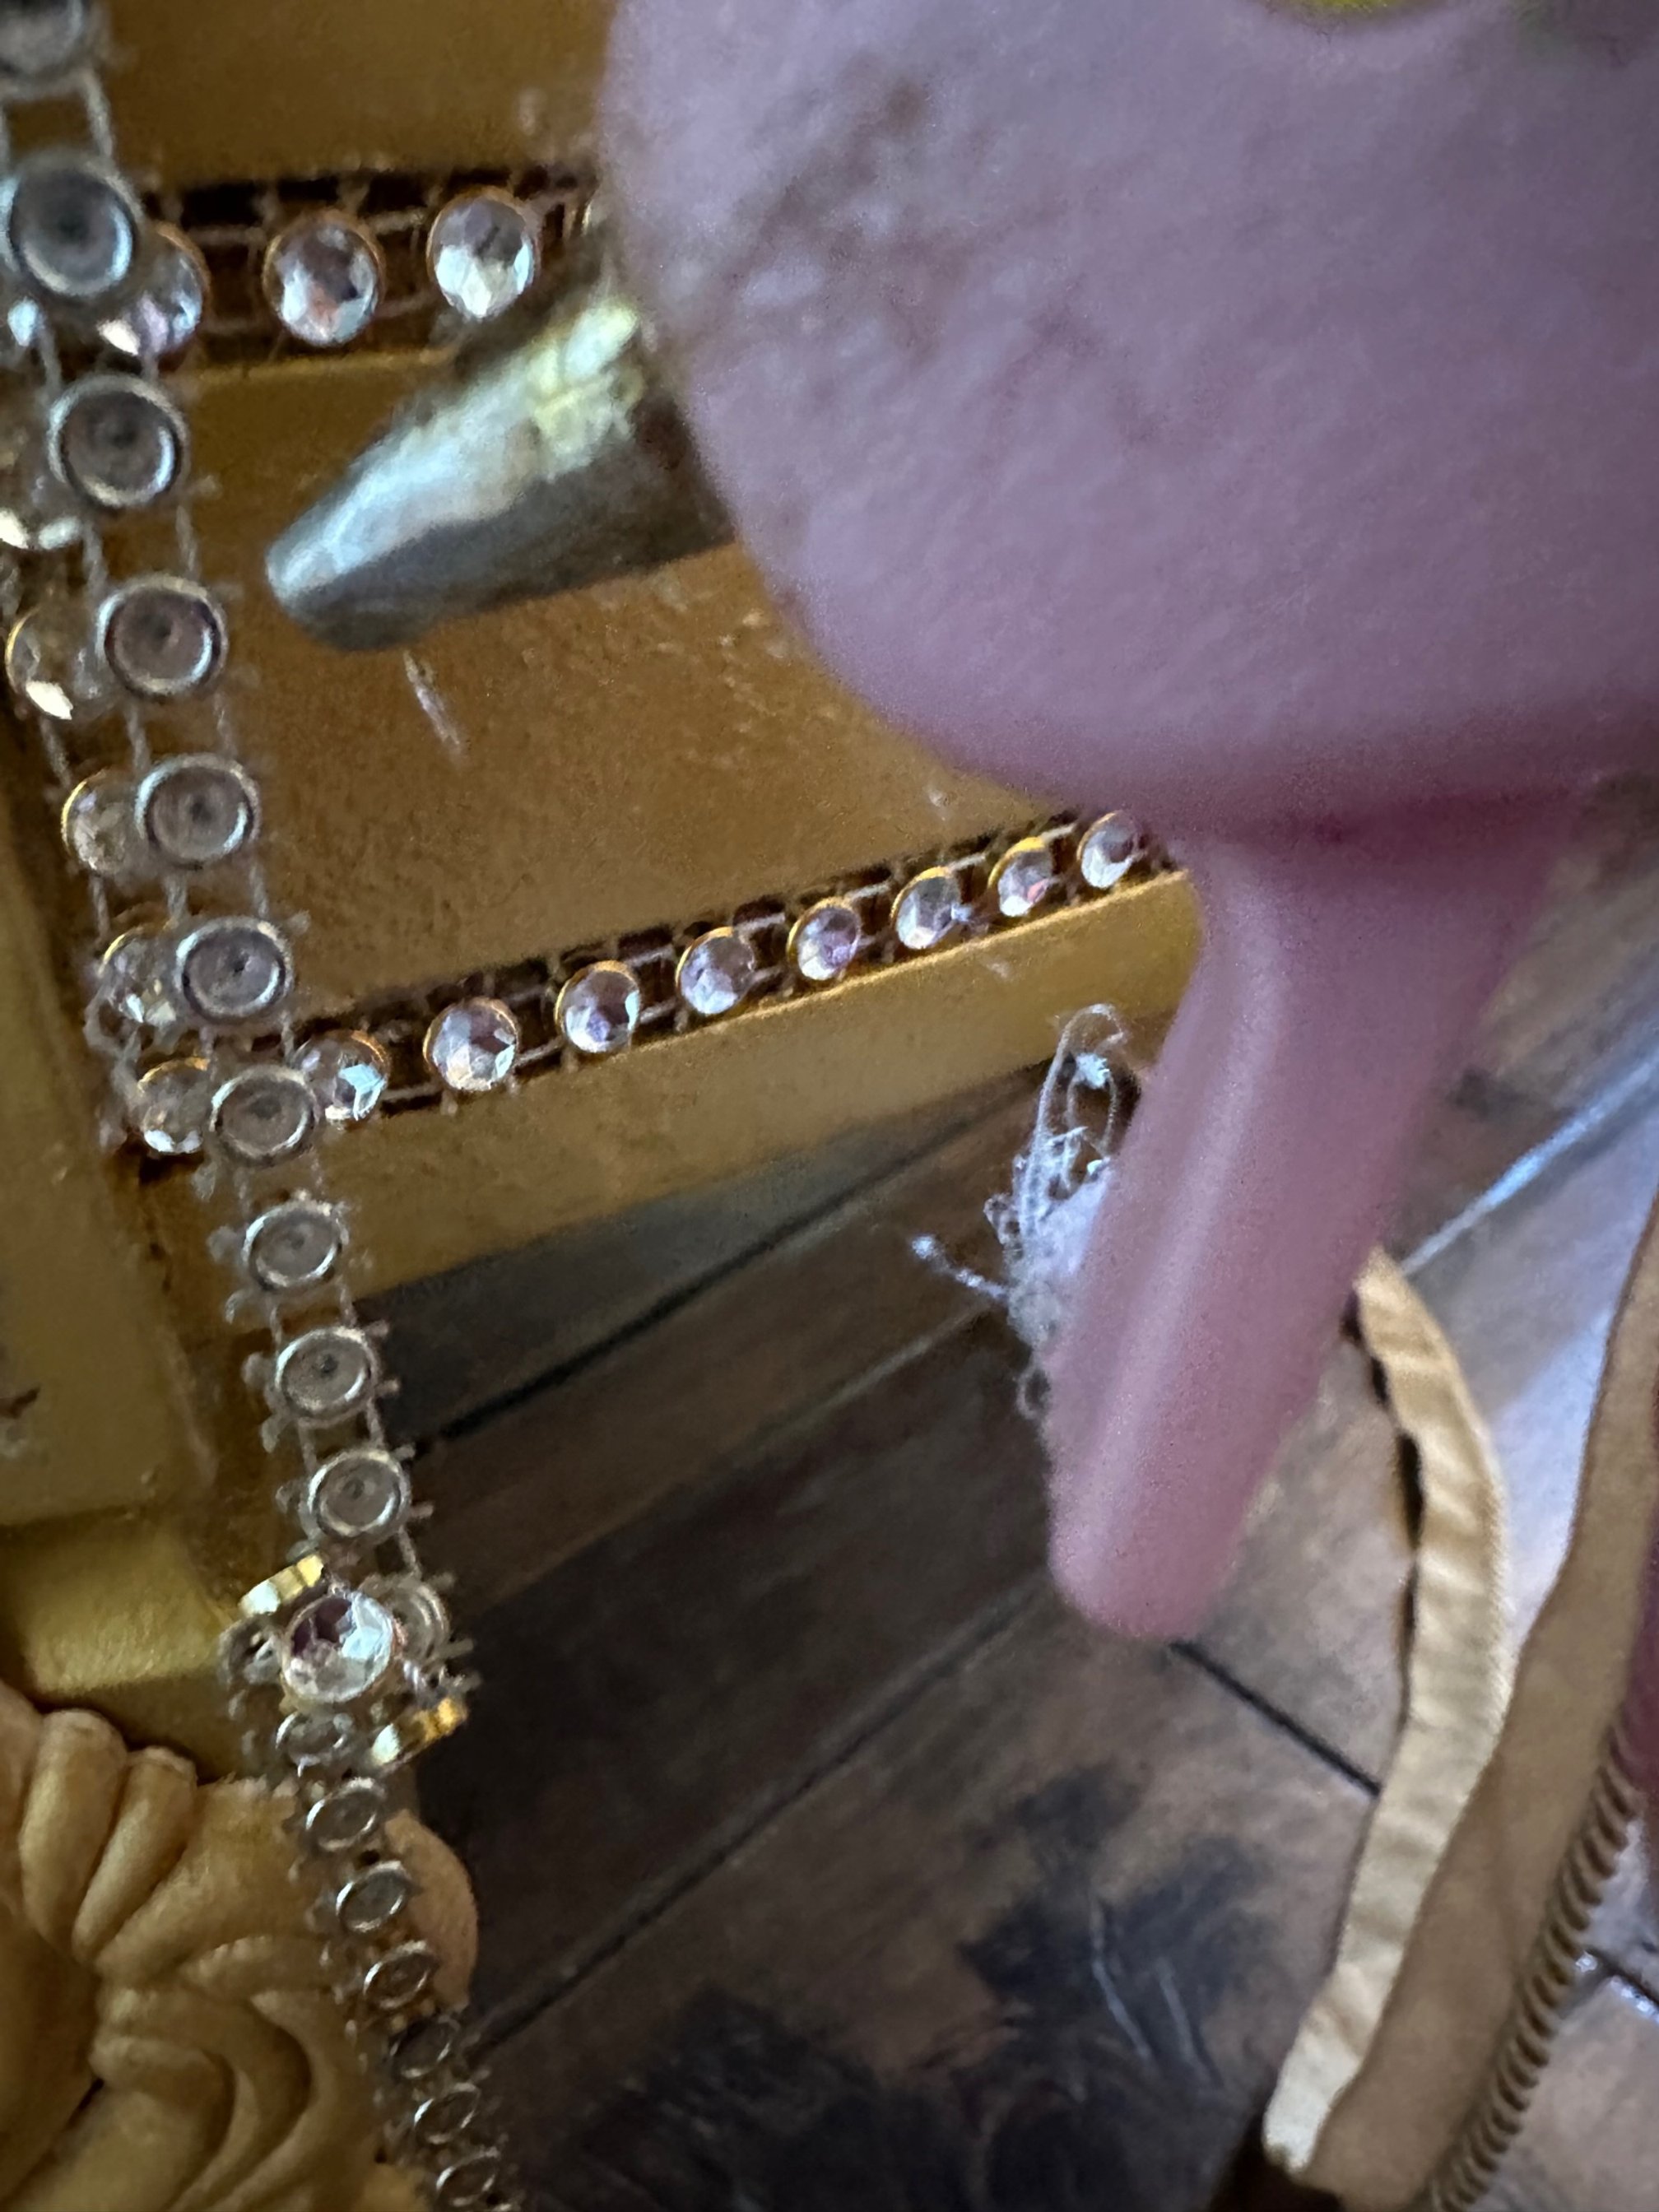
I glued rhinestone trim to cover the edges and add a little bling, also putting it into the insets. I also added the wood appliques to the legs and the front seat. I rolled the top of the cushion over the back of the chair, stapling it to the back brackets before putting on the back piece.
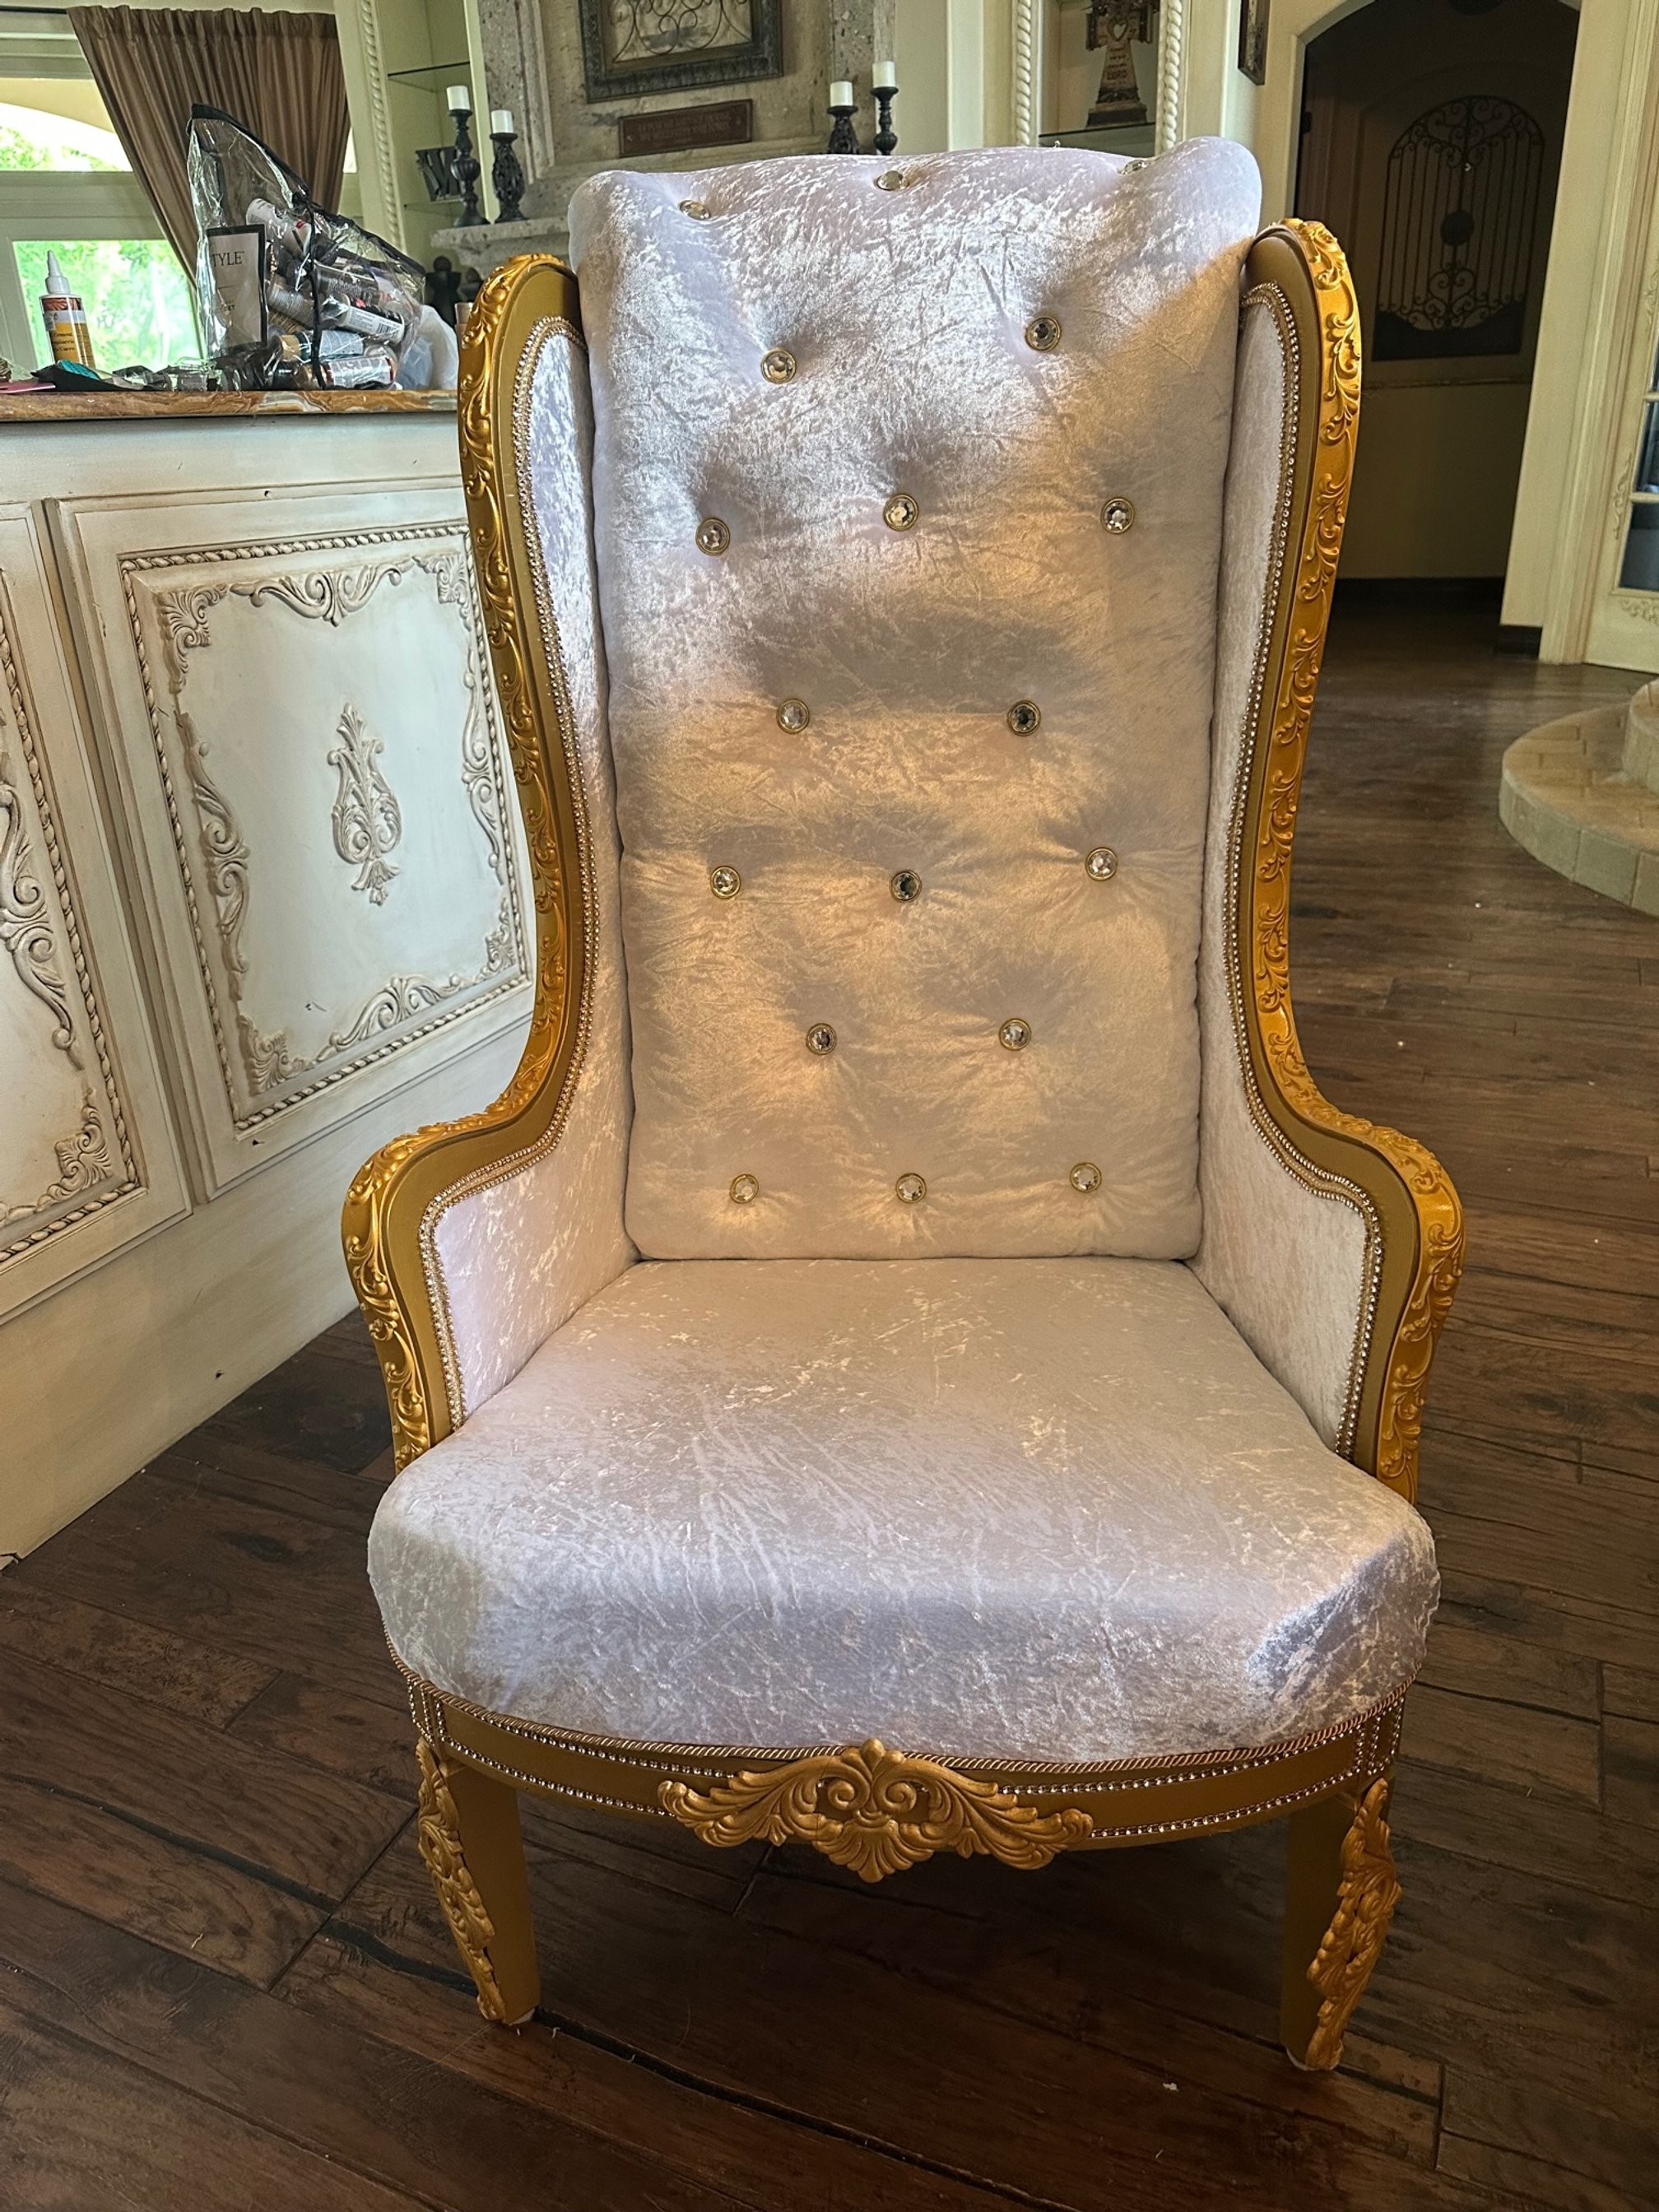
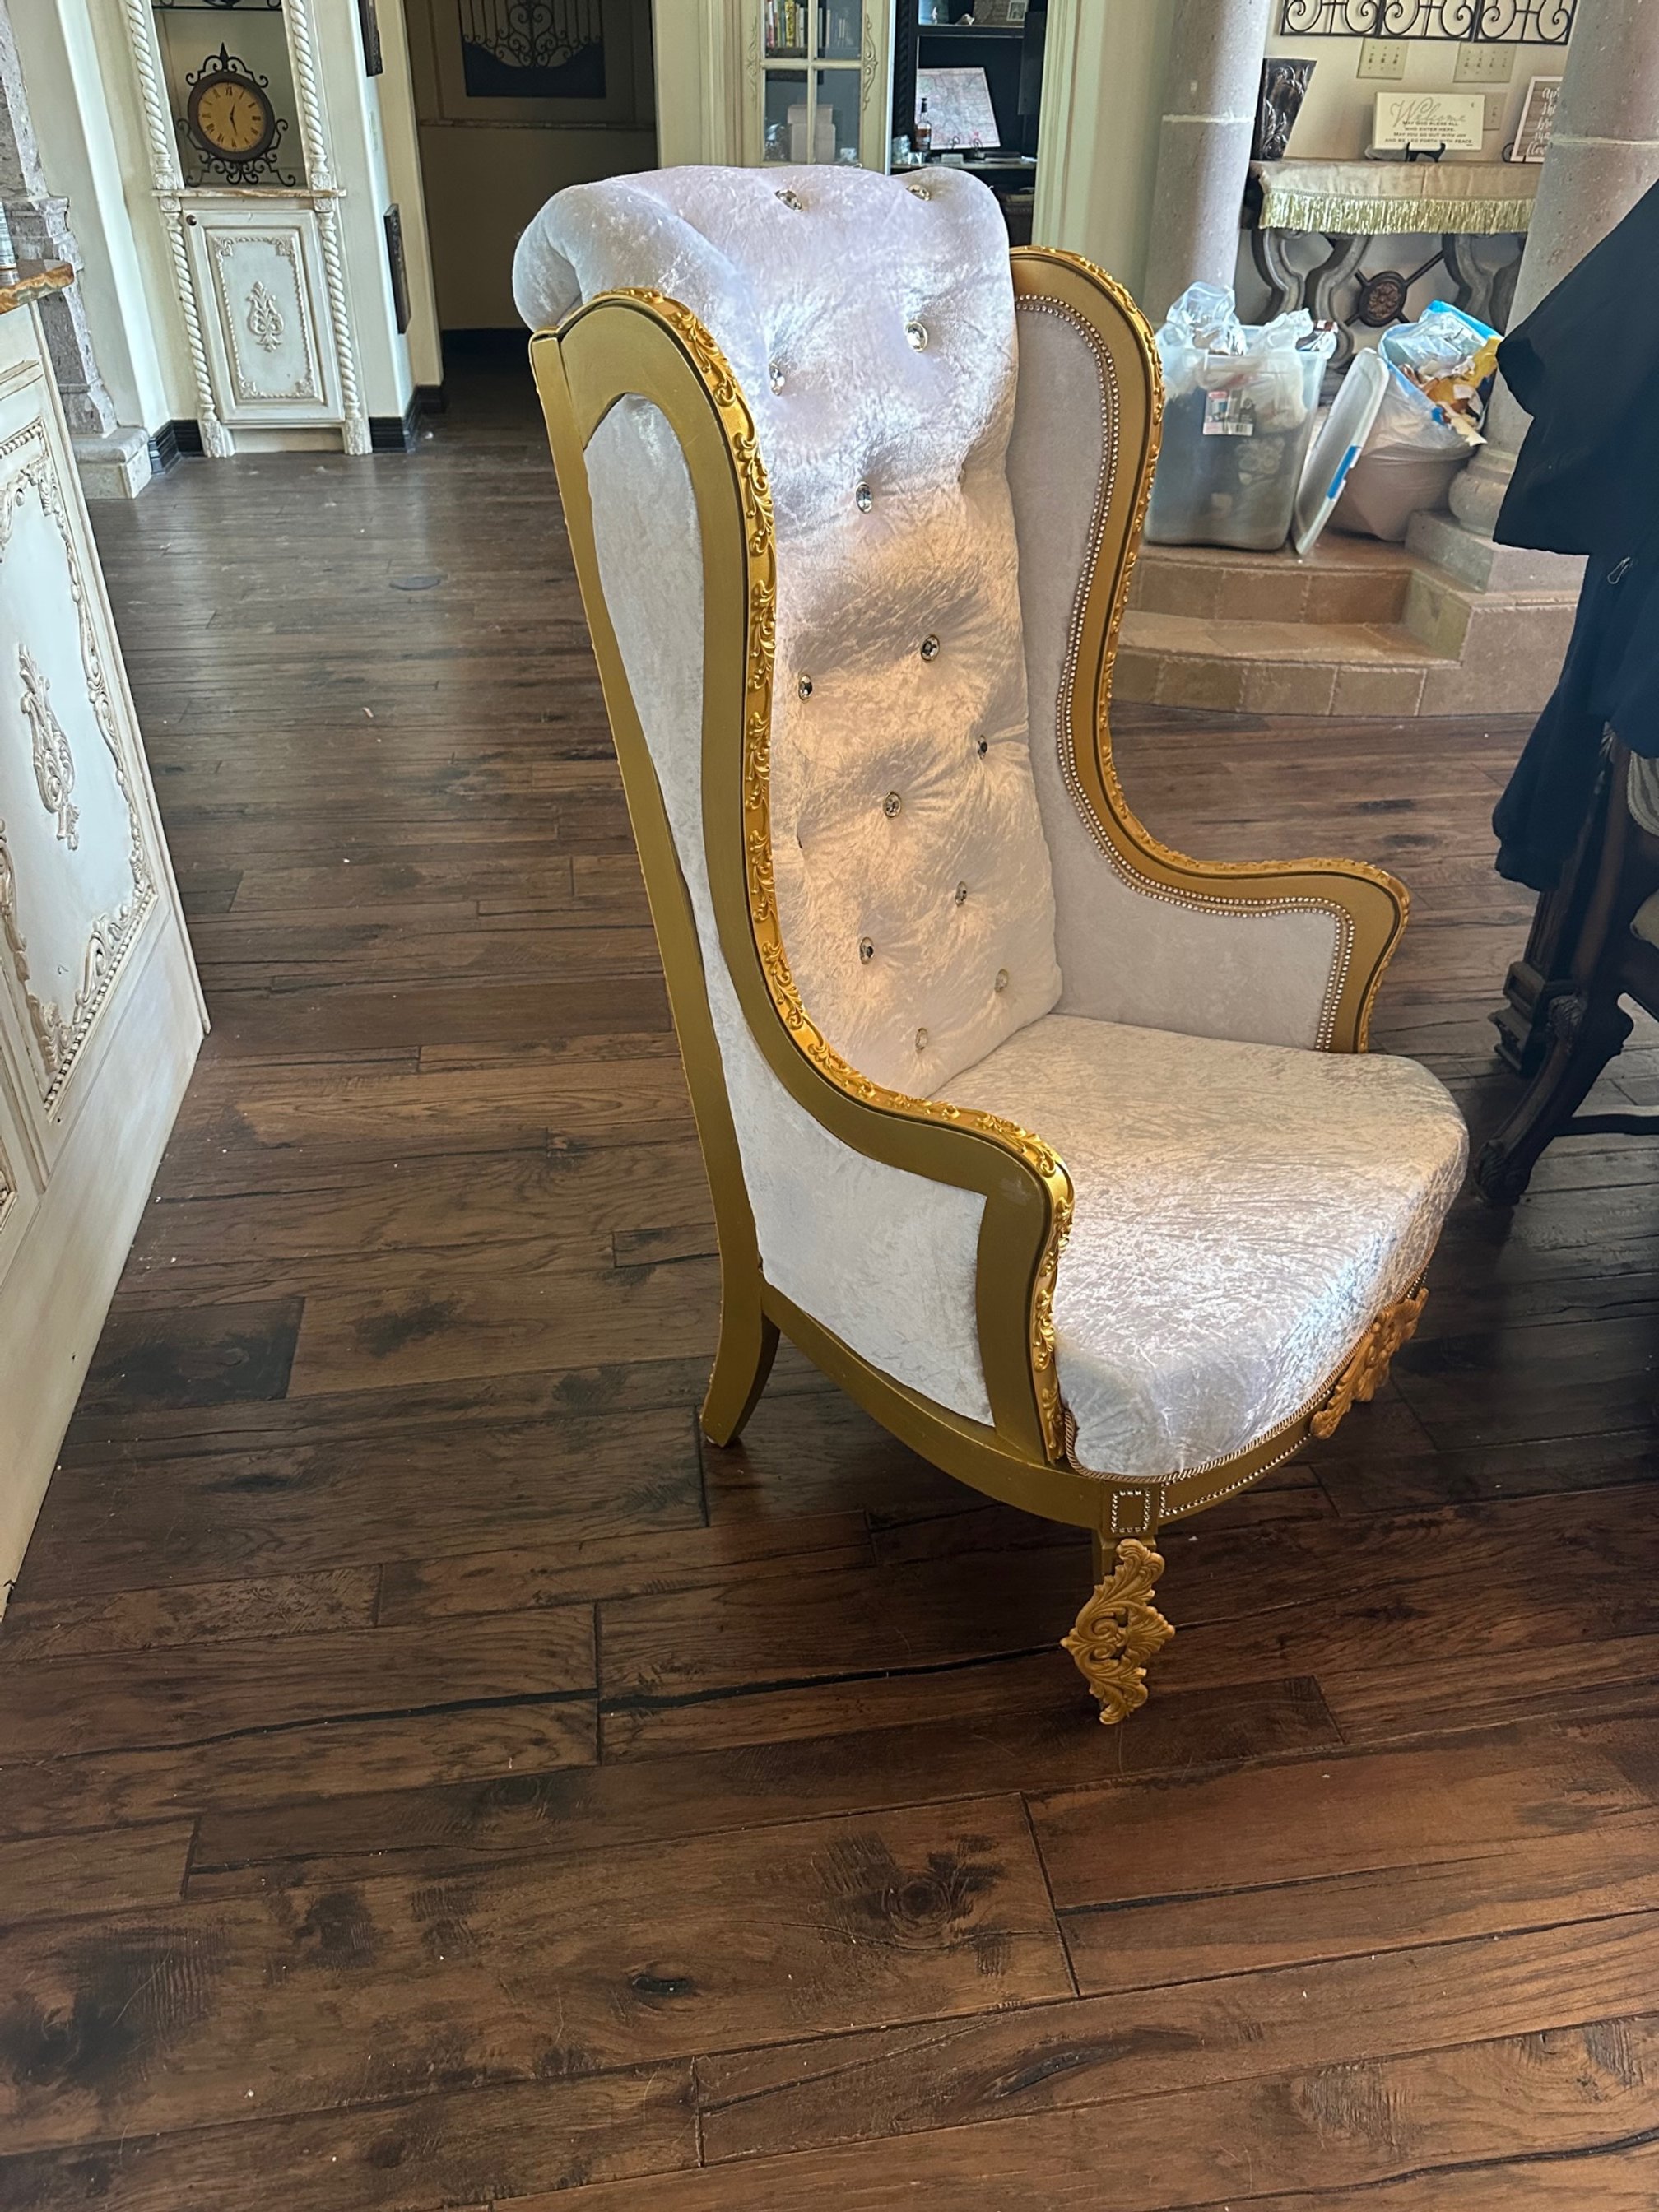
She’s finally done! She’s a beauty and smells great! It’s just what I wanted for the photo shoot. I already had the foam, buttons, rhinestones, and wood appliques. I had to purchase $11 spray paint and $7 batting bringing my total for this chair to $38. It took way longer than I wanted, but sometimes makeovers just work that way. Don’t be afraid to look at an old piece with new eyes, you would be amazed at what a little creativity can do.
Blessings,
Eden